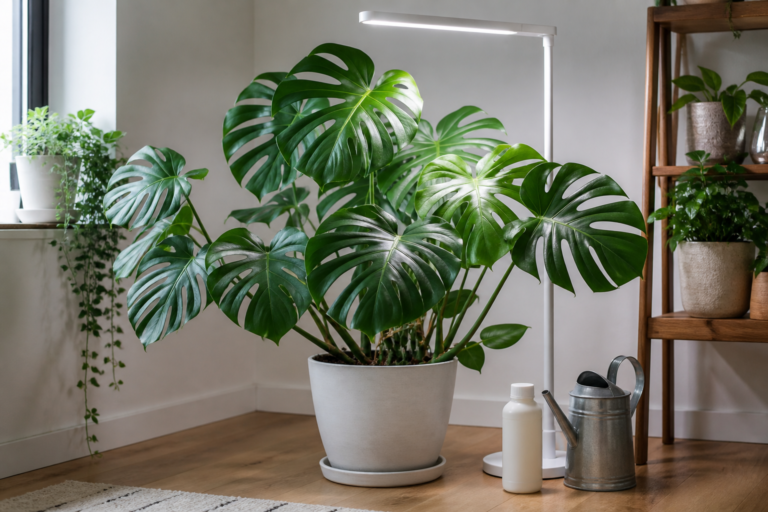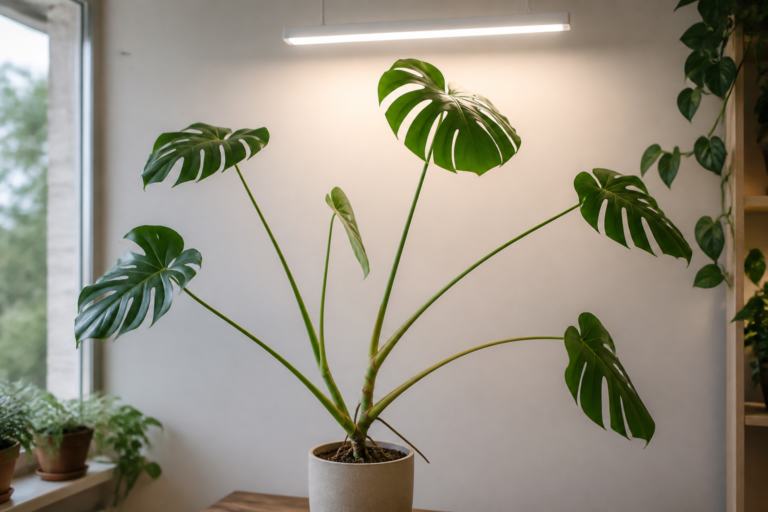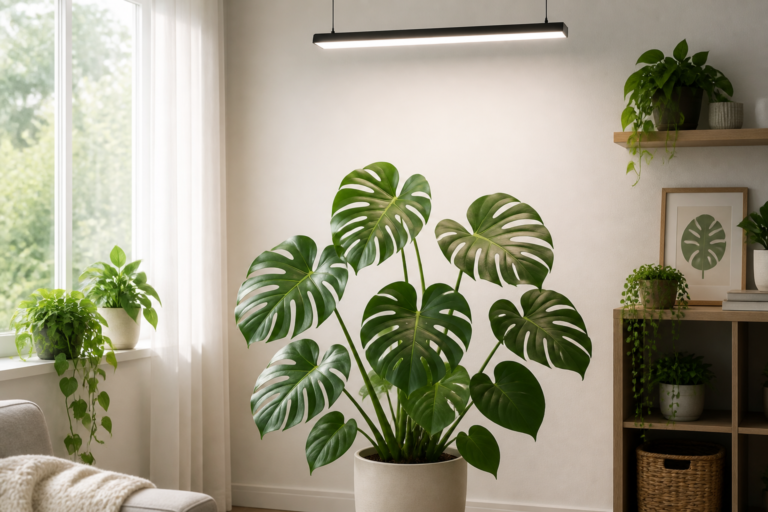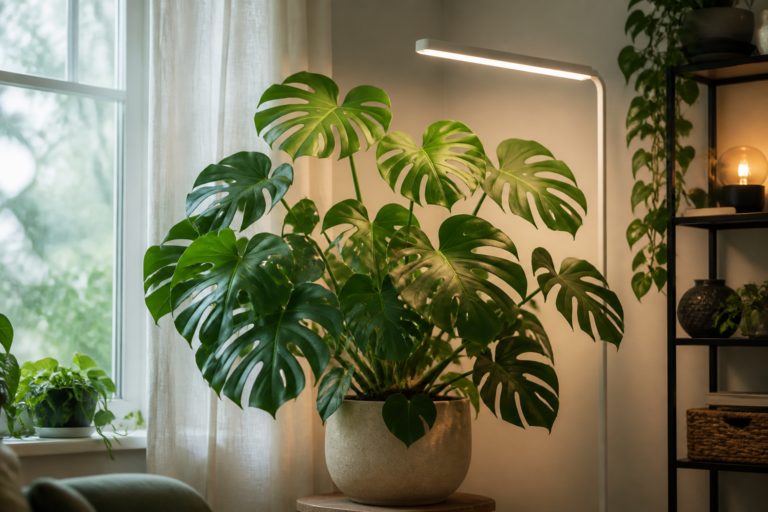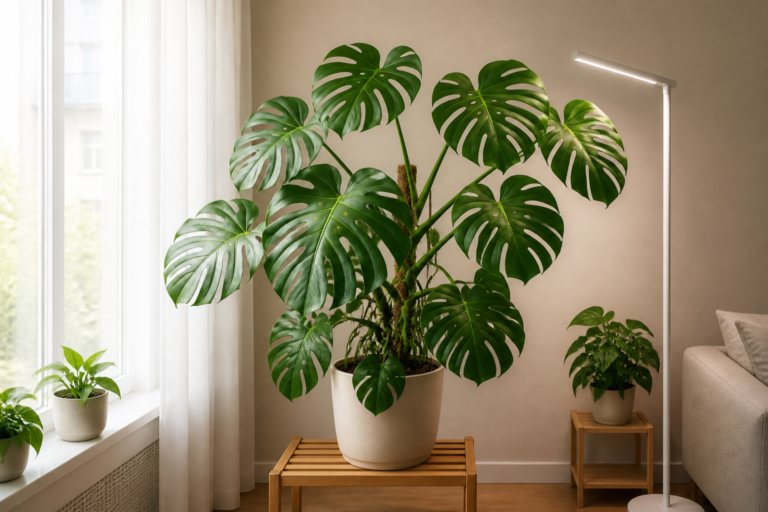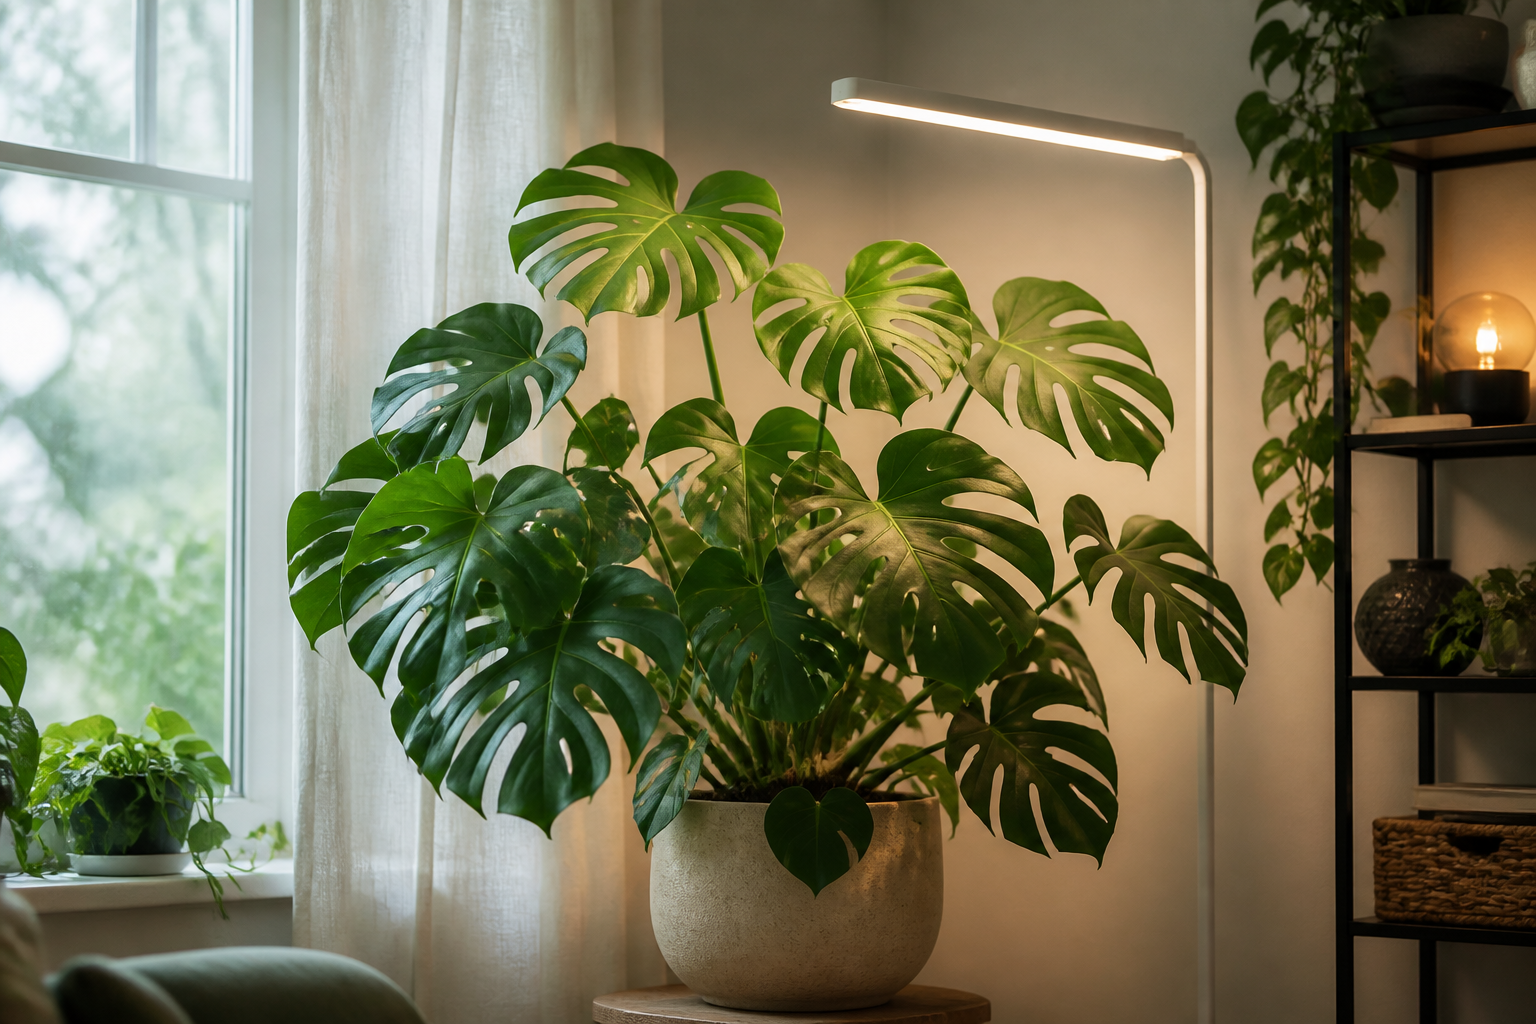
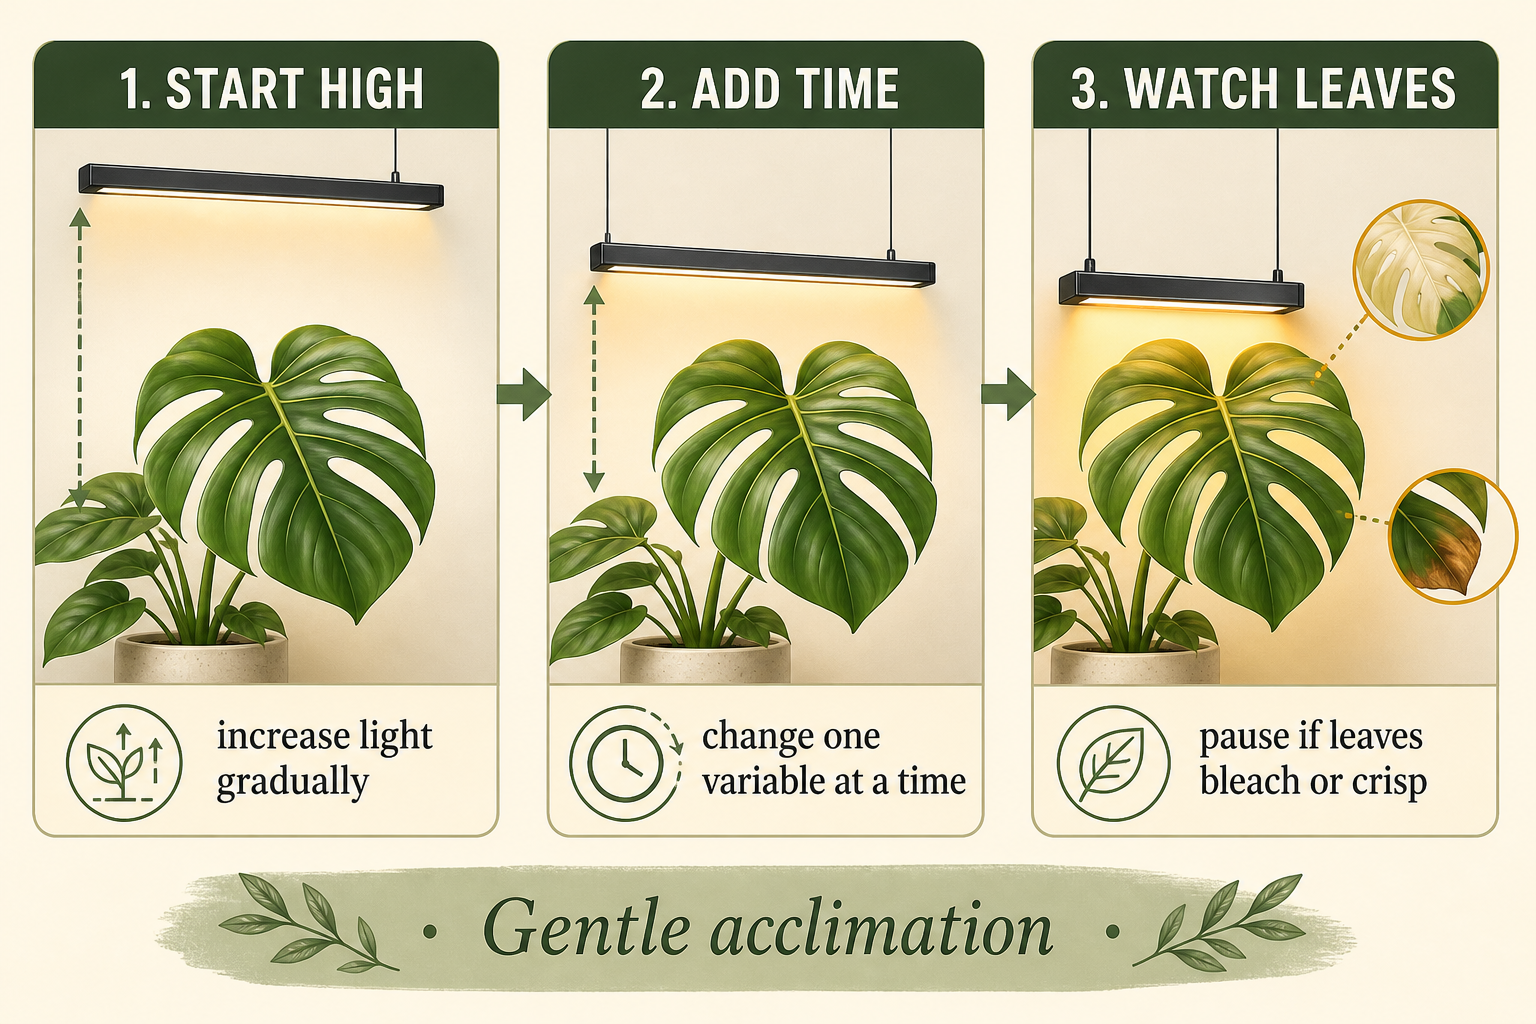
To acclimate a Monstera to a grow light, begin with the fixture farther away or dimmed, use a shorter daily light period, and increase only one variable after the leaves stay normal. Watch new growth, leaf color, curl, heat, and soil drying. A plant moving from a dim room or window needs a slower transition than one already in bright light.
Adding a grow light solves a real indoor problem, but switching it on at full intensity for a long timer window can create a second one. A Monstera that has been living in a cloudy corner, behind a curtain, or several feet from glass may have leaves adapted to a lower-light pattern. The goal is not to keep the plant weak; it is to give its photosynthetic system time to adjust while you learn what the fixture delivers at the canopy.
This guide gives you a calm, repeatable transition. It covers placement, duration, dimming, leaf signals, recovery, and the root-zone checks that prevent you from blaming every yellow leaf on the lamp. For the fixture and coverage decision itself, start with the Monstera grow-light guide.
Table of Contents
- Why a Monstera can react to a new grow light
- What to check before you switch the light on
- How to acclimate a Monstera to a grow light step by step
- How distance, dimming, and duration work together
- What normal adjustment looks like
- How to recognize light stress and other causes
- What to do if the light is too intense
- How cultivar, canopy, and room conditions change acclimation
- A simple acclimation checklist
- Conclusion: let the plant set the pace
- Frequently Asked Questions
- References
Why a Monstera can react to a new grow light
A new grow light changes more than brightness. It can alter the intensity at each leaf, the direction of light, the daily light duration, leaf temperature, and how quickly the potting mix dries. A Monstera that has been oriented toward a low window may also need time to reorganize how its leaves face the source.
Extension guidance describes acclimatization as gradual adaptation to a new environment. University of Georgia Cooperative Extension notes that plants coming from brighter, more controlled growing conditions can experience stress when moved to a lower-light home, while University of Missouri Extension cautions that an abrupt move from low light to bright light may damage foliage and disrupt leaf orientation 1 5. The same principle works in reverse when a dim indoor Monstera suddenly receives a strong fixture.
This does not mean every Monstera needs a long, elaborate ritual. A small, weak desk lamp may add very little usable light, while a powerful bar or panel close to a broad canopy can create a genuine step change. Acclimation should match the size of that change.
What to check before you switch the light on
The safest transition starts with a baseline. Photograph the whole plant, the newest leaf, and the distance between the fixture and the canopy before making changes. Then record a few observations:
- Which leaves face the window or room light?
- Is the plant already stretching, pale, or producing smaller leaves?
- How quickly does the mix dry at the current location?
- Are any leaves already damaged, dusty, folded, or yellowing?
- Does the fixture have a dimmer, a published coverage map, or a recommended hanging range?
Clean the leaves gently if dust is heavy, because a dusty surface makes visual comparison harder. Do not repot, fertilize heavily, prune, and add a strong light on the same day unless there is an urgent plant-health reason. Changing several stressors at once removes the clues you need for diagnosis.
If the plant has recently arrived from a store or greenhouse, give it time to settle before adding another major change when possible. University of Maine guidance similarly recommends allowing new plants to adapt before combining acclimatization with repotting shock. The more recent the move, shipping, pest treatment, or root disturbance, the more conservative your light transition should be.
How to acclimate a Monstera to a grow light step by step
Use the following sequence as a flexible framework rather than a universal calendar. The fixture's output, the plant's starting light, window contribution, room temperature, and canopy size all change the correct pace.
1. Start with height or low output
Place the fixture at the higher end of its manufacturer-recommended range, or use a dimmer below maximum output. If the fixture has no dimmer and no useful coverage information, increase the distance until the entire canopy is illuminated without a hot spot on the top leaf. Do not measure from the pot rim; measure from the nearest leaves.
The first goal is an even, gentle footprint. A narrow bright circle over one leaf is harder to acclimate than a broader, softer field over the active canopy. Keep the lamp stable so you are not changing angle and distance every day.
2. Begin with a shorter light window
If you plan to run the lamp for a long daytime routine, begin with fewer hours and let the plant keep its normal natural light as a baseline. Iowa State Extension commonly starts supplemental-light setups around a consistent daily window and then asks growers to monitor growth over several weeks before fine-tuning 3. For acclimation, the useful idea is consistency and observation, not copying one number into every room.
Set the light to turn off at night. University of Maryland Extension explains that most plants need a dark period and recommends keeping total illumination below 16 hours per day, especially when natural and artificial light are combined 2. A timer prevents accidental overnight exposure and makes each day comparable.
3. Hold the first setting long enough to read a pattern
Watch the plant for several days before changing anything. Check the newest leaf, the upper leaves closest to the lamp, and the lower or shaded leaves. Look for heat at the leaf surface, curling that appears only after the light turns on, or a sudden change in how quickly the pot dries.
Do not treat one temporary orientation change as damage. Leaves may turn toward a new source, and a plant may pause while it adjusts. The stronger evidence is a pattern that repeats across days or appears on several leaves.
4. Increase only one variable
When the plant remains stable, choose one adjustment: lower the fixture slightly, raise the dimmer a little, or add a modest amount of daily runtime. Do not lower the fixture and extend the timer on the same day. Iowa State notes that moving a fixture closer raises intensity but reduces the footprint and can increase heat around the plant 4.
After an adjustment, wait for a new observation window. Mark the date in a note or photograph so you can connect a leaf change to the setting that preceded it. If the plant shows clear stress, reverse the last change rather than adding another variable.
5. Stabilize before you optimize
Once the Monstera is receiving useful light across the canopy without repeated stress signals, keep the routine steady. A stable timer, consistent fixture position, and regular leaf checks are more valuable than chasing a perfect reading every day. You can later use the PPFD, DLI and PAR guide to compare positions or interpret a meter, but numbers should support plant observation rather than replace it.
Example progression for a stable, healthy plant
The following is an example framework, not a universal prescription. It assumes a healthy Monstera, a fixture mounted within its manufacturer’s safe range, and no obvious heat problem. Repeat a stage for longer if the plant was recently shipped, repotted, propagated, or moved from very low light.
| Stage | Example setting | Move forward when | If the plant reacts poorly |
|---|---|---|---|
| Days 1–3 | Start at the higher end of the fixture’s range or use a lower dimmer setting; run a shorter daytime window such as 4–6 hours | Leaves remain firm and cool, with no new bleaching, crisp edges, or repeated curl | Raise or dim the fixture and return to the baseline |
| Days 4–7 | Keep height and output unchanged; add a small amount of runtime, such as 1–2 hours | The newest leaf and the top, center, and edge leaves remain stable across several days | Remove the last runtime increase; do not also lower the fixture |
| Days 8–14 | Choose one lever only: add another modest runtime increase, raise output slightly, or lower the fixture a little | New growth continues and the pot is drying in a predictable pattern | Undo that one change and hold the previous setting |
| After day 14 | Keep the stable routine and optimize only for coverage or growth pattern | The canopy receives even light without a persistent hot spot or stretching | Pause optimization and check roots, watering, heat, and window light |
The numbers in this example make the sequence easier to follow; they do not replace the fixture manual or the plant’s signals. A powerful lamp over a dim-room Monstera may need slower steps, while a weak supplemental lamp may need little acclimation at all.
How distance, dimming, and duration work together
Distance, output, and runtime are three different levers. Distance changes both intensity and coverage. Dimming changes output without moving the footprint as much. Duration changes the total daily exposure while leaving the moment-to-moment intensity unchanged.
| Lever | What usually changes | Why it helps during acclimation | Main risk |
|---|---|---|---|
| Move the fixture higher | Lower intensity and wider spread | Softens a sudden hotspot | Can leave canopy edges too dim |
| Use a dimmer | Lower output at the same mounting position | Keeps coverage while reducing the jump | A very low setting may deliver little useful light |
| Shorten the timer | Fewer hours of exposure | Reduces the first daily dose | Does not fix a leaf that is hot or bleached within minutes |
| Add a little runtime | More total light across the day | Builds exposure without moving the lamp | Can still be excessive if intensity is already high |
| Lower the fixture later | Higher intensity at the leaves | Helps a stable plant use more of the footprint | Heat, bleaching, and a smaller effective coverage area |
Think in terms of the plant's whole daily dose. A bright fixture for a short time can feel very different from a dimmer fixture for a longer window. If the plant is next to a bright window, the grow light may only need to fill a cloudy or late-day gap. If it sits in a dark room, the same fixture may be its main light source and deserve a more deliberate setup.
What normal adjustment looks like
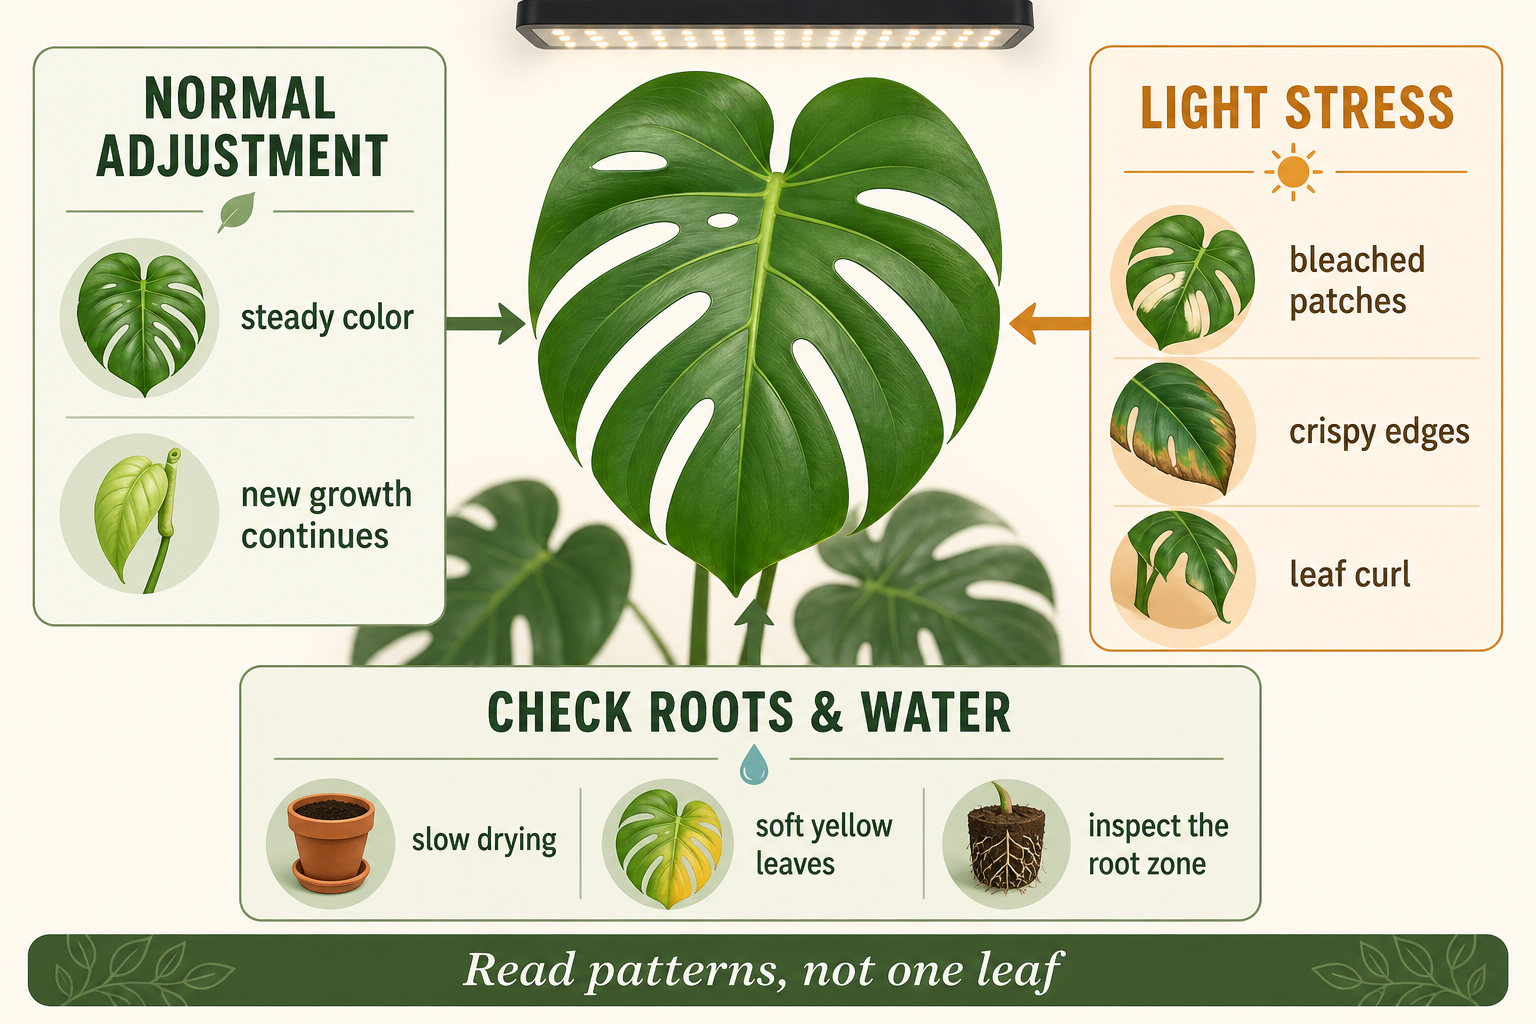
Normal adjustment is usually quiet. The plant may reorient a petiole, take time to open a new leaf, or show a slower growth week after the move. Existing leaves should keep their normal color and firmness, and the newest growth should continue rather than collapsing or bleaching.
A change in water use can be normal too. More light and more warmth can make the pot dry faster, but the correct response is to check the mix rather than automatically watering on a fixed schedule. Feel the substrate, lift the pot, and inspect drainage. A sudden jump from barely drying to staying dry for too long can indicate that the fixture is warming the canopy or that the plant is now using more water.
The useful comparison is with the plant's own baseline. A green Monstera may not become visibly larger within a week, but its leaves should not develop a spreading pale patch simply because the lamp was introduced. New growth over the following weeks tells you more than a single afternoon photograph.
How to recognize light stress and other causes
Light stress is more likely when damage appears on the lamp-facing surfaces, develops after a fixture change, and comes with heat, bleaching, crisp edges, or curling. It is less convincing when every leaf is yellowing while the mix stays wet, the roots smell sour, or the plant recently suffered a repot. Those clues point you toward the root zone or watering routine as well.
Use this pattern-based check:
- Location: Is the mark on the side facing the light or the hottest window ray?
- Timing: Did it appear after a change in height, dimmer setting, or runtime?
- Texture: Is the area bleached and papery, or is the whole leaf soft and yellow?
- Spread: Is one exposed leaf affected, or are old and new leaves declining together?
- Root-zone context: Is the pot drying normally, staying wet, or smelling unusual?
The Monstera light requirements and symptoms guide can help compare low-light stretch with excess-light signals. If light stress and root stress appear together, fix the environment that is most clearly failing instead of increasing fertilizer or moving the lamp again.
What to do if the light is too intense
Pause the last increase as soon as the plant shows a repeatable stress pattern. Raise the fixture, lower the dimmer, shorten the light window, or add a sheer curtain if window sun is contributing. Choose one corrective move first so you can tell whether the plant improves.
Do not cut away a partly damaged leaf immediately unless it is fully dead or creating a clear hygiene problem. Green tissue can still contribute energy, and removing several leaves at once adds another stress. Keep the plant at a stable, gentler setting while the next growth point develops.
Check the fixture itself as well. A lamp that is warm to the touch, poorly supported, or too close to foliage may need a safer mounting position according to its hardware instructions. Keep cords and plugs away from water, provide ventilation around the fixture, and do not cover a hot light with fabric or curtains.
If the damage continues after reducing the light, stop assuming the lamp is the only cause. Inspect roots, substrate, pests, temperature swings, and recent fertilizer. Recovery comes from a stable environment, not from repeatedly changing the plant's position.
How cultivar, canopy, and room conditions change acclimation
Not every Monstera starts from the same light history. A green, mature Monstera with a broad canopy may tolerate a faster transition than a small cutting with few leaves, but the larger plant also creates more coverage challenges. The center may receive adequate light while lower leaves remain shaded.
Variegated leaves have less green tissue in their pale sections, so avoid using a bare white patch as your only diagnosis. Compare the green areas, the overall leaf firmness, and the newest growth. A recently propagated node, a plant with damaged roots, or a plant that has just moved rooms deserves a gentler start regardless of cultivar.
Temperature and humidity matter because a brighter lamp can warm leaf surfaces and speed evaporation. A dry, drafty room may show curling that is not solely a light problem. A cool room with a dense, wet mix may show yellowing even when the light is appropriate. The complete indoor Monstera care guide keeps the light decision connected to roots, substrate, watering, temperature, humidity, and support.
Once the plant is stable, use the seasonal Monstera grow-light schedule to adjust around real daylight rather than forcing the same lamp setting through every season.
A simple acclimation checklist
- Photograph the plant and record its current window or room light.
- Confirm the fixture's safe mounting range, dimmer, heat, and coverage information.
- Start higher or dimmer than the final setting you hope to use.
- Use a timer and preserve a dark period.
- Change one variable at a time: height, output, or duration.
- Check the nearest, center, and farthest leaves after each change.
- Watch new growth, leaf color, curl, heat, and soil drying together.
- If leaves bleach or crisp, undo the last increase and stabilize.
- Inspect roots and substrate before blaming every yellow leaf on light.
- Keep the successful routine steady before optimizing it further.
Conclusion: let the plant set the pace
Acclimating a Monstera to a grow light is a gradual control problem, not a test of how close you can hang a lamp. Start with a gentle footprint, a shorter or dimmed light window, and a timer. Then increase one variable only after the leaves and root zone remain stable. A good transition ends with repeatable, even growth—not the brightest possible beam.
Frequently Asked Questions
Does a Monstera need to acclimate to a grow light?
It depends on the size of the change. A weak lamp may barely alter the plant's light pattern, while a strong fixture close to a dim-room Monstera can create a sudden jump. Starting higher, dimmer, or for fewer hours is a safe approach when you are unsure.
How long does Monstera grow-light acclimation take?
There is no universal number of days. A stable plant may settle into a new routine over several weeks, while a recently shipped, repotted, or root-stressed plant may need longer. Keep each setting consistent long enough to see a pattern in leaves and new growth before changing it.
Should I move the grow light closer or increase the hours first?
Use the lever that solves the actual problem. If the footprint is broad but the total daily exposure is short, adding a little runtime may help. If the light is weak across the canopy, distance or output may matter more. Change one lever and observe before changing another.
Can a Monstera get sunburn from an LED grow light?
A strong or poorly placed LED can produce light and heat stress even though it is not direct sunlight. Watch for bleached patches, crisp edges, curling, or unusual heat on lamp-facing leaves. Raise or dim the fixture and recheck the canopy rather than assuming every LED is automatically gentle.
Should I water more when I add a grow light?
Not automatically. More light can increase water use, but pot size, substrate, temperature, airflow, and roots also control drying speed. Check the mix and pot weight before watering. If the pot stays wet for much longer than expected, investigate the root zone instead of extending the lamp.
References
- University of Georgia Cooperative Extension: Growing Indoor Plants with Success — Acclimatization to indoor conditions, light history, and why gradual adjustment can reduce stress.
- University of Maryland Extension: Lighting for Indoor Plants — Dark periods, combined natural and artificial light, and symptoms of insufficient light.
- Iowa State University Extension and Outreach: How to Set Up Supplemental Lights for Indoor Plants — Consistent supplemental-light routines and monitoring growth before making adjustments.
- Iowa State University Extension and Outreach: Important Considerations for Providing Supplemental Light to Indoor Plants — How distance, intensity, duration, coverage, and heat interact.
- University of Missouri Extension: Caring for Houseplants — Gradual changes in light, leaf orientation, and risks of abrupt moves between light levels.