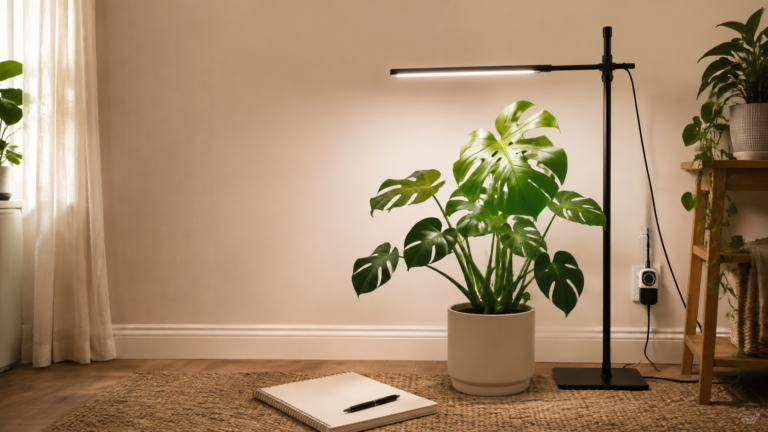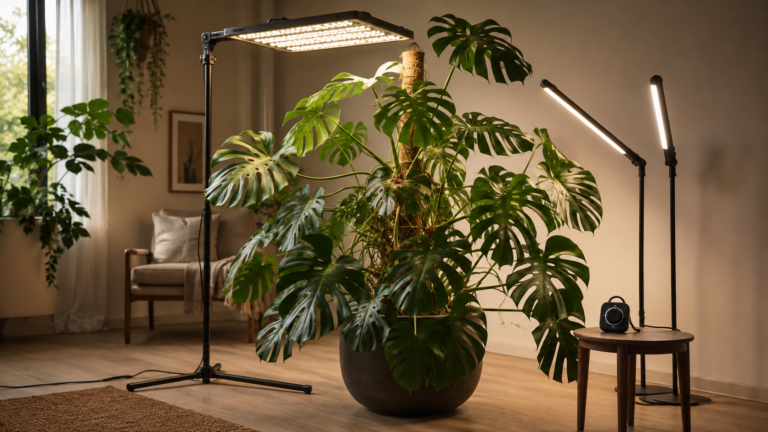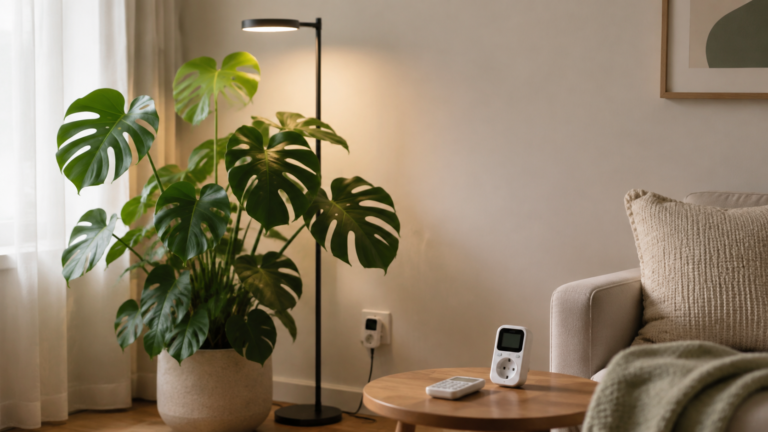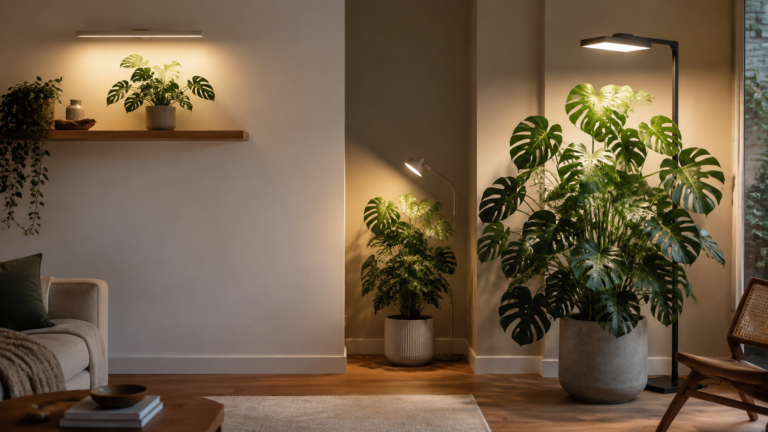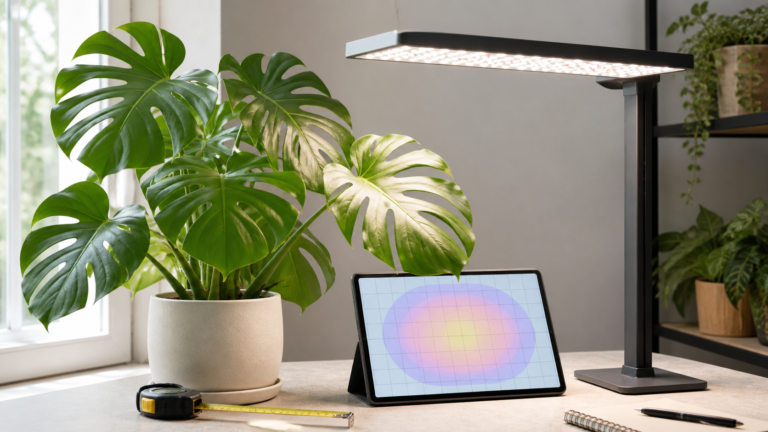
A Monstera grow light should be chosen from the fixture’s published PPFD map, then adjusted for the leaf canopy, beam footprint, and daily light period. Do not choose by wattage alone. A healthy response depends on plant maturity, support, roots, natural daylight, and temperature as well as the lamp.
A bright window does not always reach the leaves of a large Monstera, especially in winter or a deep room. A grow light gives you a controllable source of light, but it does not turn every yellow leaf, solid juvenile leaf, or slow month of growth into a lighting problem. This guide shows how to set one up without treating a single symptom as a verdict.
Table of Contents
- What a grow light can and cannot solve
- Choose the fixture from PPFD map not wattage
- Set distance and coverage before changing the timer
- Read plant signals as a group not as a single diagnosis
- What the Monstera evidence actually shows
- Keep a simple observation log
- Conclusion: Build a measurable setup then make small changes
- Frequently Asked Questions
- References
What a grow light can and cannot solve
A grow light is useful when the leaves receive too little usable light from the room, but it cannot correct compact wet substrate, weak roots, pests, or a plant that needs time and vertical support to mature. Monstera grows naturally in filtered light, while intense sun can scorch foliage, so the goal indoors is sufficient, even light rather than maximum brightness 1 2.
Start with the whole care context. If the pot stays heavy and wet, inspect drainage and roots before increasing the photoperiod. If a climbing plant has no stable support, compare a support for a climbing Monstera before assuming that light alone will change its leaf form. For watering, substrate, temperature, and routine care, use the complete indoor Monstera care guide alongside this focused setup guide.
Choose the fixture from PPFD map not wattage
The useful buying question is not “How many watts?” It is “What PPFD reaches my leaves at this distance across this area?” PPFD describes the photosynthetic photon flux density at a specific point; the fixture’s wattage only describes electrical input and cannot reliably compare light output, beam angle, or coverage between products.
Look for a white, full-spectrum LED fixture that publishes a PPFD map or a credible output chart at named hanging heights. The map should show a grid, not just a peak value in the center. Light quantity, spectrum, direction, and duration all influence plant response, which is why a single wattage or Kelvin number cannot prescribe a setup 4.
Use this decision sequence:
- Map the canopy. Note the width and height of the leaves that need light, not the pot diameter.
- Read the fixture chart. Choose the manufacturer’s distance where the chart covers the full canopy, not merely its center.
- Set a conservative starting position. A small bulb generally needs to be closer and covers less area than a bar or panel. Follow the fixture’s electrical and mounting instructions.
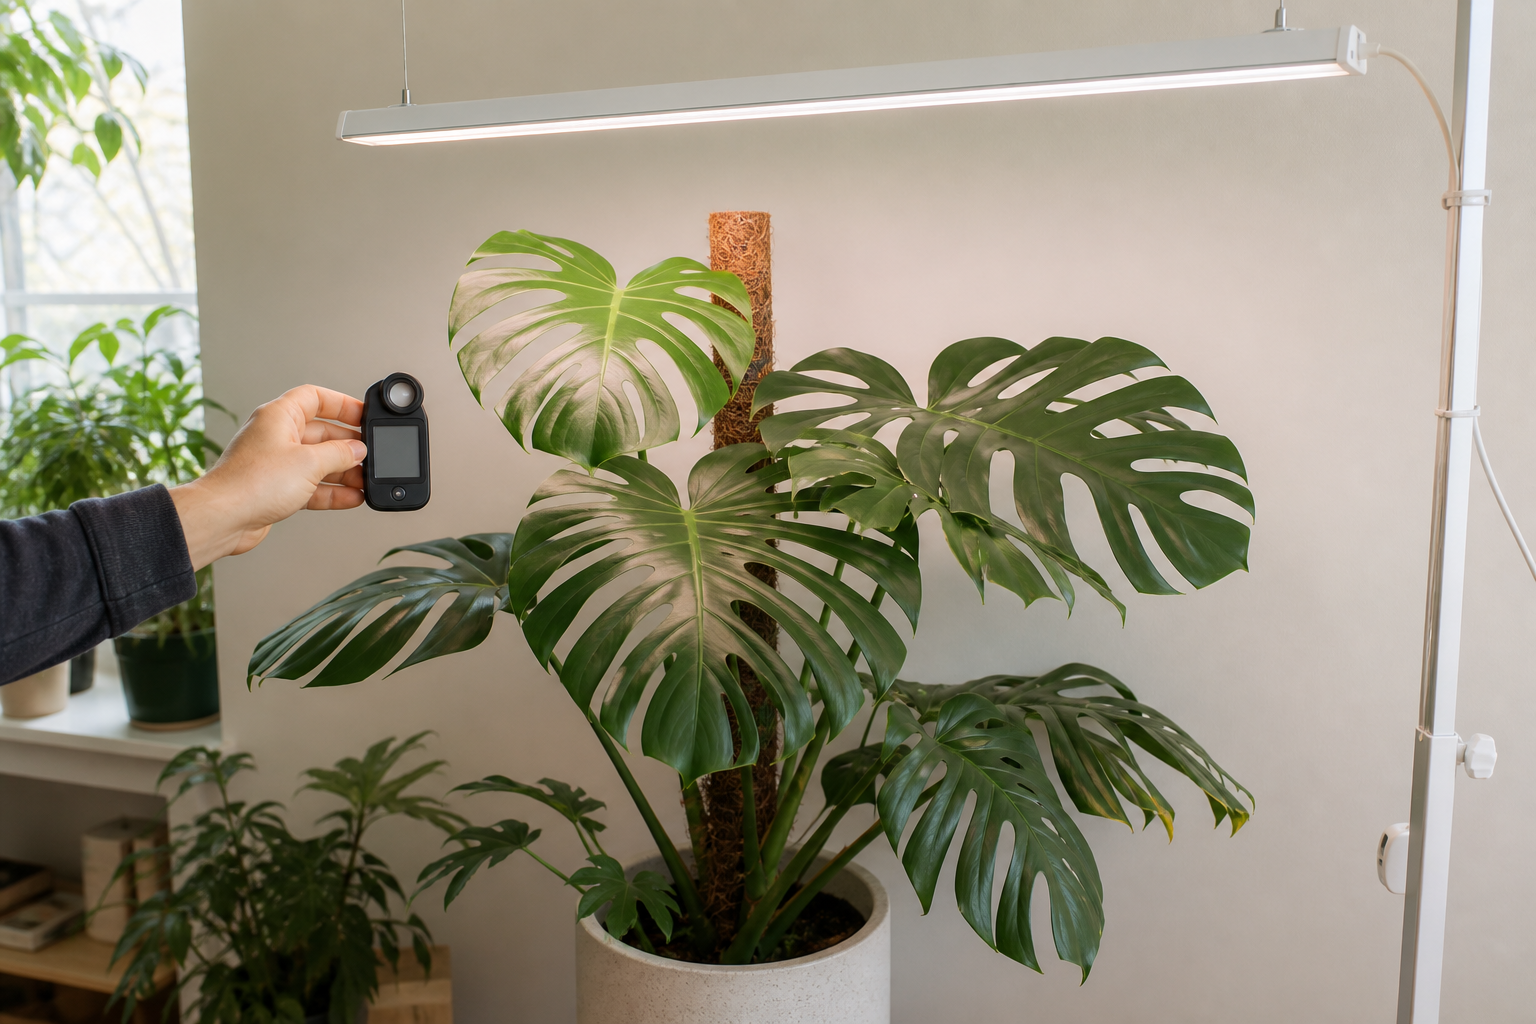
- Measure if you can. Hold a quantum/PAR meter at the upper-leaf surface in several positions. A phone app may help you compare positions, but it is not a replacement for a calibrated quantum sensor.
- Change one lever at a time. Move the lamp, dim it, or change daily hours—never all three at once.
The image above is an illustration of the measurement position, not a claim that one meter reading or fixture fits every Monstera.
Set distance and coverage before changing the timer
Distance and coverage should be set from the leaf canopy first; a longer timer does not fix a narrow beam that leaves half the plant in shade. Begin with the fixture’s published hanging range, center the strongest part of the beam over the active canopy, and recheck after a new leaf changes the plant’s height.
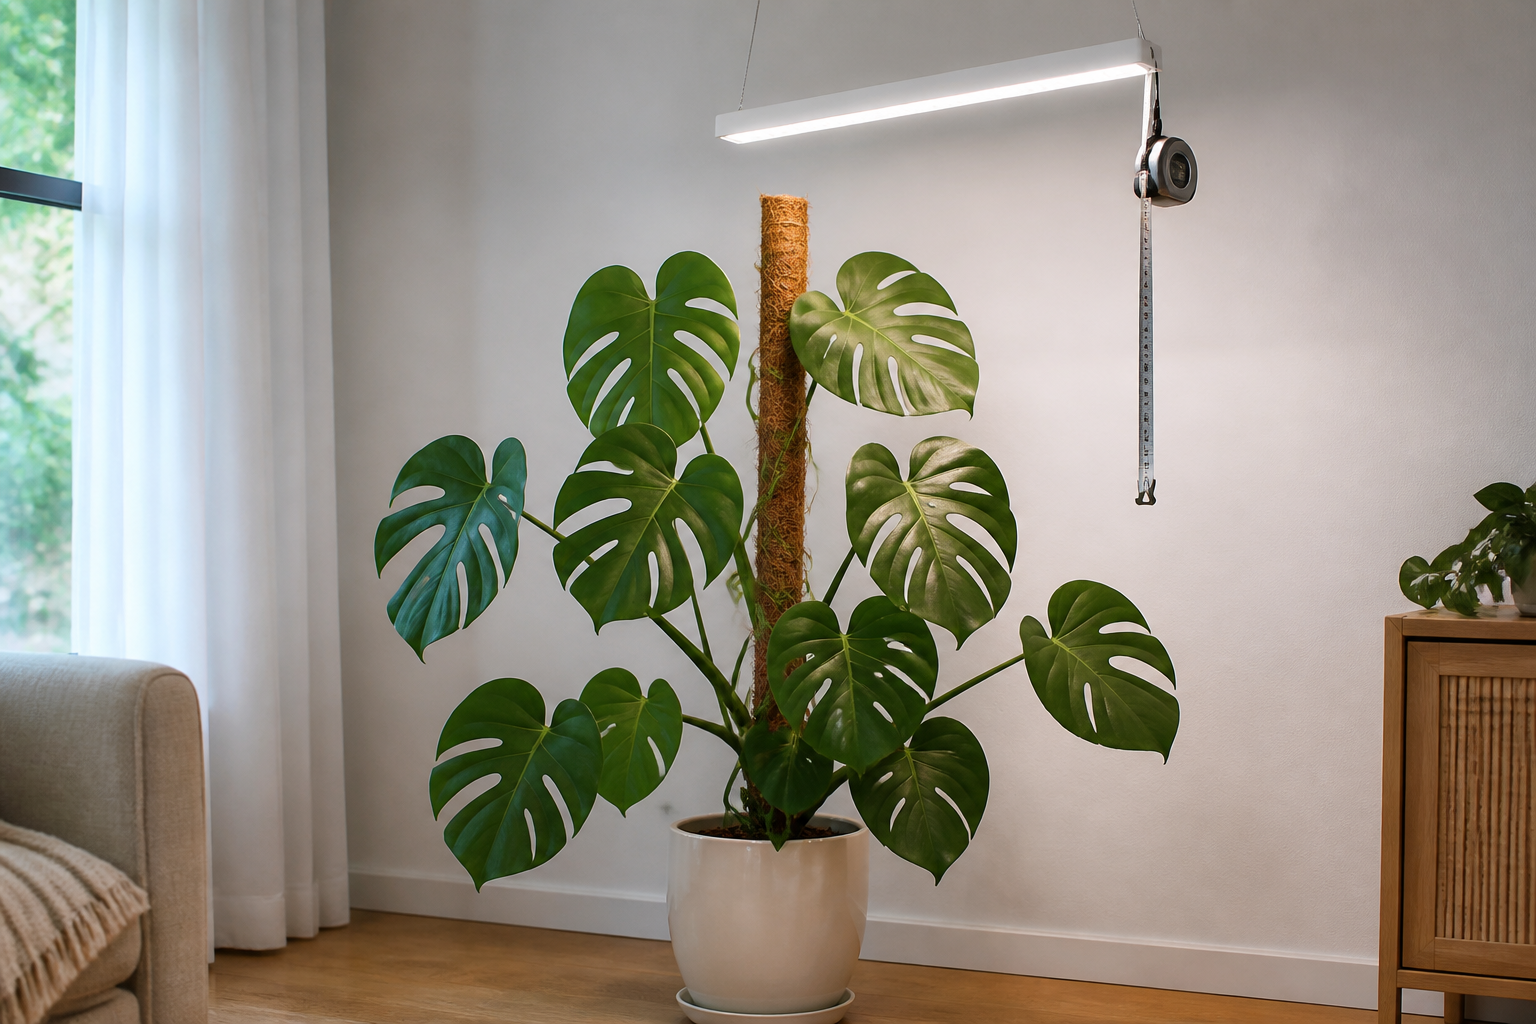
For a fixture with a dimmer, begin below maximum output when a plant is transitioning from a dim room. Increase only after a period of observation. Leave a predictable dark period and run the light on a timer; rapid changes and excessive light can both stress plant photosynthesis 4. A practical home routine is one consistent daily light window, adjusted around real daylight, rather than an all-night lamp or an arbitrary number of hours copied from another room.
When you compare positions, check three places: the leaf closest to the lamp, the center of the canopy, and the outer leaf. A setup is only as even as its dimmest important leaf. Raise, widen, or add a second fixture when a large plant has a bright center and persistently shaded edges.
Read plant signals as a group not as a single diagnosis
Solid leaves, smaller leaves, or a long internode can be compatible with low light, but they are not proof of low light. Plant age, species or cultivar, whether the stem is climbing, root health, recent repotting, temperature, and watering also change growth. RHS notes that Swiss-cheese plants commonly start to make holey leaves only after they are a few years old 1.
Use combinations of observations instead of a one-symptom rule:
| What you notice | Check before changing the lamp | A measured next step |
|---|---|---|
| New leaves are smaller, pale, and internodes lengthen | Light map, root health, season, support, and watering | Confirm canopy coverage, then make one modest light adjustment. |
| Mature leaves bleach, curl, or develop dry patches near the fixture | Distance, dimmer setting, heat, and direct window sun | Increase distance or reduce output first; reassess before changing hours. |
| Potting mix stays wet much longer than expected | Roots, drainage, temperature, pot size, and actual light | Inspect the root zone; do not solve a wet pot solely with a longer photoperiod. |
| A supported mature plant produces less fenestrated new leaves | Plant age, cultivar, support, roots, and light over the development period | Record the variables for several leaves rather than diagnosing from one leaf. |
For example, a Thai Constellation and an Albo are not interchangeable with a green Monstera deliciosa, and an unsupported juvenile cutting should not be compared with a mature climbing specimen. Pair the light review with fertilizer adjustments after light increases only when the plant is actively growing and the root zone is healthy.
What the Monstera evidence actually shows
The strongest evidence in this article is a published field observation, not a before-and-after marketing story. Díaz-Valverde, Avalos, and Quesada-Fonseca compared one mature leaf from each of 20 widely separated Monstera deliciosa plants in contrasting sun and shade environments 3.
The sun leaves had greater fenestrated area and higher stomatal density; their lobulation ratio did not differ. That is useful support for the idea that light environment relates to leaf phenotype, but it is not a home grow-light trial, does not supply a universal PPFD target, and cannot isolate light from every other field variable. The authors themselves call for longitudinal work to follow development over time 3.
That distinction matters. The previous type of “one inexpensive lamp saved one plant” story can sound persuasive, but without dated before-and-after photos, fixture model, PPFD map or measurements, plant age, support condition, root observations, and a record of other care changes, it is not original evidence. This guide does not claim such a case study.
Keep a simple observation log
A compact record turns a guess into an adjustment you can evaluate. Photograph the whole plant and the newest leaf before moving the lamp, then log the same observations weekly for at least one new-leaf cycle.
- Date, season, window exposure, and natural-light changes.
- Fixture model, dimmer setting, manufacturer hanging height, and where each leaf sits in the beam.
- PPFD readings at the top, center, and outer canopy when a quantum sensor is available.
- Plant stage, cultivar, moss-pole or other support, pot size, substrate condition, and recent repotting.
- Watering trigger, drying time, root observations when repotting, and any pest treatment.
- New leaf size, color, firmness, and fenestration pattern, recorded as observations rather than a success score.
This record prevents the most common attribution error: crediting the lamp when warmer weather, a new support, root recovery, or a change in watering was the driver. If more light makes the plant dry faster, re-evaluate watering and any fertilizer adjustments after light increases rather than increasing both automatically.
Conclusion: Build a measurable setup then make small changes
Choose a grow light from a real PPFD map, place it according to canopy distance and coverage, and give the plant a consistent light-and-dark routine. Then observe the plant as a system: leaves, support, roots, substrate, temperature, and season all matter. One measured adjustment is more useful than a powerful lamp chosen by wattage alone.
Frequently Asked Questions
Is a higher-watt grow light automatically better for Monstera?
No. Watts describe electricity consumed, not the PPFD that reaches your leaves. Compare a fixture’s PPFD map, coverage, hanging height, dimming control, and safe installation instructions before buying.
Can I diagnose low light from leaves without fenestrations?
No. Low light can contribute, but age, cultivar, climbing support, root health, and recent stress can also affect leaf development. Use several signals over time instead of treating one solid leaf as proof.
How should I measure grow-light distance for a Monstera?
Measure from the emitting surface of the fixture to the upper leaf canopy, then compare that height with the fixture’s PPFD map. Recheck as the plant climbs or produces taller leaves.
Do I need a PAR meter for a home Monstera?
No. A credible fixture PPFD map and careful observation are enough to begin. A quantum/PAR meter is useful when you want to compare positions, cover a large canopy, or document a repeatable setup.
Can a grow light fix a Monstera that is staying wet or yellowing?
Not on its own. Low light can slow water use, but root health, drainage, substrate, temperature, and watering habits also need checking. Address the root-zone cause before extending the light period.
References
[1] Royal Horticultural Society. “How to grow Swiss cheese plants.” 2026.
[2] University of Florida IFAS Extension. “Monstera Growing in the Florida Home Landscape.” 2016.
[3] Díaz-Valverde, V., Avalos, G., and Quesada-Fonseca, J. “Phenotypic differences in sun and shade leaves of Monstera deliciosa (Araceae).” *Revista de Biología Tropical*, 2025. DOI: 10.15517/rev.biol.trop..v73i1.56794.
[4] Khan, I. et al. “Adaptive responses of plants to light stress: mechanisms of photoprotection and acclimation.” *Frontiers in Plant Science*, 2025.