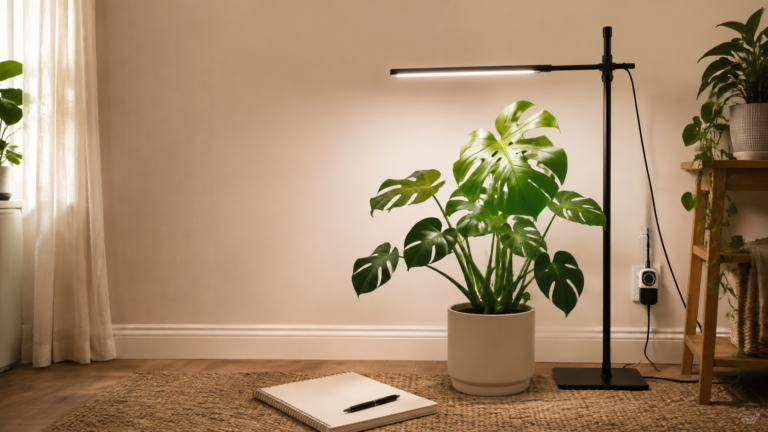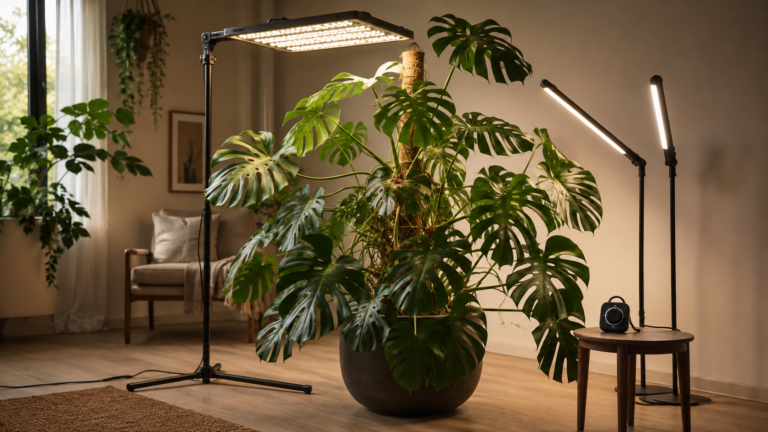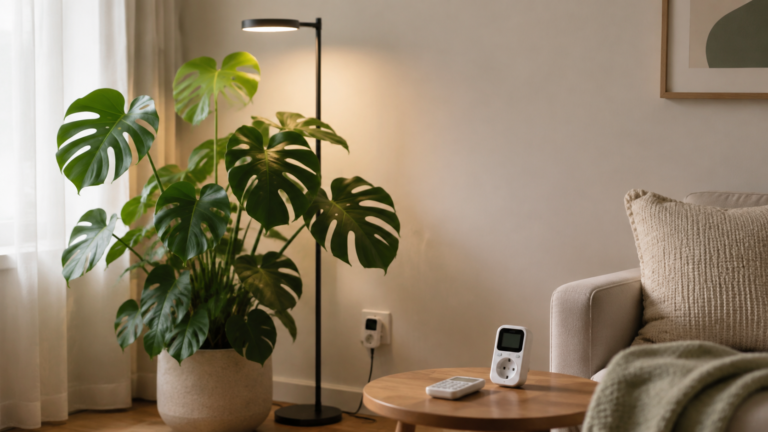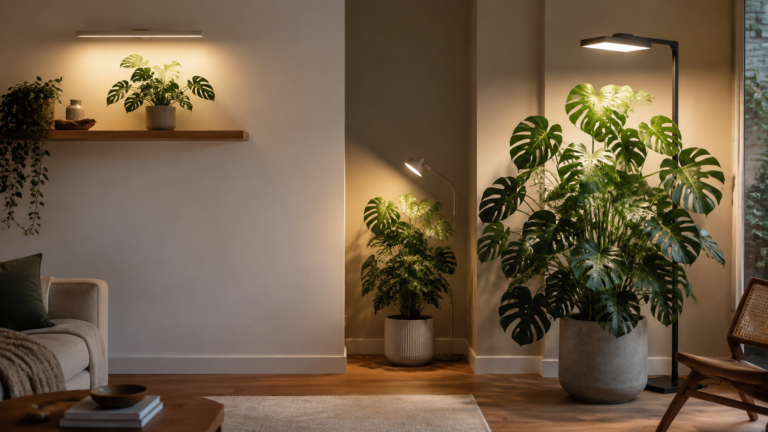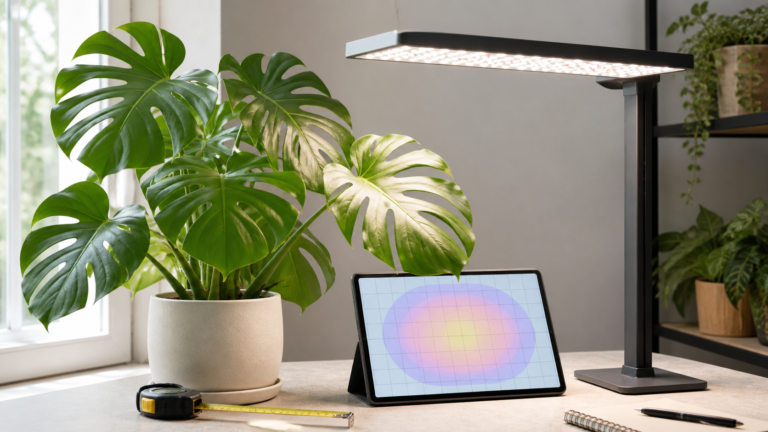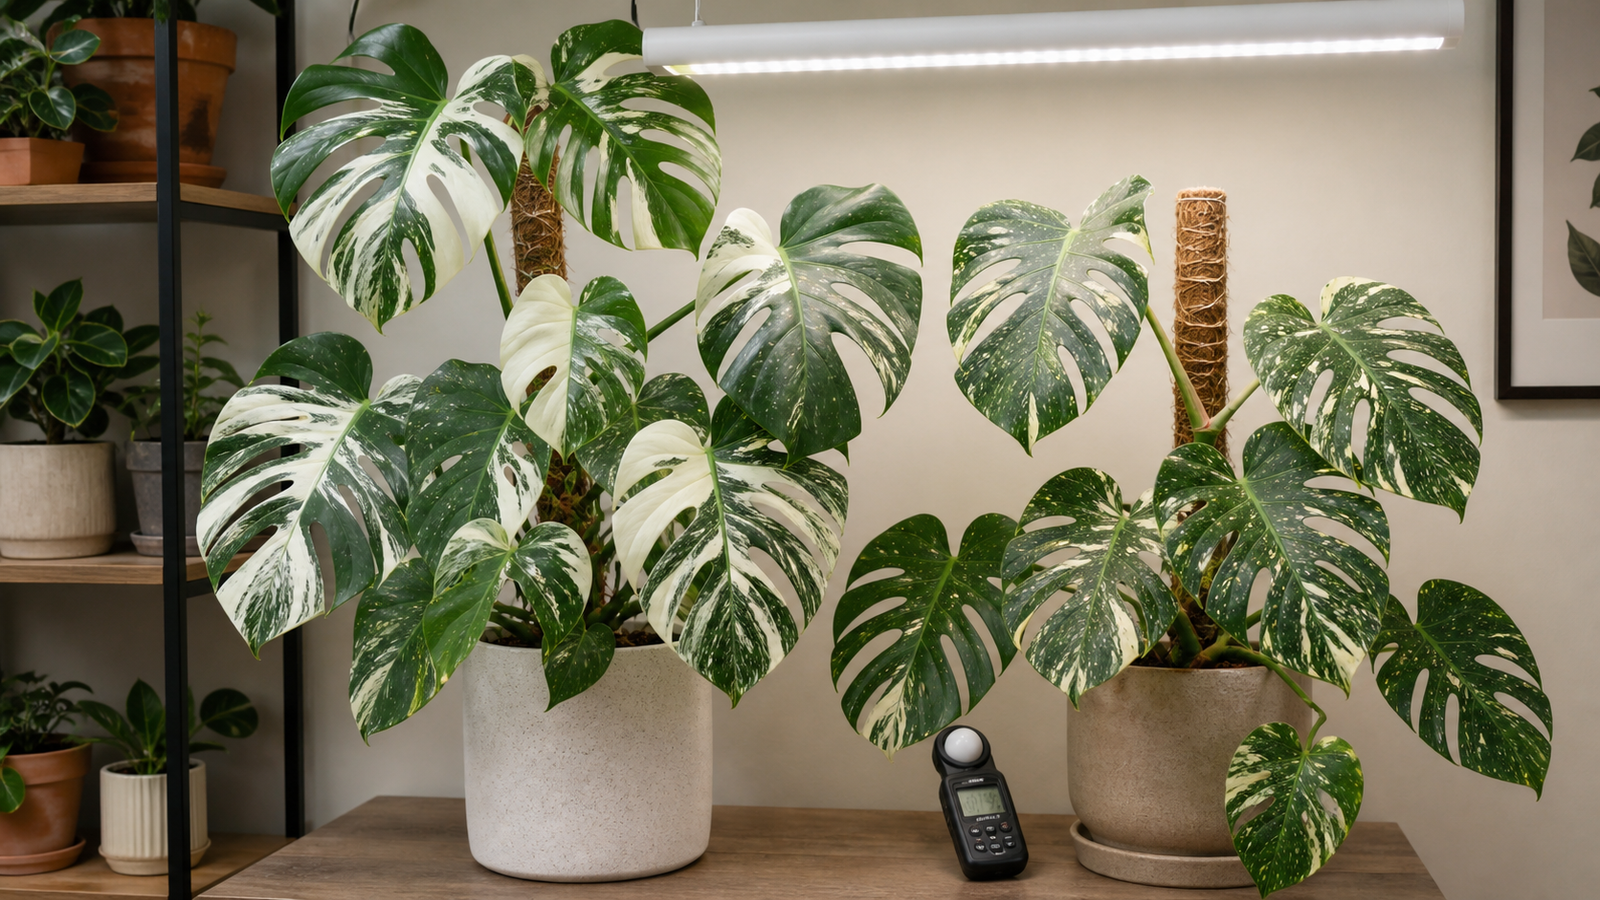
For a variegated Monstera, set a grow light from the fixture’s PPFD map, then start below full output and acclimate the canopy gradually. Albo’s large white sectors and Thai Constellation’s cream speckles contain less chlorophyll than green tissue, so watch pale areas, leaf temperature, and new growth before moving the light closer.
Variegation makes the light decision more nuanced, not mysterious. A green Monstera leaf has a broad photosynthetic surface; a variegated leaf has green and pale areas sharing the same petiole, and those areas may not respond to intensity in the same way. The safest setup gives you a repeatable light footprint and a way to notice stress early.
Table of Contents
- Why variegated Monstera needs a different light conversation
- Albo vs Thai Constellation: what actually changes
- Start with fixture coverage, not a copied distance
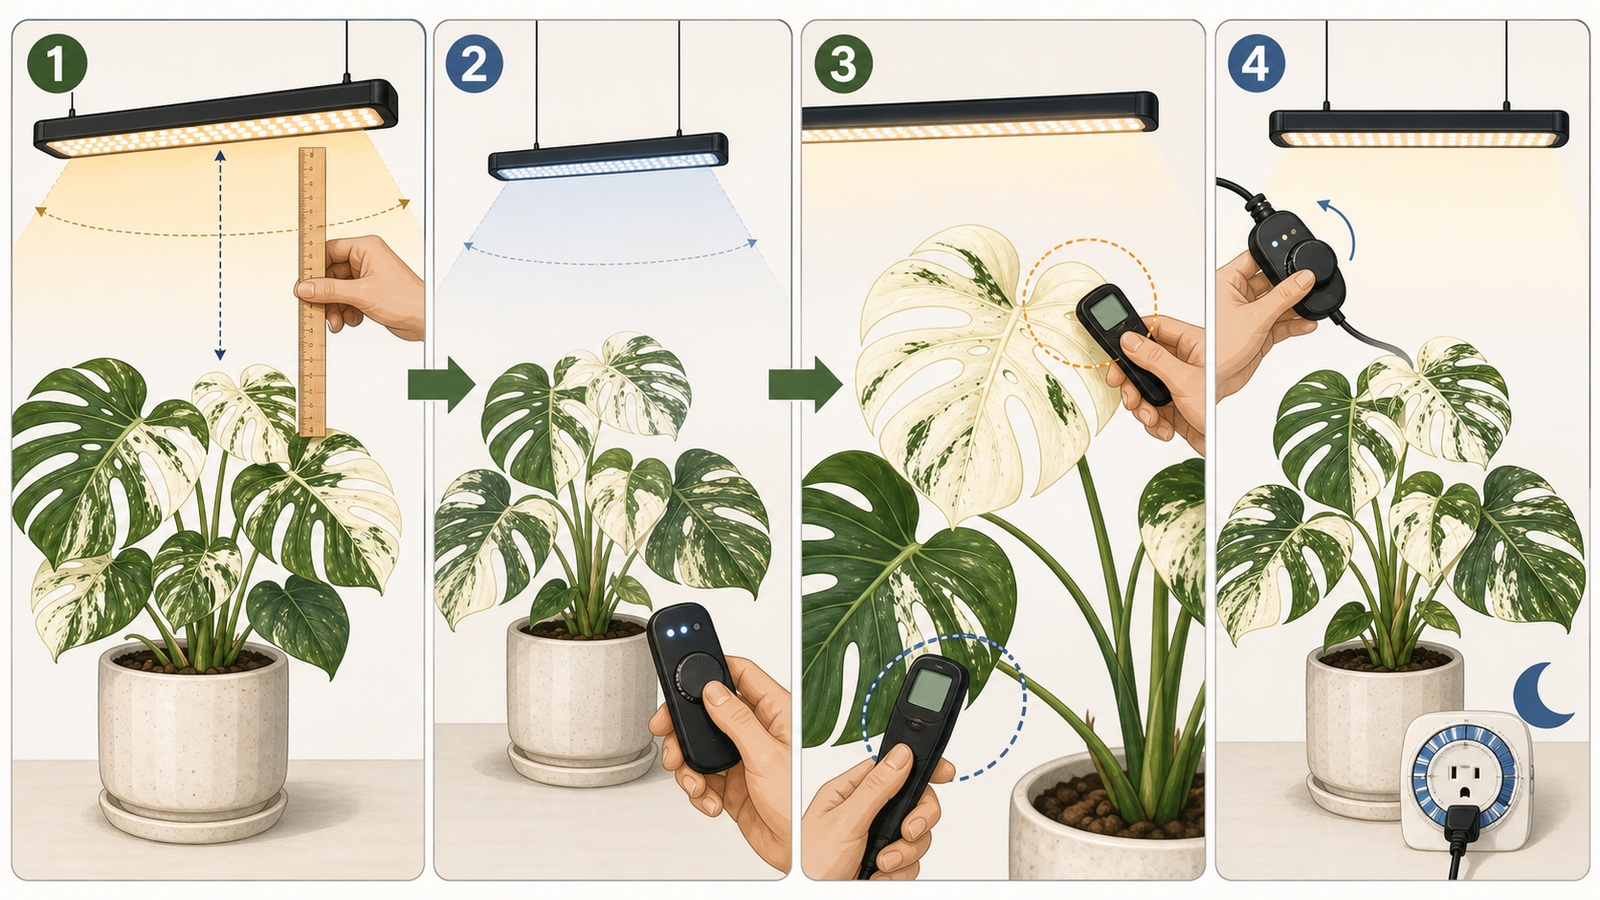
- Set up a variegated Monstera grow light step by step
- A sample acclimation schedule for Albo and Thai
- Read pale-leaf stress without mistaking variegation for damage
- Avoid the more-light-means-more-water-and-fertilizer trap
- Keep the canopy stable so coverage stays measurable
- Adjust the setup for windows, shelves, and changing seasons
- Troubleshooting table: symptom, check, and next move
- Conclusion: protect pale tissue while you measure
- Frequently Asked Questions
- References
Why variegated Monstera needs a different light conversation
Variegated Monstera cultivars often need brighter usable light than a darker green plant to support comparable growth, but they still need gradual acclimation. North Carolina Cooperative Extension specifically notes that variegated cultivars need more sunlight than darker green Monstera cultivars 1. That is a useful direction, not a universal PPFD prescription.
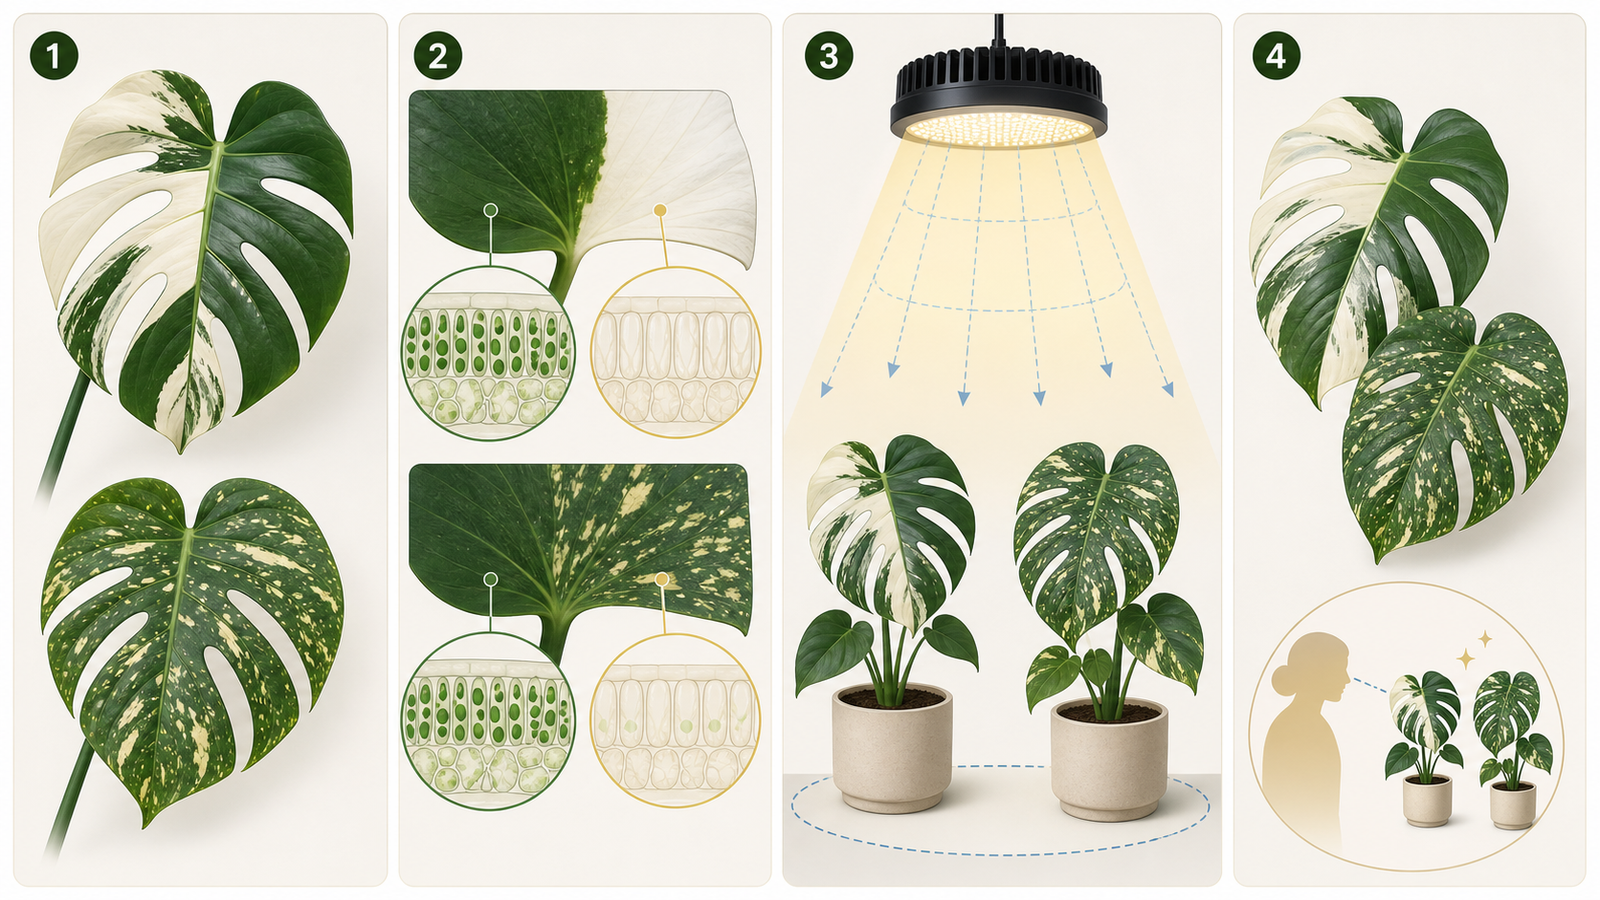
The reason is tissue-level, not a special “Albo setting.” Plant tissue is green because it contains chlorophyll; North Dakota State University Extension explains that white leaf tissue does not produce food for the plant 3. A leaf with a large white sector therefore has less photosynthetic area than a similarly sized all-green leaf. More usable light can help the green area work efficiently, but adding intensity cannot make white tissue photosynthesize.
Pale tissue can also make stress easier to see. A hot spot may leave tan, crisp, or papery marks on a cream or white section before the green portion looks obviously damaged. Conversely, a shaded lower canopy may stretch while the top leaf looks bright. Treat the entire plant as a system: fixture map, beam spread, leaf temperature, roots, substrate, support, and season all belong in the diagnosis.
The practical rule is simple: give the plant enough even light to keep new growth moving, then let the most exposed pale section set the speed of your next adjustment. Do not chase a target number copied from a different fixture, room, or cultivar.
Albo vs Thai Constellation: what actually changes
Albo and Thai Constellation both benefit from bright, filtered or measured supplemental light, but their visible variegation patterns change how you inspect the canopy. The pattern is a reason to monitor different places on the leaf, not proof that one cultivar can tolerate any fixed distance.
| Cultivar or pattern | What you can see | Setup implication | Early checkpoint |
|---|---|---|---|
| Monstera Albo | Irregular sectoral white or cream blocks, sometimes concentrated on one side of a leaf | A single leaf can contain a very bright green zone and a highly exposed pale zone; prioritize even coverage and inspect the largest pale patch | Look for warmth, tan edges, or crisp texture on the pale sector closest to the fixture |
| Thai Constellation | Cream or yellow flecks and marbling distributed through green tissue | The visual pattern may be more evenly distributed, but a broad beam is still safer than a narrow hot spot on the upper leaves | Compare the whole canopy, especially new speckles and the leaf edge facing the lamp |
| Either cultivar with a mostly green new leaf | A new leaf with less visible variegation than older leaves | Do not immediately increase intensity to “make” variegation return; confirm the plant’s light history, node pattern, and growth over several leaves | Track dated photos and check whether the plant is otherwise growing firmly and evenly |
| Either cultivar with large pale sections | Less chlorophyll in the visible leaf area | Avoid using fertilizer or longer hours as a substitute for healthy roots and a well-covered canopy | Check root-zone drainage, leaf firmness, temperature, and the dimmest important leaf |
Variegation can be chimeral and unstable, so a lamp cannot guarantee a particular pattern on the next leaf. Your controllable variables are coverage, intensity, duration, heat, and acclimation. The plant’s genetics still influence where green and pale tissue appear.
Start with fixture coverage, not a copied distance
Start with the fixture’s published PPFD map and hanging range, measuring from the light-emitting surface to the upper leaf canopy. A number such as 12–24 inches can be an initial reference when a product provides no better guidance, but it is not a rule for every LED, dimmer, room, or variegated Monstera.
The Monstera grow-light guide explains why wattage alone is a poor comparison. Two fixtures that consume the same electricity can have different beam angles, output, and coverage. For a variegated plant, the edge of the footprint matters because one bright center and several shaded leaves can produce uneven growth.
Use this order when choosing a position:
- Map the active canopy. Measure the height and width of the leaves you want to develop. Include the newest unfurling leaf, not only the current tallest leaf.
- Read the manufacturer chart. Choose the distance where the chart covers the full canopy, not just its center. If the light has a dimmer, use the lower-output end while the plant is transitioning.
- Place the fixture for evenness. Center the useful footprint over the plant, then check the leaf nearest the lamp, the center leaf, and the outer leaf. A bar or wider panel may be more useful than a stronger point source.
- Measure if practical. A calibrated quantum/PAR meter can compare the green and pale portions of the canopy, but a phone app is only a rough comparison tool. It cannot replace the fixture’s chart or plant observation.
- Keep a dark period. Use a timer and follow the fixture’s safety instructions. Supplemental light should be repeatable, not an all-night emergency response to one pale leaf.
When the plant is tall, measure from the emitting surface to the leaf rather than from the pot rim. As the stem climbs, the upper Albo or Thai leaf may move closer to the diode while lower leaves fall out of the useful footprint.
Set up a variegated Monstera grow light step by step
Set up the light in a way that lets you change one variable and read the response. Iowa State Extension recommends starting with a general supplemental-light arrangement, observing the plant for several weeks, and adjusting from the response rather than making many changes at once 4.
1. Record a baseline
Take a whole-plant photo and a close photo of the newest leaf. Note the cultivar, leaf position, current window exposure, fixture model, timer hours, pot size, substrate, and any recent repotting. Record whether the pale section is firm and matte, glossy, warm, or already dry at the edge.
2. Check the root zone before adding intensity
If the pot is staying wet, smells sour, or has soft brown roots, solve the root-zone problem first. More light cannot repair damaged roots. Use the complete indoor Monstera care guide to review drainage, substrate structure, temperature, humidity, and watering together.
3. Install the fixture safely
Follow the manufacturer’s mounting, clearance, and electrical instructions. Keep power connections away from watering runoff, support the fixture independently of a plant stake, and make sure a heavy climbing canopy cannot pull a lamp into the pot. For a wall or shelf setup, leave enough access to inspect the back and underside of leaves.
4. Begin at the conservative end of the map
Use the farther end of the published hanging range or a lower dimmer setting when available. Keep the daily window consistent for the first several days. If the plant also receives window light, count that daylight as part of the exposure instead of automatically adding a full artificial-light schedule on top.
5. Check three leaves and one room variable
After the light has run, feel the leaf closest to the fixture and compare it with the outer leaf. A leaf that feels noticeably hot, curls toward the lamp, or develops a dry patch deserves a distance or output adjustment. Also note room temperature and airflow; a fan or heater can change leaf drying independently of light.
6. Adjust only one lever
Move the fixture, change dimmer output, or change daily hours—never all three together. Wait long enough to see a repeatable response. A firm, expanding new leaf and stable pale tissue support the current setting; new scorch marks, sudden curl, or stalled unfurling call for a gentler setting.
A sample acclimation schedule for Albo and Thai
The following is an example decision plan, not a cultivar-specific prescription. It assumes a healthy, rooted plant and a fixture with a published hanging range or dimmer. If the manufacturer gives a stricter limit, follow that limit.
| Stage | What stays steady | What to do | Albo checkpoint | Thai Constellation checkpoint |
|---|---|---|---|---|
| Baseline, 2–3 days | Existing water, pot, window, and support | Photograph the canopy and identify the leaf closest to the future beam | Mark the largest continuous white sector | Mark the uppermost cream-speckled leaf |
| Days 1–5 | Same timer and watering trigger | Use the lower-output or farther-distance end of the manufacturer range | Check the pale sector for heat or dry texture each day | Check the full leaf edge and any pale marbling facing the lamp |
| Days 6–12 | Same fixture position | If leaves remain cool and firm, make one small increase in output or one modest change in distance | Hold longer if a large white block is directly in the hot spot | Advance only if the entire canopy, not just the center, looks stable |
| Days 13–21 | Same light window | Keep the setting and observe at least one new-leaf change | Watch the next unfurling leaf and the lower shaded leaves | Compare new speckling with dated photos; do not chase pattern with intensity |
| After 3 weeks | One variable at a time | Keep, reverse, or refine the single change based on repeated observations | If pale tissue is stressed, raise or dim before adding hours | If growth is weak but tissue is cool, check coverage and roots before feeding |
The example deliberately slows down at the pale-tissue checkpoint. A Thai Constellation may appear visually even because cream flecks are distributed across the leaf, while an Albo can put a broad white block directly under the strongest part of the beam. That difference changes what you inspect; it does not justify a universal “Thai closer, Albo farther” rule.
Read pale-leaf stress without mistaking variegation for damage
Pale tissue is normal when the cultivar’s pattern is stable; pale tissue that suddenly turns tan, crisp, translucent, or papery is a stress clue. University of Connecticut guidance warns that Monstera’s large leaves burn easily during acclimation to new light levels 2.
Use the pattern, location, and timing together:
- Stress appears on the side facing the fixture. Suspect intensity or heat before thirst. Raise the light or reduce output, and keep the watering trigger unchanged while you observe.
- The newest leaf is soft, stuck, or unrolling unevenly. Check temperature, roots, humidity, support, and recent changes. Do not assume that a stronger lamp will finish the unfurling.
- Green edges stretch while the top leaf is bright. The beam may be narrow or the lower canopy may be shaded. Improve coverage before extending hours.
- A pale section stays firm and its color matches older leaves. It is probably normal variegation. Record it, but do not treat it as a deficiency.
- Small dots, webbing, or stippling appear across green and pale areas. Inspect for pests; a light adjustment will not solve an infestation.
The most reliable comparison is a series of dated photos, not one dramatic leaf. A new leaf can naturally show a different pattern, and chimeral variegation can shift even when the environment is steady. Your goal is healthy, firm growth with an even light footprint—not a forced color ratio.
Avoid the more-light-means-more-water-and-fertilizer trap
More usable light can increase photosynthesis and drying speed, but it does not create a new watering calendar or make fertilizer automatically safe. Check the root zone and active growth before changing either input.
When the light is brighter, monitor:
- Substrate moisture at a consistent depth. Water thoroughly when the mix reaches your established dry point, then let excess drain. Do not water daily because the timer runs daily.
- Pot weight and drainage speed. A pot that becomes lighter sooner may show increased water use; a pot that stays heavy may point to cool conditions, compact mix, poor drainage, or weak roots.
- New growth, not just old color. Feed only when the plant is actively growing and the roots are healthy. University of Connecticut notes that Monstera can burn from high soil salts even though it tolerates regular fertilization during active growth 2.
- The label and the medium. Use the fertilizer label dilution, avoid stacking multiple products, and pause if white crust or brown tips appear. Flush with plain water only when the container drains freely.
White tissue cannot be “fed green.” Extra fertilizer will not add chlorophyll to a pale sector, and excess salts can damage the green roots that support the whole leaf. If growth is slow, check light coverage, roots, support, temperature, pests, and plant stage before increasing nutrients.
Keep the canopy stable so coverage stays measurable
A stable climbing stem makes a light setup easier to read because the leaves do not swing between a hot spot and deep shade. Support is not a substitute for light, but it can keep the active canopy in the footprint you measured.
Train the stem gradually rather than forcing a petiole into one position. Leave aerial roots room to contact a support, keep ties loose enough for expansion, and recheck the top leaf whenever the plant gains height. If a tall plant keeps leaning out of the beam, a wider fixture or a carefully positioned side light may improve coverage more than adding hours.
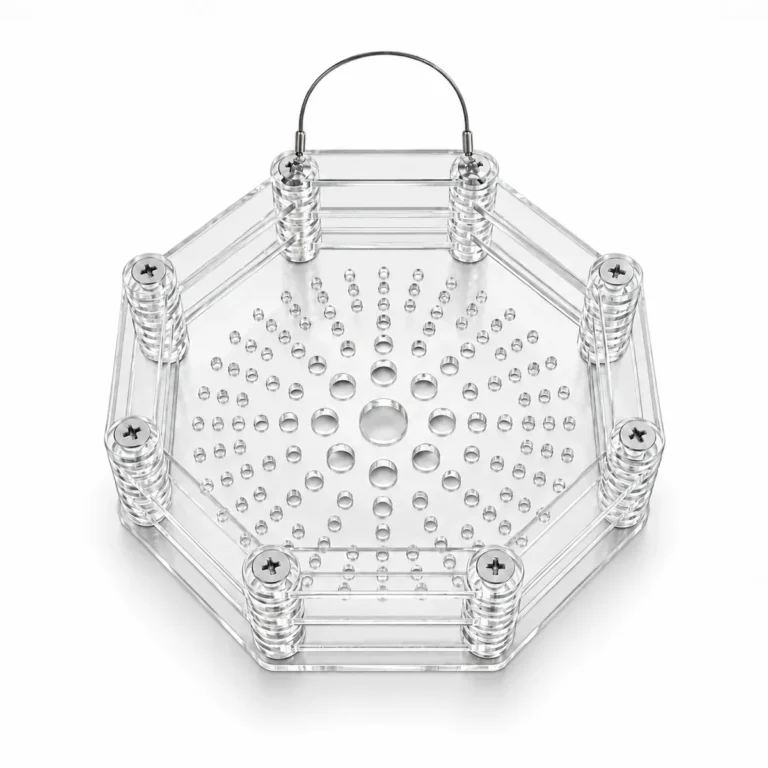
If a climbing support would help your plant stay in a repeatable light zone, the modular moss pole for climbing Monstera is one option to compare. Its open structure is designed for airflow and aerial-root grip, but it still needs stable potting, suitable moisture, and safe anchoring. Choose support for the plant’s physical need first; treat even light as the resulting measurement benefit.
Adjust the setup for windows, shelves, and changing seasons
The same Albo or Thai Constellation may need a different light position after moving rooms. University of Minnesota Extension lists Monstera among medium-light foliage plants and notes that brighter areas can be warmer and dry faster, so plants near stronger light should be checked more frequently 5.
| Home setup | What changes | Practical adjustment |
|---|---|---|
| Bright south- or west-facing window plus LED | Natural light may add a strong midday peak and heat | Shorten or dim the supplemental window before moving the lamp closer; use a sheer curtain if direct sun scorches |
| Dim north-facing window or deep room | The lamp may provide most of the usable light | Prioritize full-canopy coverage and a repeatable timer; watch the outer leaves for stretching |
| Narrow shelf with a point-source bulb | The center leaf receives much more light than the edges | Move the plant or use a wider beam; do not solve a coverage problem only by increasing hours |
| Tall plant on a moss pole | Upper leaves can approach the fixture while lower leaves fall into shade | Measure the upper and lower canopy separately and raise, widen, or add side coverage safely |
| Cool, humid room in winter | Drying may slow even though the timer is unchanged | Check the mix and pot weight more often, but do not add water or fertilizer until the root-zone signal and growth agree |
Make seasonal changes gradually. A cloudy week can justify closer observation, not an immediate maximum-output setting. When the room warms or a new leaf rises toward the fixture, reassess the distance and leaf temperature before changing the timer.
Troubleshooting table: symptom, check, and next move
Use this table to choose the smallest useful next step. More than one cause can be present, especially after a move or repot.
| Symptom | Check first | Low-risk next move |
|---|---|---|
| White or cream patch develops a crisp tan edge near the lamp | Fixture distance, dimmer, leaf temperature, direct window sun | Raise or dim the fixture; leave watering and fertilizer unchanged while the tissue stabilizes |
| Plant stretches even though the center leaf is bright | Beam footprint, outer leaves, support angle | Widen or reposition coverage; keep a stable support and compare the dimmest important leaf |
| A new leaf is mostly green | Node history, cultivar pattern, light consistency, plant stress | Photograph several leaves over time; do not increase intensity solely to force variegation |
| Pot stays wet after the light is added | Drainage, substrate, root health, temperature, actual leaf exposure | Inspect the root zone and container before extending hours or watering again |
| Brown tips appear after starting fertilizer | Dose, salts, dry-root feeding, runoff, water quality | Pause fertilizer, water with plain water if drainage is good, and wait for healthy new growth |
| Pale leaf remains cool, firm, and unchanged | Normal variegation versus an old injury | Keep the setting steady and monitor the next leaf instead of chasing a color change |
| Leaves curl or bleach on the upper surface | Heat, intensity, fixture clearance, airflow | Increase distance or reduce output, then reassess before increasing humidity or water |
For a second opinion on whether the symptom is light-related, use the Monstera light requirements guide. It separates low-light patterns from root, support, and acclimation issues so one unusual leaf does not dictate the entire setup.
Conclusion: protect pale tissue while you measure
A successful variegated Monstera grow-light setup is an even, repeatable footprint that the plant can acclimate to. Albo’s sectoral white areas and Thai Constellation’s cream marbling change where you look first, but neither cultivar has a universal lamp distance. Start from the manufacturer’s map, use the conservative end, keep a dark period, and change one variable at a time.
Record the newest leaf, the nearest pale section, pot moisture, room conditions, and fixture position. If the canopy stays firm and new growth progresses, keep the setting. If pale tissue scorches or the pot remains wet, diagnose heat, coverage, roots, and drainage before adding more light, water, or fertilizer.
Frequently Asked Questions
Do Albo Monsteras need stronger grow lights than Thai Constellations?
Not as a fixed rule. Both have less chlorophyll in pale tissue than a green Monstera, and both benefit from bright, even light. Albo’s large sectoral patches may make hot spots easier to notice, while Thai’s distributed speckles may look more even. Use the fixture map and the plant’s response rather than a cultivar-only distance.
Can a grow light make a variegated Monstera more white?
No lamp can guarantee a particular variegation pattern. Light supports the green tissue that powers growth, but chimeral patterning and node history influence whether a new leaf is green, cream, or sectoral. Keep dated photos and evaluate several leaves before changing intensity.
How close should a grow light be to an Albo Monstera?
Start with the manufacturer’s hanging range and PPFD map, measured from the emitting surface to the upper leaf. If no chart exists, a broad 12–24 inch starting reference is only a temporary point for observation. Adjust for fixture type, dimming, beam width, window light, and pale-leaf heat.
Should I use a dimmer when acclimating a Thai Constellation?
A dimmer can make gradual changes easier, but it is not required. You can also begin at the farther end of the manufacturer’s distance range. Change output or distance—not both at once—and wait for cool, firm leaves and steady new growth before making another adjustment.
Why is my variegated Monstera’s soil still wet under a grow light?
The plant may not be receiving enough usable light across the canopy, or roots, substrate, temperature, pot size, and drainage may be limiting water use. Inspect the root zone and pot weight before increasing light hours or adding water. A wet pot is not proof that the plant needs more fertilizer.
Should I fertilize more because pale tissue has less chlorophyll?
No. Pale tissue cannot be turned green with extra fertilizer. Feed only during active growth, use the product label dilution, and stop if salt crust or brown tips appear. Healthy roots, adequate green tissue, stable light, and appropriate support matter more than matching fertilizer to the amount of white on a leaf.
References
- North Carolina Cooperative Extension: Monstera deliciosa (Ceriman, Cutleaf Philodendron, Hurricane Plant) — Variegated cultivars need more sunlight than darker green cultivars; general light and watering context. 2026.
- University of Connecticut Home & Garden Education Center: Monstera deliciosa — Acclimation, leaf-burn risk, active-growth feeding, and salt sensitivity. 2020.
- North Dakota State University Extension: Plant variegation — Chlorophyll, variegated tissue, and why white tissue does not produce food. 2025.
- Iowa State University Extension and Outreach: How to Set Up Supplemental Lights for Indoor Plants — Starting position, observation period, coverage, timers, and incremental adjustments. 2026.
- University of Minnesota Extension: Lighting for Indoor Plants and Starting Seeds — Monstera’s medium-light category and faster drying in brighter, warmer areas. 2026.