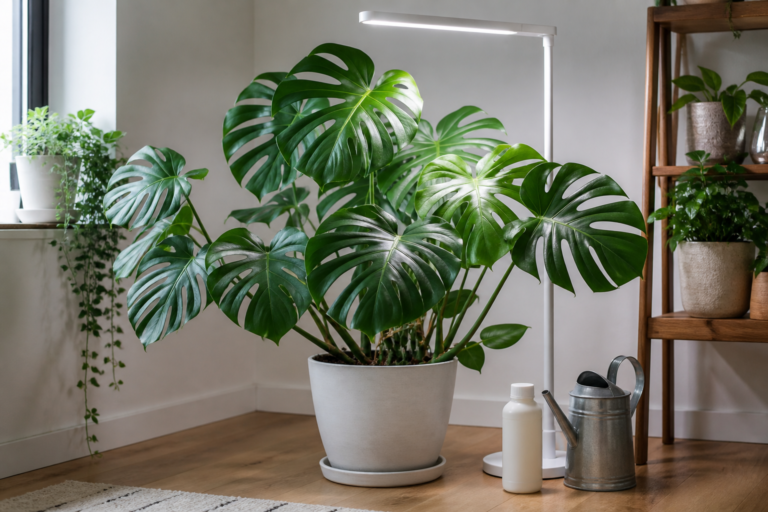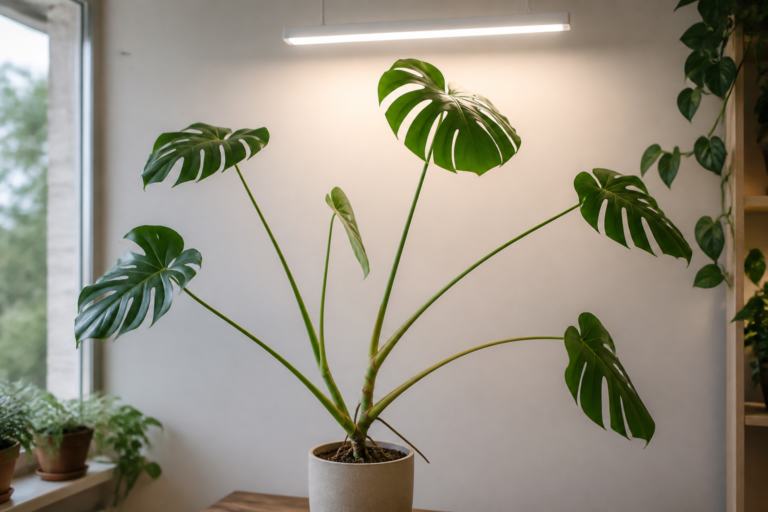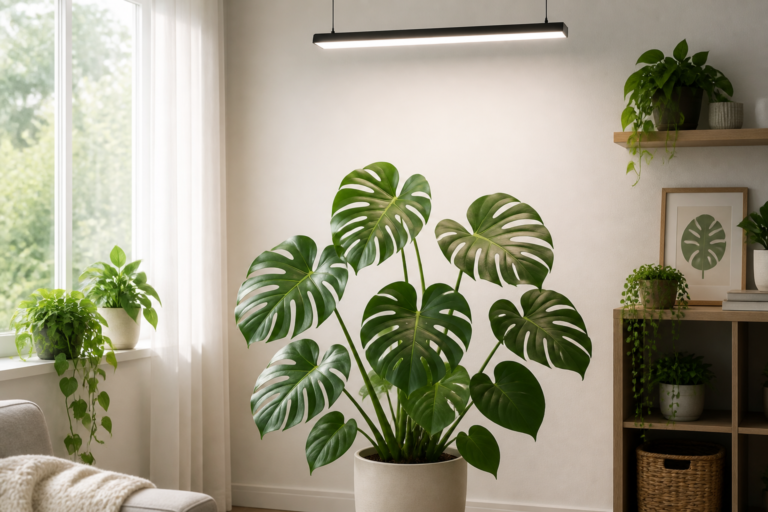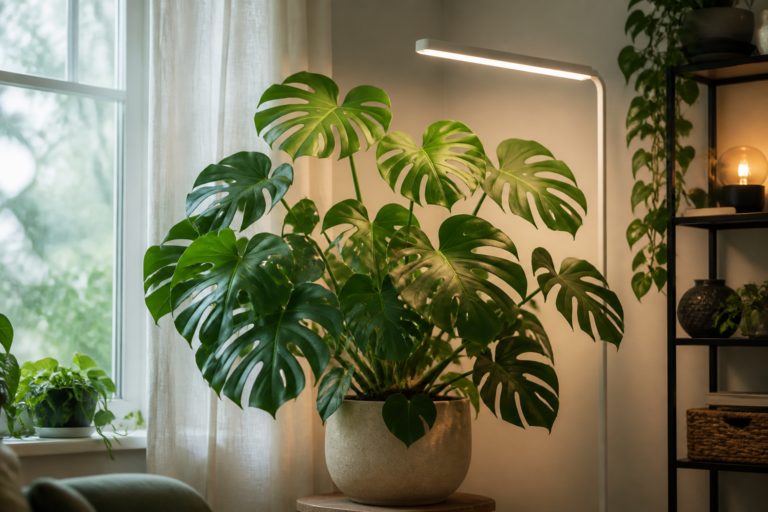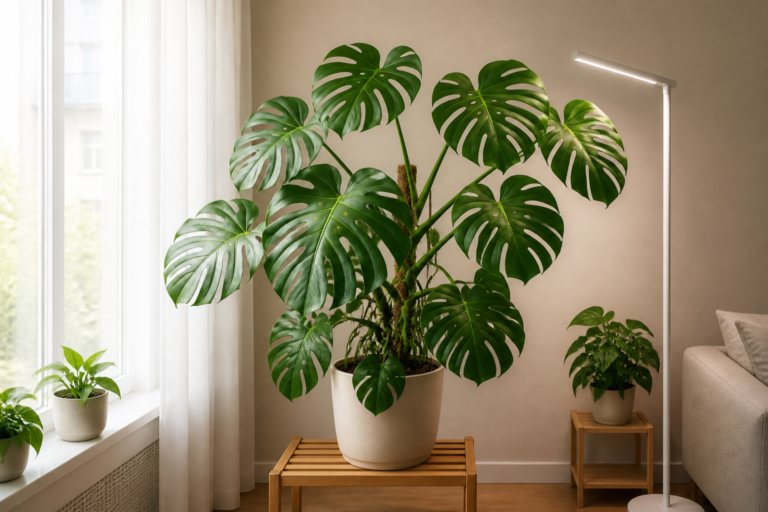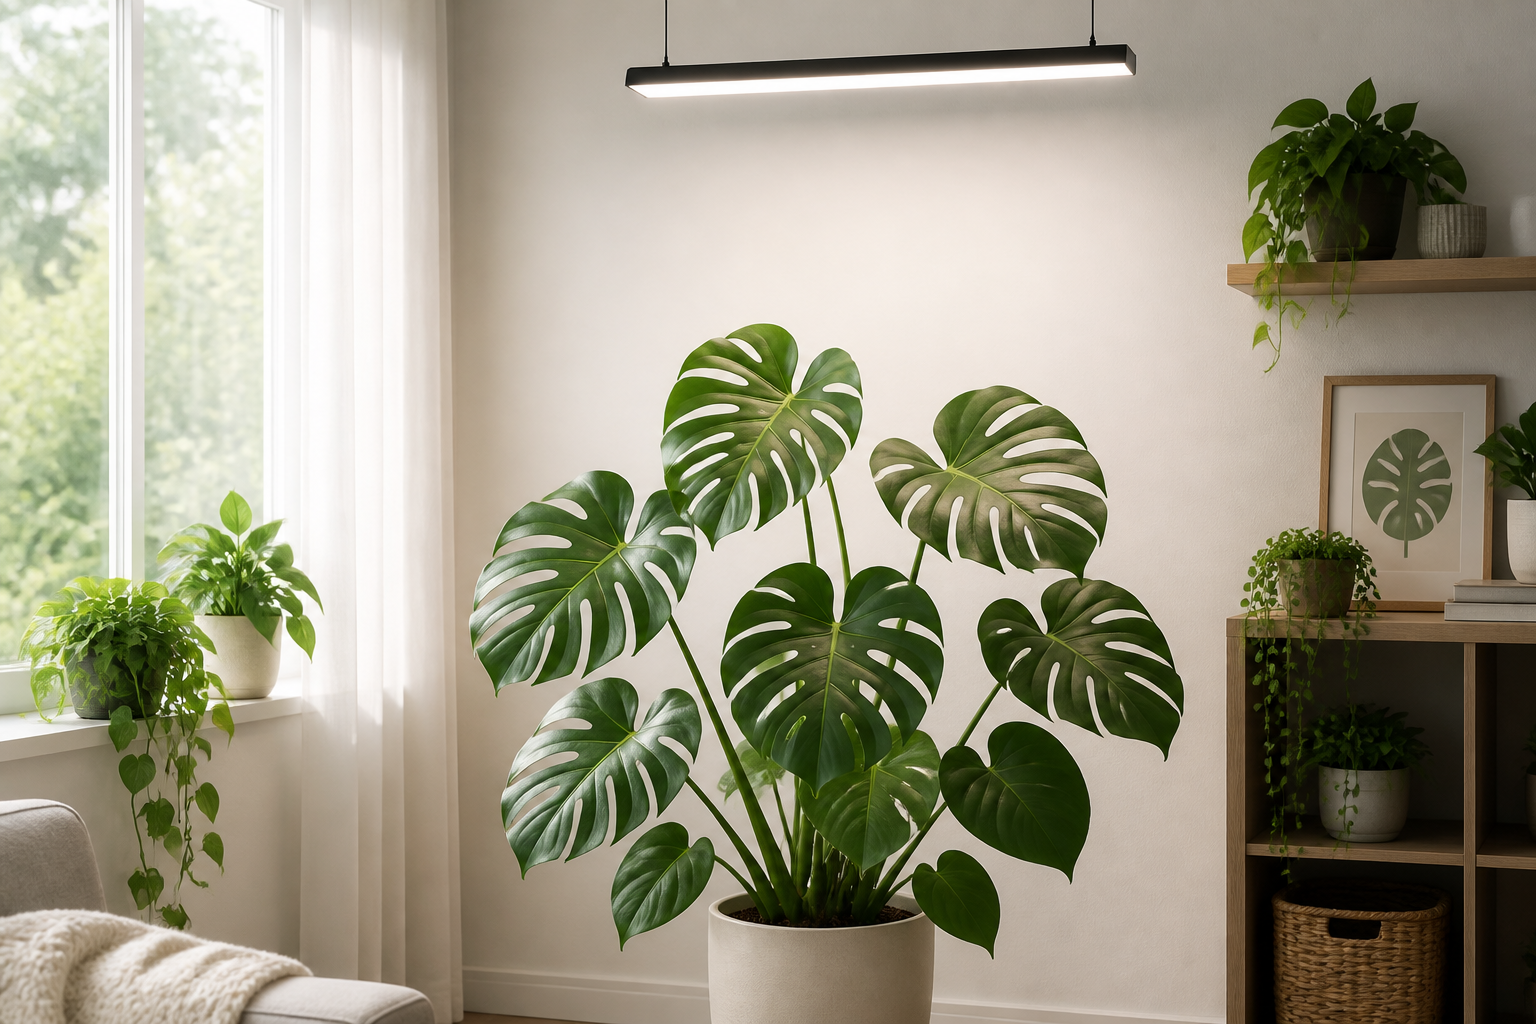
If you are asking how far should a grow light be from a Monstera, do not start with a universal inch mark. Start with the fixture’s output and coverage map, measure from the leaves—not the pot—and look for a comfortable canopy without bleached patches, crisp edges, heat, or a narrow bright spot. The safest distance is the one your plant and lamp can repeat.
A lamp can be too close even when it looks attractive above the plant. Distance changes the light intensity at the leaf, the size of the illuminated footprint, and sometimes the temperature around the canopy. A large Monstera also grows upward and outward, so the distance that worked for last month’s leaves may become too tight after a new leaf unfurls.
This guide gives you a symptom-led way to judge distance, adjust one variable at a time, and avoid confusing light stress with root or watering problems. For fixture choice, coverage, and published output maps, use the Monstera grow-light guide after you understand what your leaves are telling you.
Table of Contents
- Is your Monstera grow light too close?
- Why distance changes more than brightness
- What to check before moving the lamp
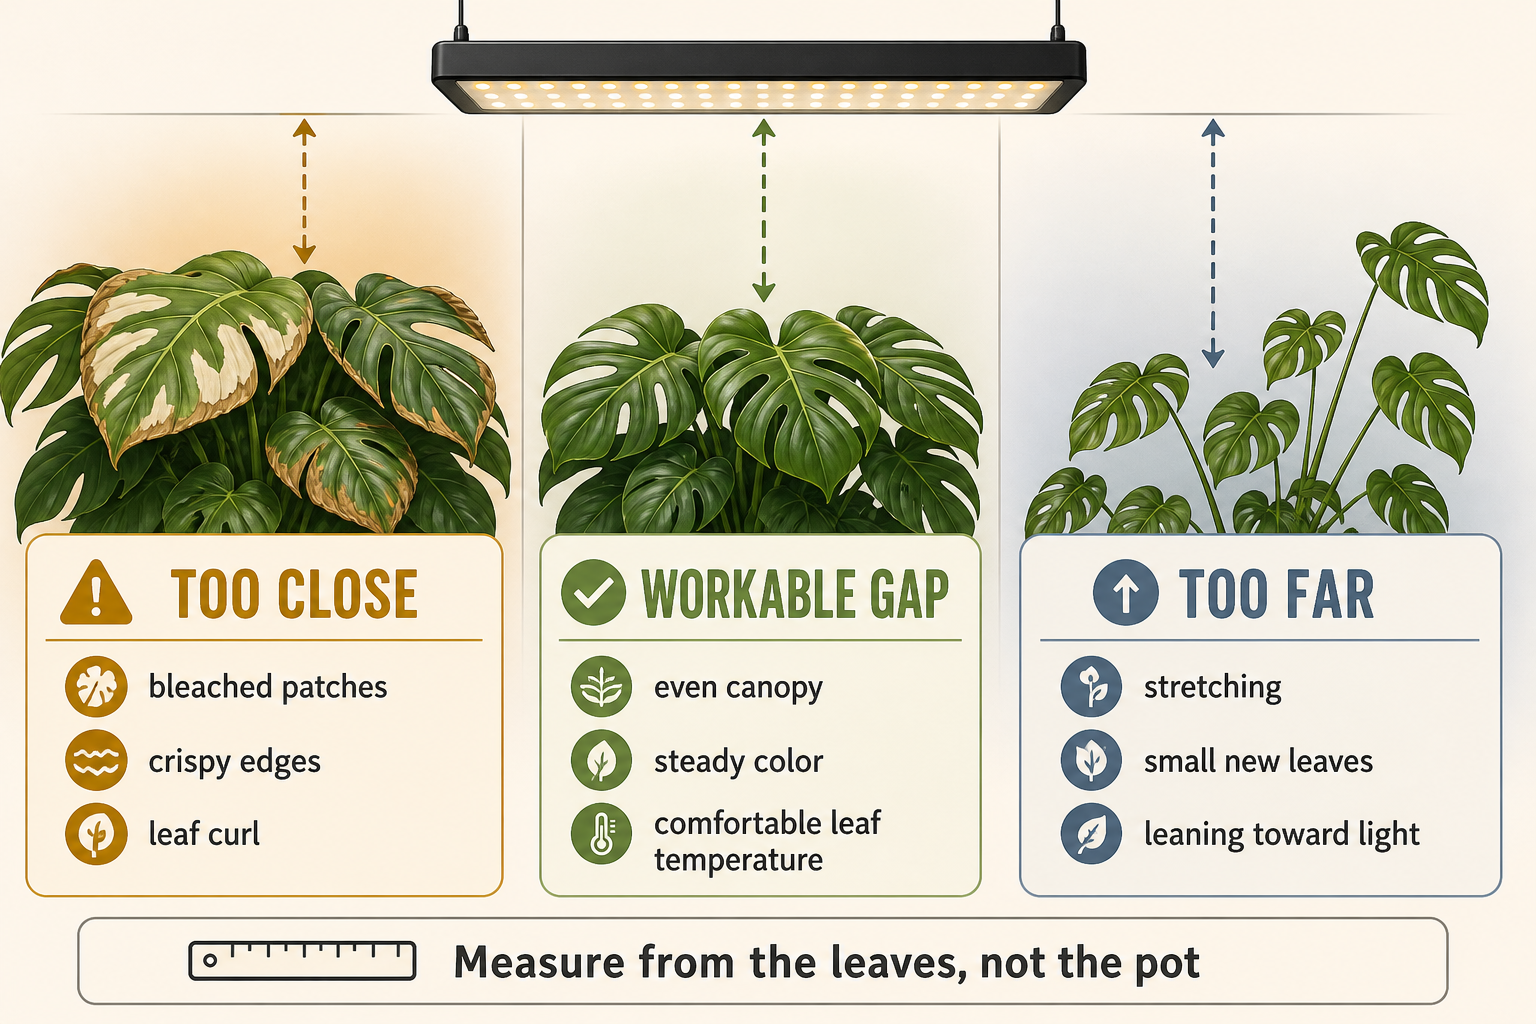
- Too close, workable, or too far: the distance clues
- How to measure distance across a Monstera canopy
- How to adjust a grow light safely
- When leaf stress is not caused by distance
- How room and plant changes alter the safe distance
- A five-minute distance check
- Conclusion: let the canopy, not the ruler alone, decide
- Frequently Asked Questions
- References
Is your Monstera grow light too close?
A Monstera grow light may be too close when the leaves nearest the fixture develop bleaching, crispy patches, curling, or unusual heat while leaves farther away remain normal. It may also be too close when the lamp creates a bright center but leaves the outer canopy outside the useful footprint. Distance is only one part of the diagnosis: fixture output, daily duration, angle, window light, and the plant’s recent history matter too.
If the plant is stretching, leaning, producing smaller new leaves, or growing unevenly without scorch or heat, the light may be too far away or too narrow rather than too close. Iowa State Extension explains that moving a fixture closer increases intensity but reduces the square footage covered; if the fixture produces heat, the closer position can also raise leaf temperature 1. That is why “closer is better” is not a complete grow-light rule.
Why distance changes more than brightness
Light intensity falls quickly as the source moves away from a leaf. In a home setup, the exact change depends on the fixture’s optics, size, angle, and whether the source behaves like a small point or a broad bar. Even without calculating a curve, you can observe the practical trade-off: a lamp closer to the canopy creates a stronger central zone, while a lamp higher above the plant spreads light more gently across a wider area.
Distance also changes the relationship between the lamp and the canopy’s shape. A vertical Monstera may have a tall top leaf, a shaded middle, and long petioles reaching toward a window. Measuring only from the pot or the tallest leaf can hide the fact that the edge leaves receive much less light. The right question is not “How many inches from the pot?” but “What does each important leaf receive at its surface?”
PPFD is more useful than wattage for this comparison because it describes photosynthetic photon flux density at a location. Iowa State Extension recommends considering light quality, intensity, duration, and daily light integral rather than treating watts or lumens as a plant requirement 1. You can learn how those measures fit together in the PPFD, DLI and PAR guide.
What to check before moving the lamp
Before changing height, photograph the whole plant and the leaves closest to the fixture. Record the lamp’s current height from the highest leaf, its dimmer setting if it has one, the daily timer window, and whether a bright window adds light from the side. A small note can prevent you from mistaking a pre-existing mark for new light damage.
Check the fixture’s own instructions first. Manufacturers may publish a hanging range, PPFD map, heat warning, or coverage footprint. Those specifications are more useful than a generic distance copied from another lamp. A narrow bulb, a wide bar, a dimmable panel, and a high-output horticultural fixture can all produce very different leaf-level results at the same physical height.
A starting-distance reference, not a universal rule
Use the manufacturer’s hanging range or PPFD map first. If the fixture provides no useful range, the 12–24-inch (30–60 cm) distance often used for general foliage LED setups can serve as a cautious starting reference, not a guaranteed Monstera-safe distance 3. Output, beam shape, dimming, heat, daily duration, and canopy size can make the correct position higher or lower.
| Starting point | How to use it | Why it is limited |
|---|---|---|
| Manufacturer hanging range or PPFD map | Begin within the published range and use the map to place the top, center, and edge leaves | The recommendation is tied to that fixture’s output, optics, and coverage |
| 12–24 inches (30–60 cm) | Use only as an initial reference when the lamp is a general foliage LED and no better specification is available | Two fixtures at the same distance can deliver very different PPFD and heat |
| Leaf-level response | Confirm the setting with even color, comfortable leaf temperature, normal texture, and stable new growth | Bleaching, crisp edges, curl, heat, stretching, or uneven coverage mean the position needs adjustment |
Treat the range as a starting point for observation rather than a finish line. Measure from the leaf surface, change one lever at a time, and let the canopy response override a generic number.
Inspect the plant’s baseline as well:
- Is the pot already drying unusually fast or unusually slowly?
- Are leaves dusty, folded, soft, or recently unfurled?
- Has the Monstera just been repotted, shipped, pruned, or moved?
- Is the top leaf touching or nearly touching the lamp as the plant grows?
- Does the fixture point straight down, or does it hit one side at an angle?
Do not change the lamp, repot, fertilize heavily, and move the plant to a new window on the same day. If several conditions change together, you lose the ability to connect a new symptom to distance.
Too close, workable, or too far: the distance clues
Use this table as a pattern guide, not a substitute for the fixture’s output data or the plant’s history.
| What you observe | More consistent with too close | More consistent with a workable gap | More consistent with too far |
|---|---|---|---|
| Leaf color | Bleached or faded areas on the lamp-facing surface | Even green color for that cultivar | Pale growth or fading over time |
| Leaf edges | Crispy margins, dry tips, or scorched patches | Firm edges without a hot spot | Edges remain healthy but growth is slow |
| Leaf posture | Curling or cupping after the light turns on | Leaves remain open and oriented normally | Petioles lean toward the lamp or window |
| New growth | Can stall after a heat or bleaching event | Continues at the plant’s normal pace | Smaller leaves, longer spacing, fewer fenestrations |
| Canopy pattern | Bright center, stressed top, shaded perimeter | Useful light reaches top, center, and edge leaves | Only the top or center looks active |
| Pot behavior | Mix dries much faster because of added heat or light | Drying remains predictable for the setup | Mix stays wet longer because growth and demand remain low |
The same symptom can have multiple causes. For example, crispy edges can follow dry air, missed watering, salt buildup, direct sun, or a hot lamp. A workable distance is the setting where the pattern across several leaves and several days makes sense—not simply the setting that produces the brightest-looking photo.
How to measure distance across a Monstera canopy
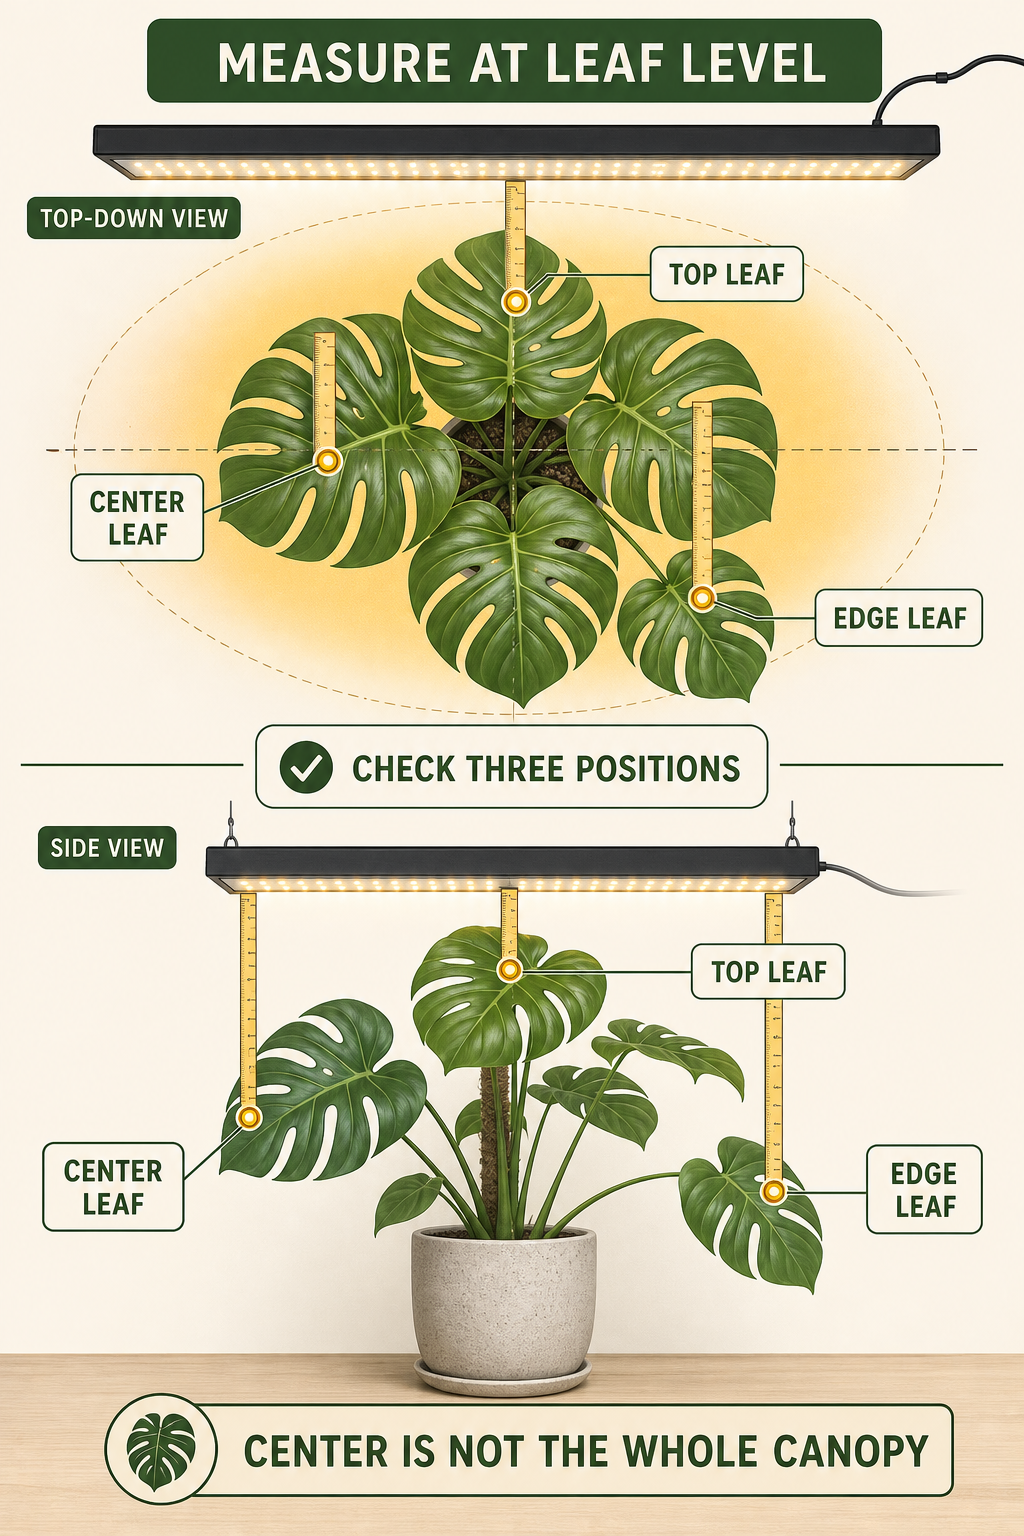
Measure from the lamp to the leaf surface at three positions: the top leaf nearest the fixture, a center leaf, and an edge leaf. If the plant is large, add a rear or lower leaf. Write down the position, not just one number. A central reading can look excellent while the canopy edge remains too dim for balanced growth.
If you have a quantum or PAR meter, take readings with the sensor parallel to the leaf surface. Keep the lamp and sensor still while you compare positions. A phone app can help you compare relative changes, but spectrum and phone hardware affect its accuracy. Use it as a trend tool, not a universal prescription.
If you do not have a meter, use the manufacturer’s map and a repeatable visual check. Look for a clear air gap, an even footprint, and a leaf surface that does not feel hot after the lamp has been running. Do not press your hand against a hot fixture to test it, and keep water, mist, and loose curtains away from electrical hardware.
The Monstera light requirements and symptoms guide is useful here because distance decisions should connect to the plant’s growth pattern. The lamp is not serving the pot; it is serving the canopy.
How to adjust a grow light safely
Make the smallest change that tests your hypothesis. If the upper leaf is bleaching and feels warm, raise the fixture or reduce output before extending the timer. If the plant is stretching but the leaves remain cool and undamaged, you may need more intensity, a wider footprint, or better side coverage rather than simply adding hours.
If the lamp seems too close
Raise it modestly, use the dimmer if available, or reduce the daily exposure for a short observation period. Choose one adjustment first. Recheck the top, center, and edge leaves after the plant has experienced the new setting consistently. If bleaching stops but the edge leaves become too dim, a wider or second fixture may solve the coverage problem more effectively than lowering the original lamp again.
If the lamp seems too far
Move it closer only if the whole canopy can still fit within the useful footprint and the fixture remains safe. Lowering a broad bar may help; lowering a narrow bulb can make the center very bright while leaving the sides unchanged. A side light, a different angle, or a second lower-output source may create a more even result.
If the plant is acclimating
Hold the setting long enough to see a pattern. A Monstera can reorient its leaves toward a new source without being damaged. Do not chase every small movement by changing height daily. If you are making a large jump from a dim room, the seasonal Monstera grow-light schedule can help you coordinate daily duration with the natural light already entering the room.
As the plant grows, adjust the fixture before the highest leaf reaches it. Iowa State Extension recommends adjustable mounting because distance influences both intensity and daily exposure, and the light must move as the plant grows 2. A fixed lamp over a fast-climbing Monstera can become too close without anyone touching the lamp.
When leaf stress is not caused by distance
Light stress is more convincing when the damage is on the lamp-facing surface, follows a recent height or output change, and appears with bleaching, crisp texture, curl, or heat. It is less convincing when the whole plant yellows while the mix remains wet, roots smell sour, pests are present, or the leaf was already damaged before the lamp moved.
Check these clues before making another distance change:
- Timing: Did the mark appear after a lamp, window, or timer change?
- Position: Is it strongest on the upper or lamp-facing leaves?
- Texture: Is it papery and bleached, or soft and yellow from the base?
- Watering: Did the pot’s drying speed change, and did you adjust watering by habit?
- Roots: Are roots firm and light-colored, or soft, dark, and poorly aerated?
University of Maryland Extension describes excessive light damage as pale or bleached tissue that can become brown and brittle, with intensity affected by distance and heat 4. University of Maine guidance also notes that plants too close to artificial light can develop short petioles and crinkled or leathery leaves 5. Those clues are useful, but they still need to be compared with roots, substrate, temperature, and recent changes.
The complete indoor Monstera care guide can help you check the rest of the environment before you decide that the lamp is guilty.
How room and plant changes alter the safe distance
The same fixture can behave differently in a cool bright room and a warm dark corner. A window may add strong side light in summer but very little in winter. Reflective white walls can spread useful light, while a dark shelf absorbs more of it. A fan or HVAC vent can dry one side of the canopy and make a light mark look worse.
Cultivar and maturity matter too. A large green Monstera may tolerate more total light than a small cutting because it has a larger, established canopy, but its edge leaves are harder to cover evenly. Variegated leaves have less green tissue in pale areas, so compare the green sections, leaf firmness, and new growth rather than calling every light patch burn.
New leaves are also more vulnerable to sudden changes in heat and intensity while they are unfurling. If the top leaf is still soft or folded, avoid placing it directly under the strongest point of the beam. Let it harden under a stable, moderate setting before you optimize the fixture.
If the lamp is supplementing a window, treat the two sources as one daily pattern. The grow light may only need to fill a cloudy afternoon, while the same light could be the plant’s main source in a windowless room. Do not keep increasing the lamp because the room looks dim to your eyes; use the canopy and, when possible, leaf-level measurements.
A five-minute distance check
- Photograph the canopy. Include the lamp, top leaf, and the farthest edge leaf in one frame.
- Measure three positions. Record lamp-to-leaf distance at the top, center, and edge.
- Check heat safely. After the light has been running, look for curling or hot dry air around the top leaf; do not touch a hot fixture.
- Read the pattern. Compare color, texture, posture, new growth, and soil drying across the plant.
- Change one lever. Raise, dim, shorten, widen, or re-angle the light—only one at a time.
- Wait and record. Recheck after a consistent observation window, then keep the setting if the canopy remains stable.
Do this check whenever the Monstera pushes a tall new leaf, the season changes, the pot moves closer to a window, or you replace the fixture. A distance that is safe for a small plant can become too close as the canopy rises.
Conclusion: let the canopy, not the ruler alone, decide
There is no single safe distance for every Monstera grow light. Fixture output, beam shape, heat, daily duration, window light, canopy size, and plant history all change the result. Start from the manufacturer’s guidance, measure from the leaves, and use the top, center, and edge of the canopy as your evidence. Move the lamp gradually, preserve a dark period, and treat bleaching, crisp edges, curl, heat, stretching, and uneven coverage as clues—not automatic verdicts. The best distance is the one that delivers even, repeatable growth without asking the plant to endure a hot spot.
Frequently Asked Questions
How far should a grow light be from a Monstera?
Use the fixture’s published range or PPFD map as the starting point, then measure from the leaves rather than the pot. The correct distance depends on output, beam width, dimming, daily duration, window light, and canopy size. Watch leaf temperature, color, texture, and coverage before moving closer.
Can a grow light burn Monstera leaves?
Yes, a strong or poorly placed light can cause bleaching, crisp edges, curl, or heat stress. Damage is more likely when a lamp is close, intense, warm, or combined with dry soil and long exposure. Raise or dim the fixture and check whether new damage stops.
Is a grow light too far away if my Monstera is stretching?
It may be, especially if stretching and leaning occur without bleaching or heat. Check whether the fixture covers the whole canopy and whether a window is pulling the plant sideways. Move the lamp closer only within its safe range, or improve coverage with a wider or angled source.
Should I measure from the pot or the top leaf?
Measure from the leaf surface at several points. The pot does not tell you how far the tallest leaf or the shaded edge is from the lamp. Check the top, center, and edge leaves so a bright center does not hide a weak or overheated canopy.
Should I move the lamp closer or run it longer?
Use the lever that matches the problem. If intensity is weak across the canopy, distance or output may need adjustment. If the coverage is good but the daily window is short, modestly extending runtime may help. Change one variable at a time and preserve a dark period.
References
- Iowa State University Extension and Outreach: Important Considerations for Providing Supplemental Light to Indoor Plants — PPFD, distance, angle, coverage, heat, and daily light integral trade-offs.
- Iowa State University Extension and Outreach: How to Set Up Supplemental Lights for Indoor Plants — Adjustable mounting, monitoring, leaf-scorch clues, and practical setup changes.
- University of Minnesota Extension: Lighting for indoor plants and starting seeds — Light distance, heat considerations, and symptoms of too little or too much light.
- University of Maryland Extension: Excess Light on Indoor Plants — How excessive intensity and heat create pale, bleached, brown, and brittle foliage.
- University of Maine Cooperative Extension: Tips for Growing Houseplants in Maine: Growing Houseplants Under Artificial Lights in Maine — Distance-related petiole and leaf-texture clues and artificial-light context.