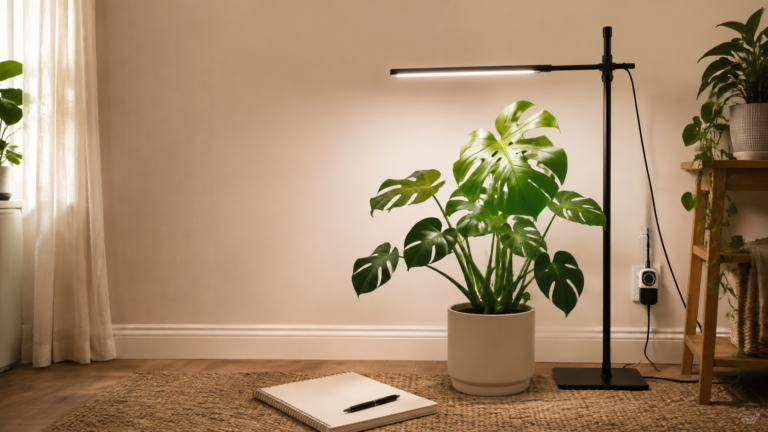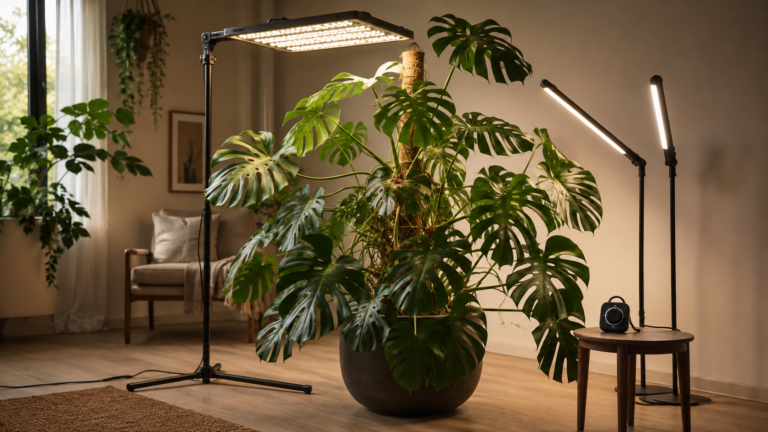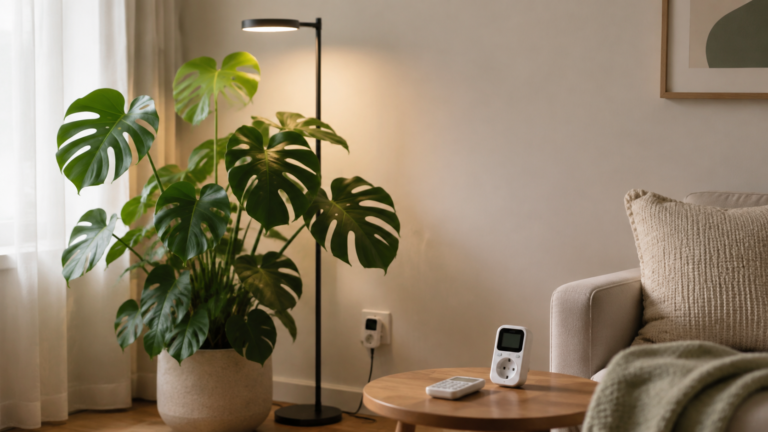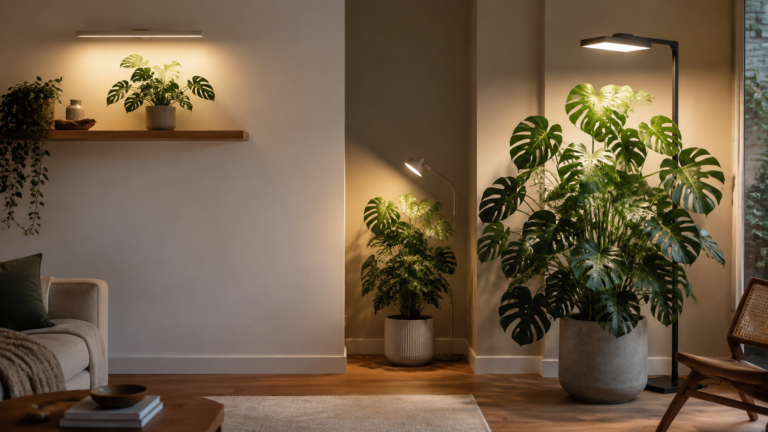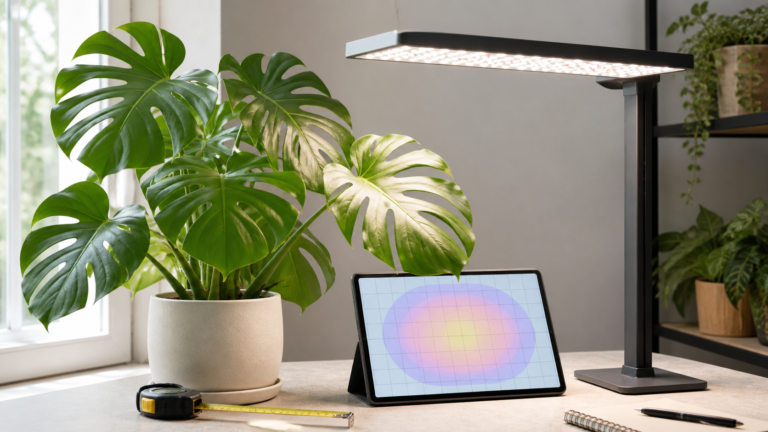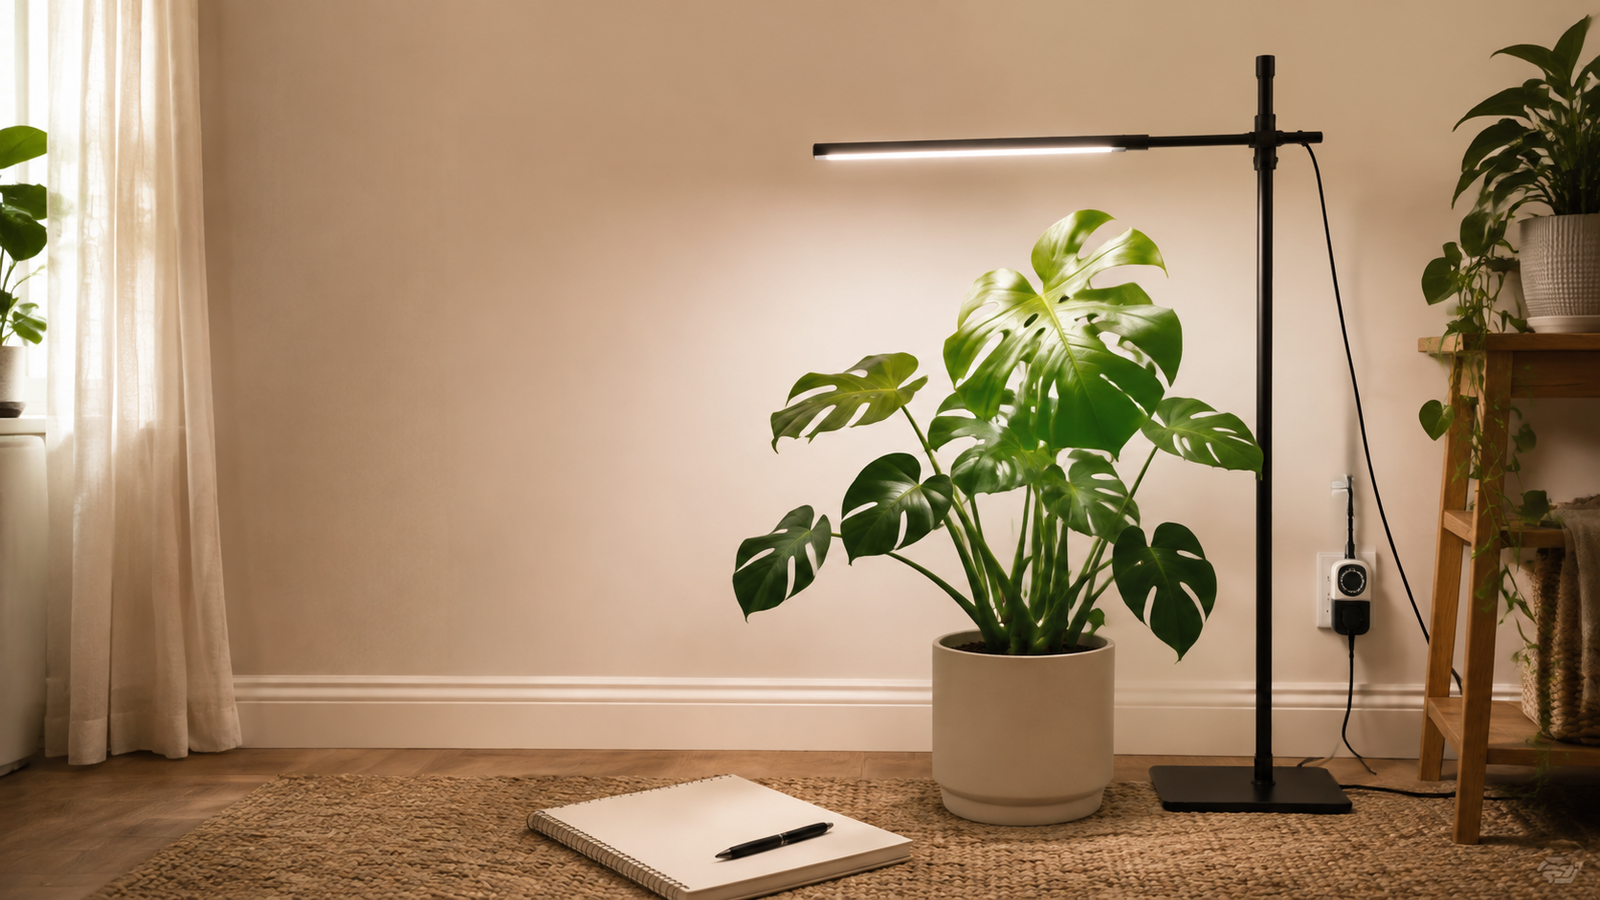
A dependable Monstera grow-light starter setup needs four things: a fixture with a useful coverage map, a timer that creates a repeatable day and night, a stable placement that keeps leaves in the beam, and a simple observation log. Measure the plant first, follow the fixture maker's distance guidance, then change one setting at a time.
Table of Contents
- What belongs in a Monstera grow-light starter setup?
- How do you choose the first fixture?
- What should you measure before placing the light?
- Which timer and daily schedule should you start with?
- How do shelf, corner, and floor placements differ?
- What distance, heat, and clearance checks matter?
- How do you acclimate a Monstera without light stress?
- How should watering and room conditions change?
- What should you observe during the first two weeks?
- What is the printable starter checklist?
- Conclusion: start simple and measure
- Frequently Asked Questions
- References
What belongs in a Monstera grow-light starter setup?
A starter setup is a repeatable system, not a single bright bulb. It combines a fixture, a timer, a safe mount or stand, enough clearance for the current canopy, and a baseline record of the plant's condition. Keeping those pieces together makes the first adjustment logical instead of guesswork.
Start with the problem you can observe. A Monstera may lean toward a window, produce long gaps between leaves, or keep the wall-facing leaves small. It may also be responding to root trouble, pests, temperature, or a recent move. Read this Monstera light requirements guide first so a light is solving a lighting problem rather than masking another stress.
The basic kit can be modest:
- An LED bar, bulb with an adjustable arm, or broad panel sized for the active canopy.
- A plug-in or built-in timer with a consistent schedule and a dark interval.
- A stable shelf bracket, clamp, gooseneck, wall arm, or floor stand rated for the fixture.
- A tape measure, phone camera, and a note of distance, dimmer setting, and daily hours.
- Optional tools such as a wall plug energy meter or a handheld light meter for better baselines.
The goal is even, adjustable light that you can operate every day. A powerful lamp aimed at one leaf is not a better starter setup if it creates a hot spot, glare, or a cord that gets moved during watering.
How do you choose the first fixture?
Choose the first fixture by its measured footprint and adjustability, not by wattage alone. Look for a manufacturer PPFD or coverage chart that shows distance, centre and edge readings, dimmer setting, and mounting orientation. If a product page lists only watts, lumens, or a “sunlike” label, you do not yet know what reaches the leaves.
Match the form to the space. A slim bar works well beneath a shelf because it spreads light along a shallow canopy. An adjustable bulb or arm can aim into a dark corner. A broad panel or tall bar is easier to centre over a floor plant with several large leaves. Choose a model that can be raised, angled, or dimmed as the Monstera climbs.
Use the parent Monstera grow-light guide when reading a PPFD map. Compare the map at the actual leaf height, not at the height used for the most flattering product photograph. Check the front, rear, and newest leaf positions; a bright centre does not prove the whole plant is covered.
| Fixture question | A sensible starter answer | Why it matters |
|---|---|---|
| Does the chart show the leaf plane? | Yes, with distance and grid points | PPFD falls as distance and angle change |
| Can the output be adjusted? | A dimmer or movable mount is useful | You can acclimate and correct hotspots |
| Does it fit the canopy shape? | Bar for shallow width, arm for a corner, panel for depth | The beam should reach important leaves |
| Is heat documented? | Vents and clearance are specified | Large Monstera leaves can be damaged by hot spots |
| Can controls be reached? | Timer and dimmer remain accessible | A routine is only useful if you will maintain it |
Avoid buying two fixtures on day one unless the canopy is already too wide for one measured footprint. Start with the simplest source that can cover the active growth point and the leaves you want to maintain, then add side fill only when a persistent shaded area remains.
What should you measure before placing the light?
Measure the plant and the room before switching the fixture on. Record canopy width, depth, height, the newest growth point, and the place where the light can be mounted. Monstera deliciosa is a climbing vine with leaves that can become very large, so pot diameter alone underestimates the useful footprint.2
Use a tape measure and note:
- Width: the farthest left-to-right leaf span.
- Depth: the distance from the front leaves to the stem, wall, or rear leaves.
- Height: pot surface to the newest leaf or active growth point.
- Growth allowance: room for an unfurling leaf and the next node.
- Fixture envelope: space for the lamp, driver, stand, and cord without touching foliage.
Then sketch the beam on paper or mark its edges with painter's tape. Include the window's natural-light direction. A plant may be centred beneath a light but still receive almost no supplemental light on the wall-facing side if the beam is narrow.
Take one baseline photo in the same orientation you will use for later comparisons. Include a ruler or a visible pot edge, and write down the room's approximate temperature, the distance to the nearest leaf, and the current watering interval. This simple record prevents a later change in leaf angle from being mistaken for an immediate lighting win.
Which timer and daily schedule should you start with?
Start with a consistent daytime block and a genuine dark period. A timer is more important than a complicated app because it prevents forgotten starts, accidental all-night lighting, and constantly changing photoperiods. Iowa State Extension describes 12–14 hours as a common supplemental-light period and notes that a broader 10–16-hour range may fit different plants and rooms.1
For a first trial, overlap the fixture with the room's daylight instead of adding light at random hours. A Monstera in a bright window may need a shorter supplement than one in a deep interior corner. University of Minnesota Extension groups Monstera with medium-light houseplants, while North Carolina Extension recommends moderate to bright indirect light and cautions about harsh direct sun.34
Choose a timer that:
- remembers the schedule after a brief power interruption;
- can handle the fixture's load and plug type;
- does not require a phone to turn on each day;
- leaves a dark interval overnight; and
- keeps its display or indicator light away from the plant's dark side if possible.
Set the clock once, then leave the schedule alone while you establish a baseline. If the fixture has a dimmer, adjust intensity before adding hours. Changing both at once makes it difficult to tell which lever caused a leaf response.
How do shelf, corner, and floor placements differ?
Placement should follow the geometry of the canopy. Shelf plants need even light from above, corner plants need help reaching the wall-facing side, and floor plants need a stable, wide footprint that will not be knocked over.
| Location | Starter placement | Check before running it |
|---|---|---|
| Shelf or cabinet | Centre a slim bar over the canopy, leaving room to remove the pot | Bar length, shelf load, rising leaves, and underside clearance |
| Dark corner | Aim an adjustable bulb or arm toward the growth point, slightly across the canopy | One-sided growth, wall shadows, glare, and secure fasteners |
| Floor plant | Use a broad panel or tall bar on a wide stand, centred over the active canopy | Stand stability, traffic, pets, driver ventilation, and cord routing |
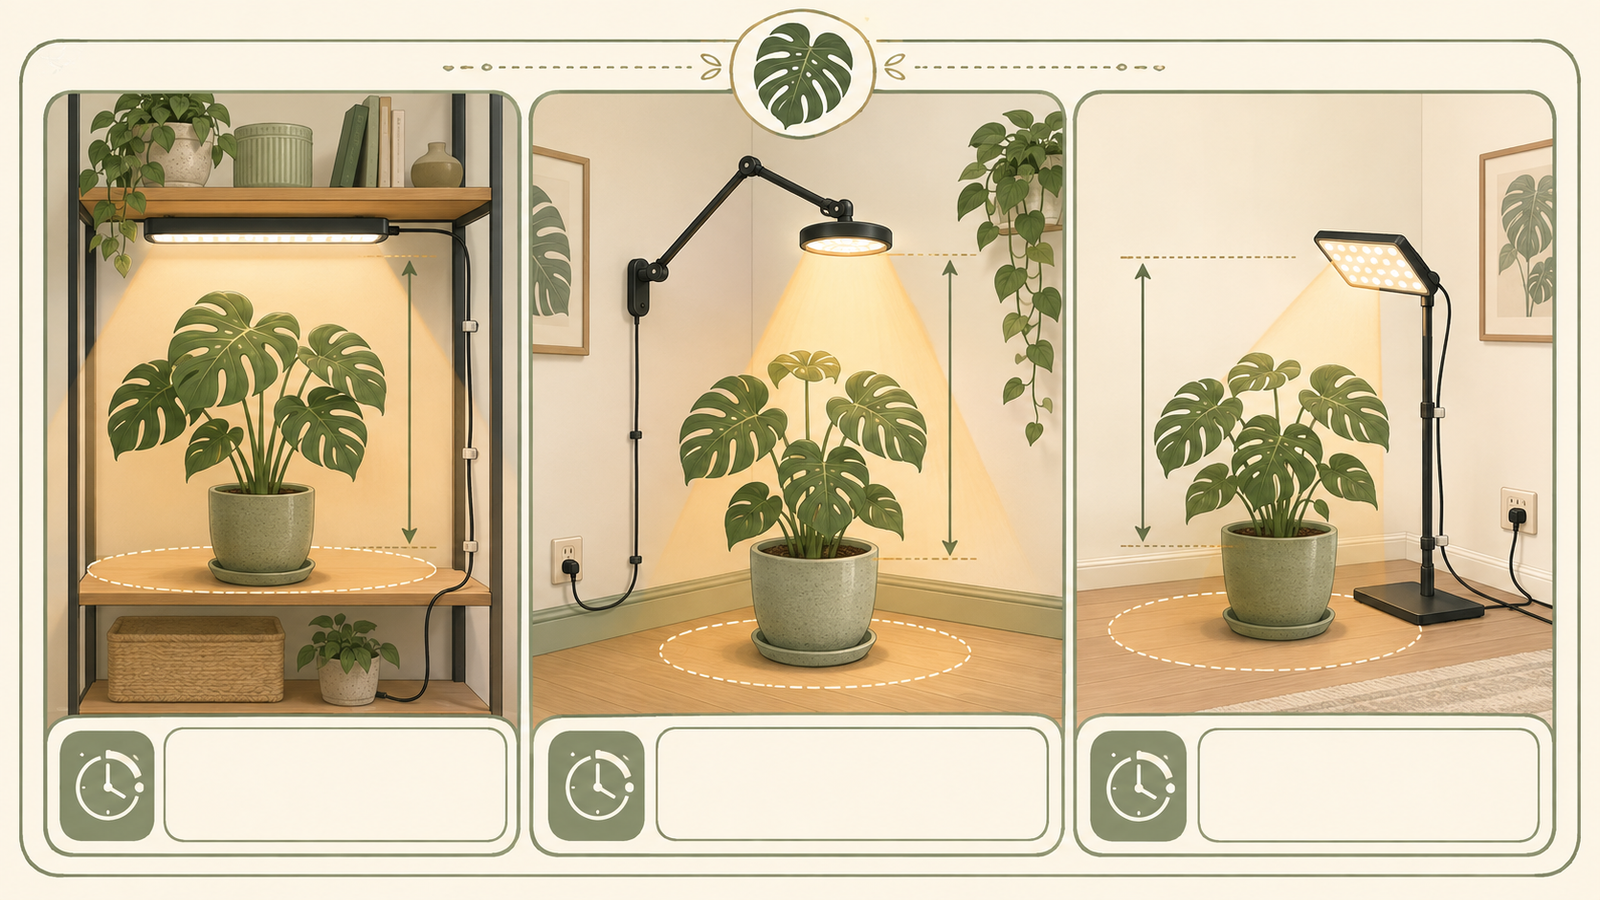
For a shelf, the light may be close because the canopy is shallow, but leaves should not touch the housing. For a corner, rotate the pot or angle the arm so the newest leaf is not always on the beam's edge. For a floor plant, place the stand where you can water without moving it; a fixture that gets repositioned every week loses its carefully measured distance.
As the plant climbs, support helps maintain a repeatable relationship between stem and light. A modular moss pole for climbing Monstera can stabilise the growth point; it does not replace a coverage check, but it makes later adjustments easier to repeat.
What distance, heat, and clearance checks matter?
Follow the exact manufacturer's distance and thermal instructions first. The often-quoted 12–24 inch range is only an initial reference when a model-specific chart is unavailable; it is not a universal Monstera distance.1
Before turning the fixture on, check five clearances:
- Leaf-to-housing: no leaf should touch a hot surface or cover a vent.
- Driver-to-water: keep drivers, plugs, and power strips above splash level.
- Beam-to-eye: aim or shade the source so it is not shining into people sitting nearby.
- Stand-to-traffic: keep a floor stand outside a walkway and away from curious pets.
- Cord-to-pot: route the cable away from the watering path and avoid pinching it under furniture.
Run the light at the maker's starting setting for a short observation period. Feel the air around the leaves rather than relying on hand warmth alone, and watch for pale patches, crisp margins, curled edges, or a hot leaf surface. If the newest leaf is close to the beam centre while older leaves are far outside it, the answer may be a better angle or a wider fixture rather than more intensity.
Do not cover vents with fabric or tuck a driver behind the pot. If a temporary extension cord is unavoidable, use one rated for the load and follow local electrical instructions. Never daisy-chain power strips to make a setup look tidy.
How do you acclimate a Monstera without light stress?
Acclimate by increasing one lever at a time: intensity, hours, or distance. Begin below the fixture's maximum output, keep the plant's orientation stable, and inspect the same leaves repeatedly. The manufacturer’s starting range takes priority over any generic schedule.
Here is an illustrative two-week plan for a healthy, previously dim-room Monstera with a dimmable LED. It is a template for observation, not a prescription:
| Days | Timer | Dimmer or distance | What to check |
|---|---|---|---|
| 1–3 | 8 hours | About 50% output, or the maker's low setting | Leaf temperature, curling, glare, and whether the beam reaches the growth point |
| 4–7 | 10 hours | About 60% if leaves look normal | Newest leaf colour, edge texture, and centre-to-edge coverage |
| 8–10 | 11 hours | Hold the same output | Dry-down speed, petiole angle, and shaded rear leaves |
| 11–14 | 12 hours | About 70–80% only if no stress appears | Compare the baseline photo and decide whether one lever still needs adjustment |
If the leaves become pale, crisp, curled, or unusually warm, pause at the last comfortable step. Raise the fixture or lower the dimmer before extending hours. If the plant is still stretching but shows no heat or colour stress, adjust the beam or increase only one setting after several stable days.
Avoid moving a recently watered or repotted plant directly under a full-power lamp. Root disturbance, dry air, and a sudden light increase can overlap, making symptoms hard to diagnose. When in doubt, keep the room stable and collect another observation rather than making three changes at once.
How should watering and room conditions change?
Brighter, longer supplemental light can increase photosynthesis and dry the pot sooner, but it does not create a fixed watering calendar. Check the root zone, pot weight, and substrate condition before watering. A complete indoor Monstera care guide helps coordinate drainage, roots, humidity, temperature, and airflow with the new lighting routine.
During the first two weeks:
- compare the pot's weight on watering day with the previous baseline;
- check moisture at the depth where roots are active, not only the surface;
- look for a hot, dry pocket directly beneath a lamp or beside a wall;
- keep airflow gentle and consistent rather than pointing a fan at one leaf; and
- delay fertilizer changes until the light schedule is stable.
A plant that dries faster may need a different interval, not automatically a larger volume at every watering. Conversely, yellowing soil that remains wet can indicate poor drainage or low root activity rather than insufficient light. Treat watering, light, and roots as connected observations.
What should you observe during the first two weeks?
Observe the same reference points on a simple schedule: the newest leaf, an older centre leaf, the outer edge, and the wall-facing or rear leaf. Photograph them from the same angle every three or four days. This turns “it looks brighter” into a useful before-and-after record.
Track:
| Observation | What a stable response can look like | What to investigate |
|---|---|---|
| New leaf | Unfurls without bleached patches or crisp edges | Excess intensity, heat, or a very close centre hotspot |
| Petiole angle | Gradually holds toward the useful beam | One-sided beam, blocked window, or plant orientation |
| Leaf colour | Even green for the cultivar | Excess light, nutrient/root issue, or natural variegation |
| Leaf texture | Firm surface without persistent curl | Heat, dry air, watering stress, or pests |
| Pot dry-down | Slightly more predictable change over time | Overwatering, compact substrate, or unexpected heat |
| Rear coverage | Less dramatic contrast between front and back | Narrow beam, wall shadow, or need for side fill |
Change only one variable after each observation block. If the rear leaves remain dim, first correct angle and pot orientation. If the centre leaf shows stress, create more distance or lower output. If the whole plant remains leggy after several weeks of stable, comfortable coverage, recheck the map and canopy size before buying a second fixture.
What is the printable starter checklist?
Use this checklist at the desk, then keep the notes with the timer:
- Identify the problem: record the symptom and rule out pests, roots, temperature, or a recent move.
- Measure the plant: width, depth, height, growth point, and next-leaf allowance.
- Choose the format: bar for shelf, adjustable arm or bulb for a corner, panel or tall bar for a floor canopy.
- Read the chart: confirm test distance, centre/edge values, dimmer setting, and orientation.
- Plan the mount: mark the fixture position, beam footprint, stand or bracket, and future growth clearance.
- Route safely: keep drivers dry, vents open, cords away from watering, and stands out of traffic.
- Program the timer: use a repeatable daytime block and a dark interval; start conservatively.
- Set a baseline: photograph the same leaves and note distance, output, hours, room conditions, and pot weight.
- Acclimate: change one lever at a time and hold each step long enough to observe.
- Review after two weeks: keep, raise, lower, angle, or expand coverage based on the record.
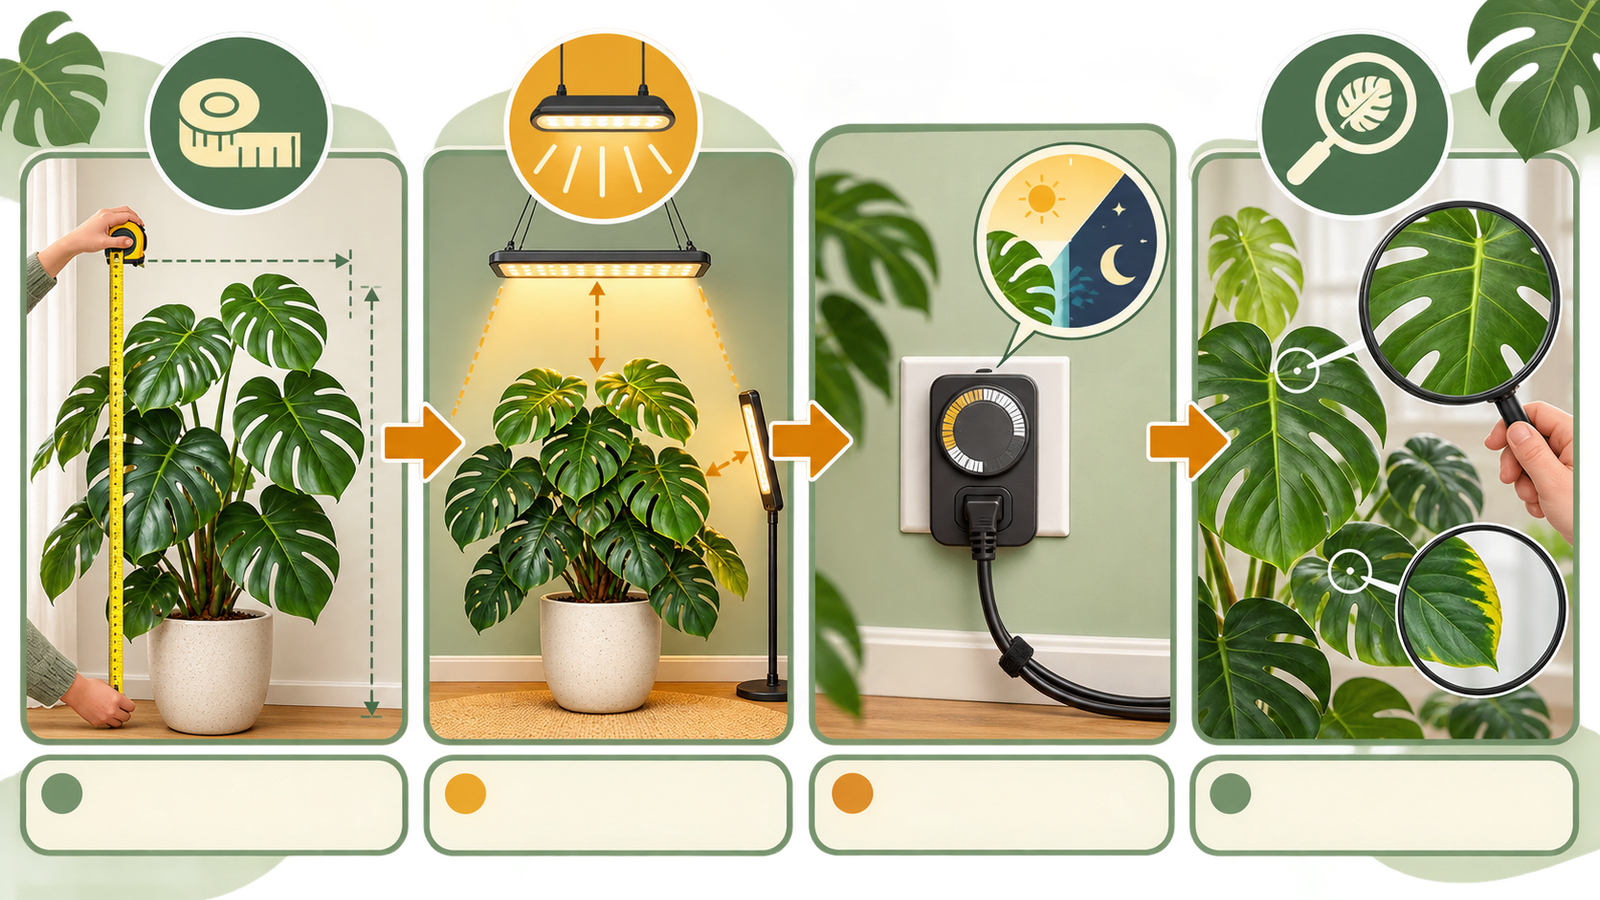
This sequence also makes future purchases easier. If a lamp is replaced, you already know the canopy dimensions, required distance, timer hours, and the leaf response you need to preserve.
Conclusion: start simple and measure
A successful Monstera grow-light starter setup is easy to describe and easy to repeat: choose a fixture whose map fits the canopy, mount it safely, run it on a timer with a dark period, and use photos and leaf observations to guide small adjustments. Start with the maker's instructions, keep the 12–24 inch rule only as a fallback reference, and never treat wattage as a complete coverage specification.
The best first setup is the one you can maintain through ordinary watering, cleaning, and plant growth. When the canopy outgrows the footprint, add coverage for a clearly observed gap; until then, a stable single fixture and a careful checklist are usually more useful than extra power.
Frequently Asked Questions
What is the simplest grow-light setup for a Monstera?
Use a dimmable LED bar, adjustable bulb, or panel that covers the active canopy, a timer with a consistent daytime block, and a stable mount. Record distance and leaf condition so you can adjust from evidence.
How many hours should a starter Monstera grow light run?
Begin with a conservative daytime block and follow the fixture and room context. Twelve to fourteen hours is a common supplemental range, while roughly 10–16 hours may fit different conditions. Always keep a dark interval and use a timer.1
Is 12–24 inches the correct distance for my grow light?
Not automatically. Use the manufacturer's model-specific distance or PPFD chart first. Treat 12–24 inches only as an initial reference when no useful chart exists, then watch heat, colour, edges, and beam coverage.
Should the light be directly above a Monstera?
Usually centre it over the active canopy, but an adjustable angle can help a corner plant or a wall-facing leaf. If the plant grows one-sided, correct the beam and pot orientation before increasing output.
Do I need a timer if I am home every day?
A timer is still helpful because it keeps the photoperiod consistent and prevents accidental all-night lighting. Choose one that remembers its schedule after a power interruption and can handle the fixture's load.
When should I change the watering schedule?
Do not change it on day one. Compare root-zone moisture, pot weight, and dry-down speed for one or two weeks. Brighter light may shorten the interval, but drainage, substrate, temperature, and airflow also affect when the plant is ready.
When is a second fixture necessary?
Add one only after correcting height, angle, orientation, and dimmer and documenting a persistent shaded edge or rear canopy. Give the second fixture a specific role, then reassess heat, glare, cords, and total daily hours.
References
- Iowa State University Extension and Outreach: How to Set Up Supplemental Lights for Indoor Plants — Distance guidance, timers, photoperiod planning, and monitoring for supplemental lighting. 2026.
- University of Connecticut Home & Garden Education Center: Monstera deliciosa — Climbing habit, mature leaf size, and indoor light acclimation context. 2020.
- University of Minnesota Extension: Lighting for Indoor Plants and Starting Seeds — Relative light categories for common houseplants, including medium-light Monstera. 2026.
- North Carolina Cooperative Extension: Monstera deliciosa (Ceriman, Cutleaf Philodendron, Hurricane Plant) — Moderate-light guidance and caution with harsh direct sun. 2026.