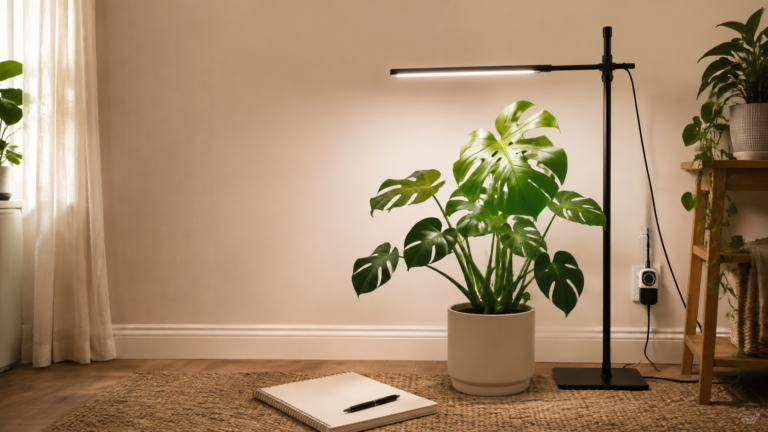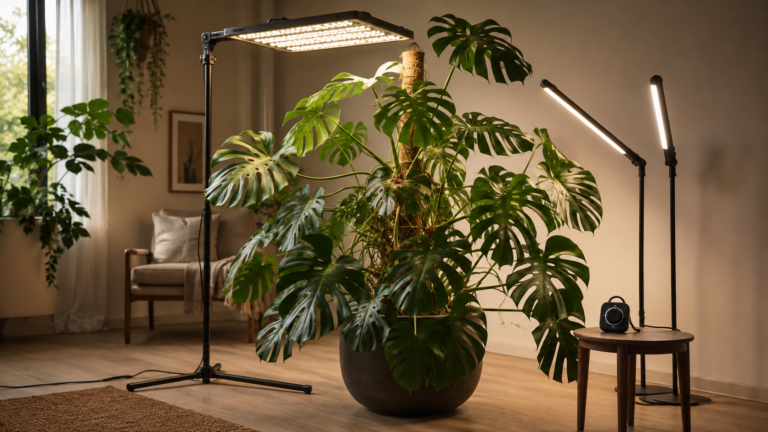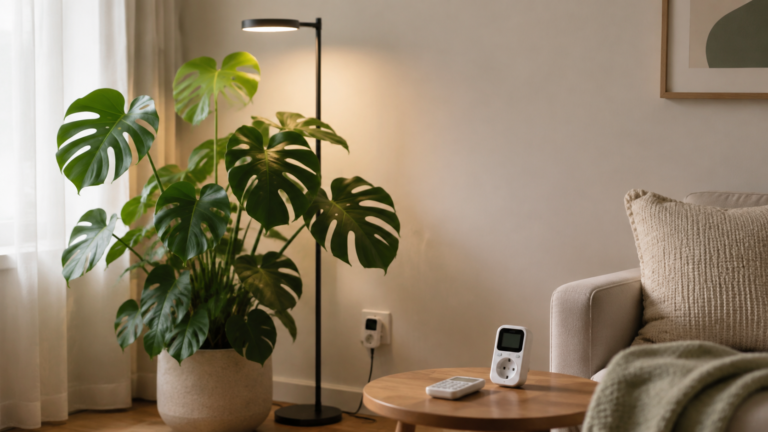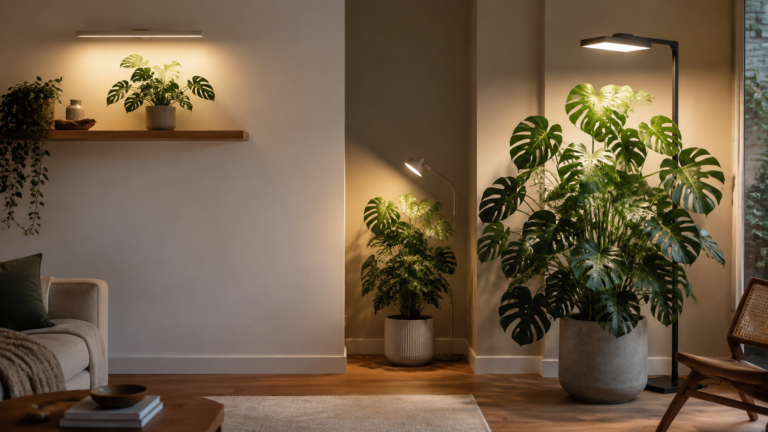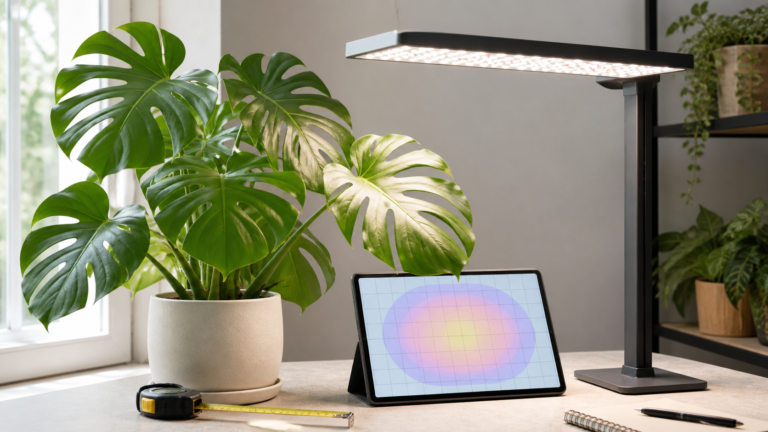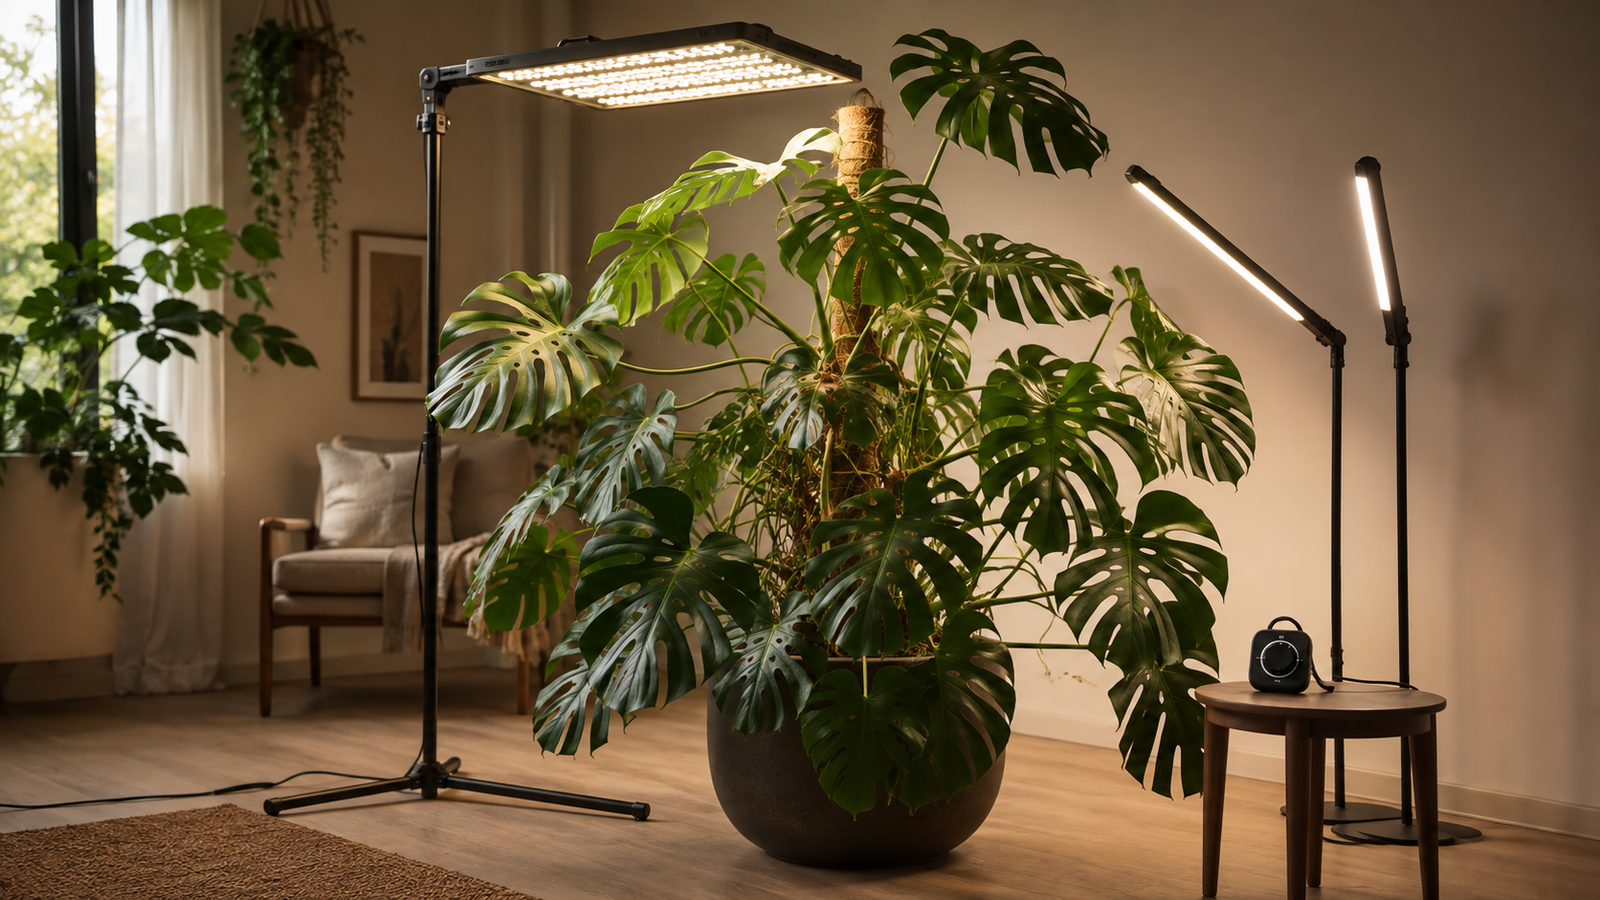
The best grow light for a large Monstera is the fixture that covers its full, three-dimensional canopy at a safe height and can stay stable as the plant climbs. Compare the manufacturer's PPFD map, centre-to-edge spread, mounting method, dimmer, timer, heat clearance, and room fit before comparing wattage or price.
Table of Contents
- What makes a large Monstera different to light?
- How should you measure the canopy before comparing fixtures?
- What should a large-Monstera PPFD or coverage chart include?
- Which fixture format works for a large Monstera?
- When is one fixture enough, and when are two better?
- How do mounting options change the comparison?
- Which controls and schedule features matter?
- How should you compare heat, glare, cords, and electricity?
- How can plant response confirm the choice?
- What is the large-Monstera buying checklist?
- Conclusion: choose coverage you can adjust
- Frequently Asked Questions
- References
What makes a large Monstera different to light?
A large Monstera is a moving, layered canopy rather than a single target above a pot. Monstera deliciosa is naturally a climbing vine, and mature leaves can become very large, so one bright hotspot may leave the lower, rear, or outer leaves in a different light zone.2
The University of Minnesota groups Monstera with medium-light houseplants, while North Carolina Extension recommends moderate to bright indirect light and cautions against harsh direct sun.34 That means a useful fixture should deliver even, adjustable coverage rather than simply the highest output.
Large plants also change the room. A panel that works over a small shelf may block a walkway when placed above a floor specimen. A wall arm may save floor space but leave the wall-facing side dim. A good comparison therefore includes canopy geometry, mounting stability, controls, heat, glare, and the routine you can maintain.
How should you measure the canopy before comparing fixtures?
Measure the leaf spread and the mounting envelope before opening a product page. Record the widest width, front-to-back depth, height to the growth point, and the clearance needed for the next leaf or support extension.
Mark five zones:
- Growth point: the newest unfurling leaf or active vine tip.
- Upper canopy: the leaves closest to a likely overhead fixture.
- Outer edges: the widest left and right leaves where beam falloff appears first.
- Lower canopy: older leaves below the main light plane.
- Rear canopy: leaves behind a pole, stem, or deep pot shadow.
Measure again after the plant is tied to its support. A leaning stem can make distance appear shorter on one side and longer on the other. A modular moss pole for climbing Monstera can keep the growth point more stable, which makes fixture alignment easier to repeat. Support helps the measurement; it does not guarantee larger leaves.
Write the measurements beside the fixture's coverage chart. If the chart covers a square but your plant is tall and deep, compare the lowest and farthest leaves—not just the centre of the pot. Leave a little growth allowance so the lamp is not at its limit on the day a new leaf opens.
What should a large-Monstera PPFD or coverage chart include?
A decision-ready chart reports PPFD or useful coverage at a stated distance, power setting, and orientation. It should show enough grid points to reveal centre-to-edge falloff and, ideally, the effect of dimming or a diffuser.
| Chart detail | Why it matters for a large plant | What to verify |
|---|---|---|
| Test distance | PPFD changes as the fixture moves away | Is the tested height practical above the growth point? |
| Centre and edges | Large leaves rarely form a neat circle | Are outer and rear zones still inside the useful field? |
| Vertical range | Upper and lower leaves may sit at different distances | Does the chart show height variation or only one plane? |
| Power setting | Full-power readings may not match daily use | Is the reading tied to the dimmer setting you will use? |
| Fixture orientation | Overhead, wall-arm, and side fill create different fields | Does the chart match your planned mount? |
Ignore charts that show only a single peak number with no distance or grid. Wattage, lumens, and a bright product photograph cannot prove that a mature canopy is evenly lit. The parent Monstera grow-light guide gives the broader process for reading a map and adjusting for canopy height; use that process to compare every candidate.
If no map exists, treat the stated coverage as provisional. Follow the manufacturer's distance first. The frequently quoted 12–24 inch LED range is only a starting reference when model-specific guidance is missing, not a universal large-Monstera rule.1 Plan to inspect leaf response or use a meter after installation.
Which fixture format works for a large Monstera?
The best format depends on whether the canopy is wide, tall, deep, or constrained by the room. A broad panel is often the simplest overhead field, coordinated bars can spread light across a wide plant, and an adjustable arm can fill a stubborn shadow side.
| Fixture format | Large-canopy strength | Mounting fit | Main limitation |
|---|---|---|---|
| Broad LED panel | Covers a wide overhead zone with smoother overlap | Ceiling, crossbar, or sturdy stand | Can be visually large; high placement reduces intensity |
| Long LED bars | Flexible width; two bars can follow a broad canopy | Suspended frame, shelf uprights, or arms | Narrow beams can miss depth and lower leaves |
| Adjustable bulb or arm | Targets a rear or side gap with less room spread | Wall, desk, or weighted arm | Directional light may cause one-sided growth |
| Panel plus side fill | Separates growth-point light from lower or rear coverage | Overhead panel with a protected side mount | Adds heat, cords, controls, and setup complexity |
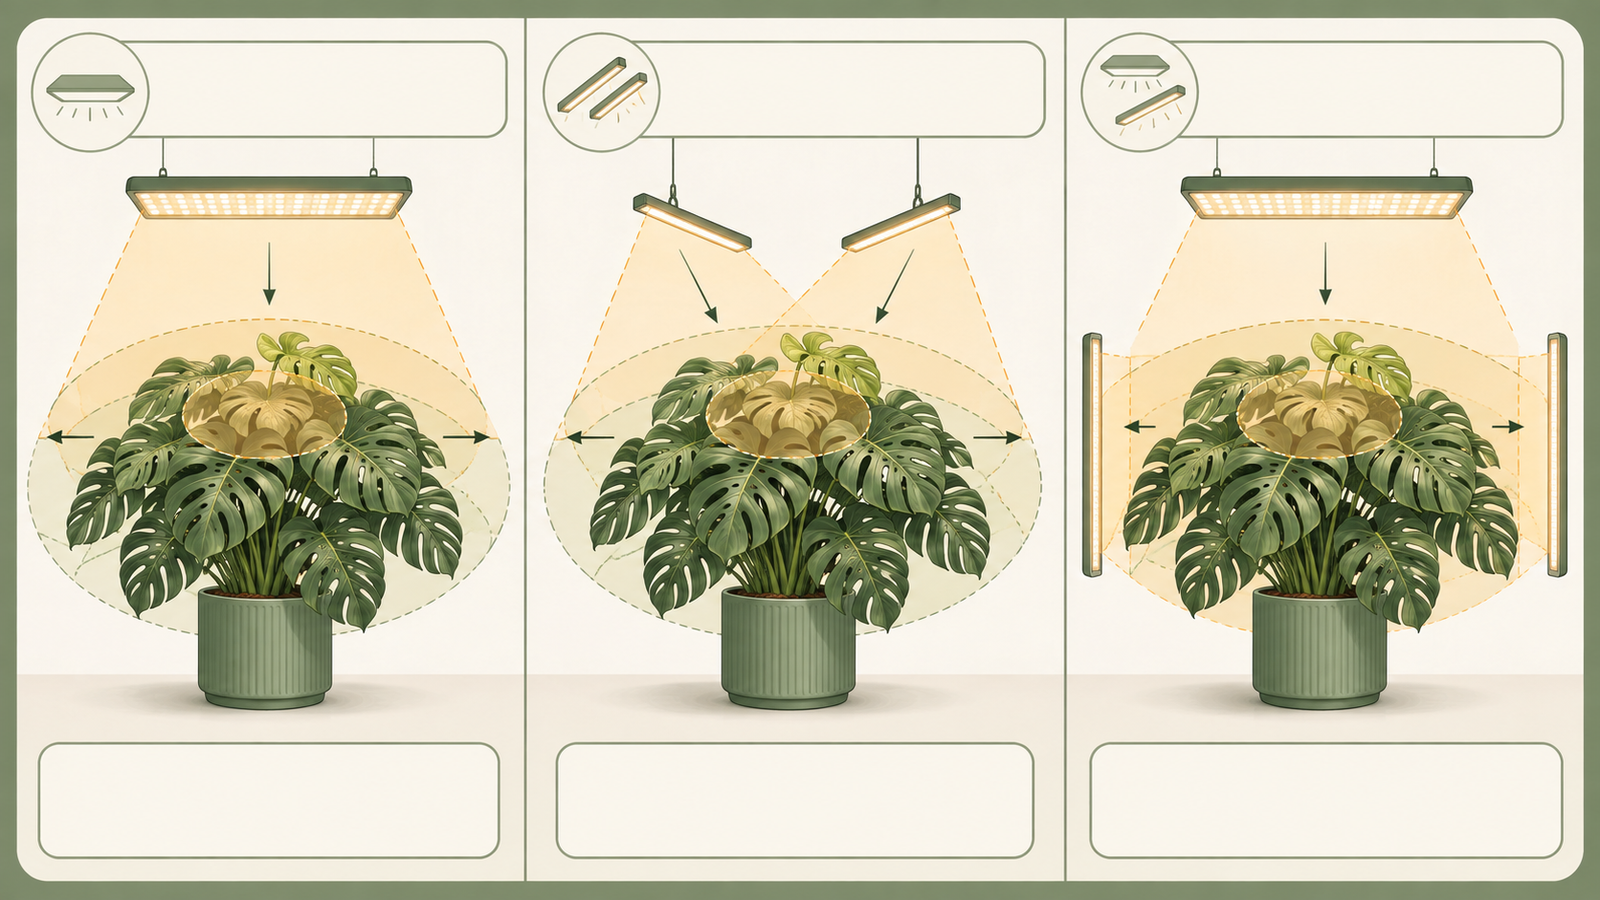
Choose a format you can raise or angle as the plant climbs. A fixed bulb may be adequate for a temporary gap but frustrating when the next leaf opens above it. A panel on a stand may give the best coverage yet be unsafe in a busy walkway. Fit is a physical decision before it is a specification decision.
When is one fixture enough, and when are two better?
One fixture is enough when its measured or published footprint reaches the important canopy zones at a safe height. Two fixtures are better when one source leaves a persistent edge, lower, or rear gap after position and angle have been corrected.
Choose one broad fixture when:
- the growth point and outer leaves fit within the useful map;
- the canopy is wide but not too deep for the chosen height;
- the mount can stay centred and stable as the plant grows;
- a single timer and dimmer keep the routine simple.
Choose two coordinated fixtures when:
- the centre is bright but both edges remain noticeably darker;
- the upper leaves are covered while the lower canopy stays shaded;
- a wall or window makes one side consistently directional;
- the plant has two active vines separated by a support;
- a broad panel would block a walkway or overload one mounting point.
Give the second fixture a defined role—edge fill, lower canopy, or rear-side light. Do not add it merely because the first light feels less bright than expected. Two fixtures can improve uniformity at lower peak intensity, but they also add heat, glare, cords, mounting load, and another timer channel. Iowa State Extension identifies additional or side lighting as an option when distant parts of taller plants show symptoms, alongside ongoing monitoring.1
How do mounting options change the comparison?
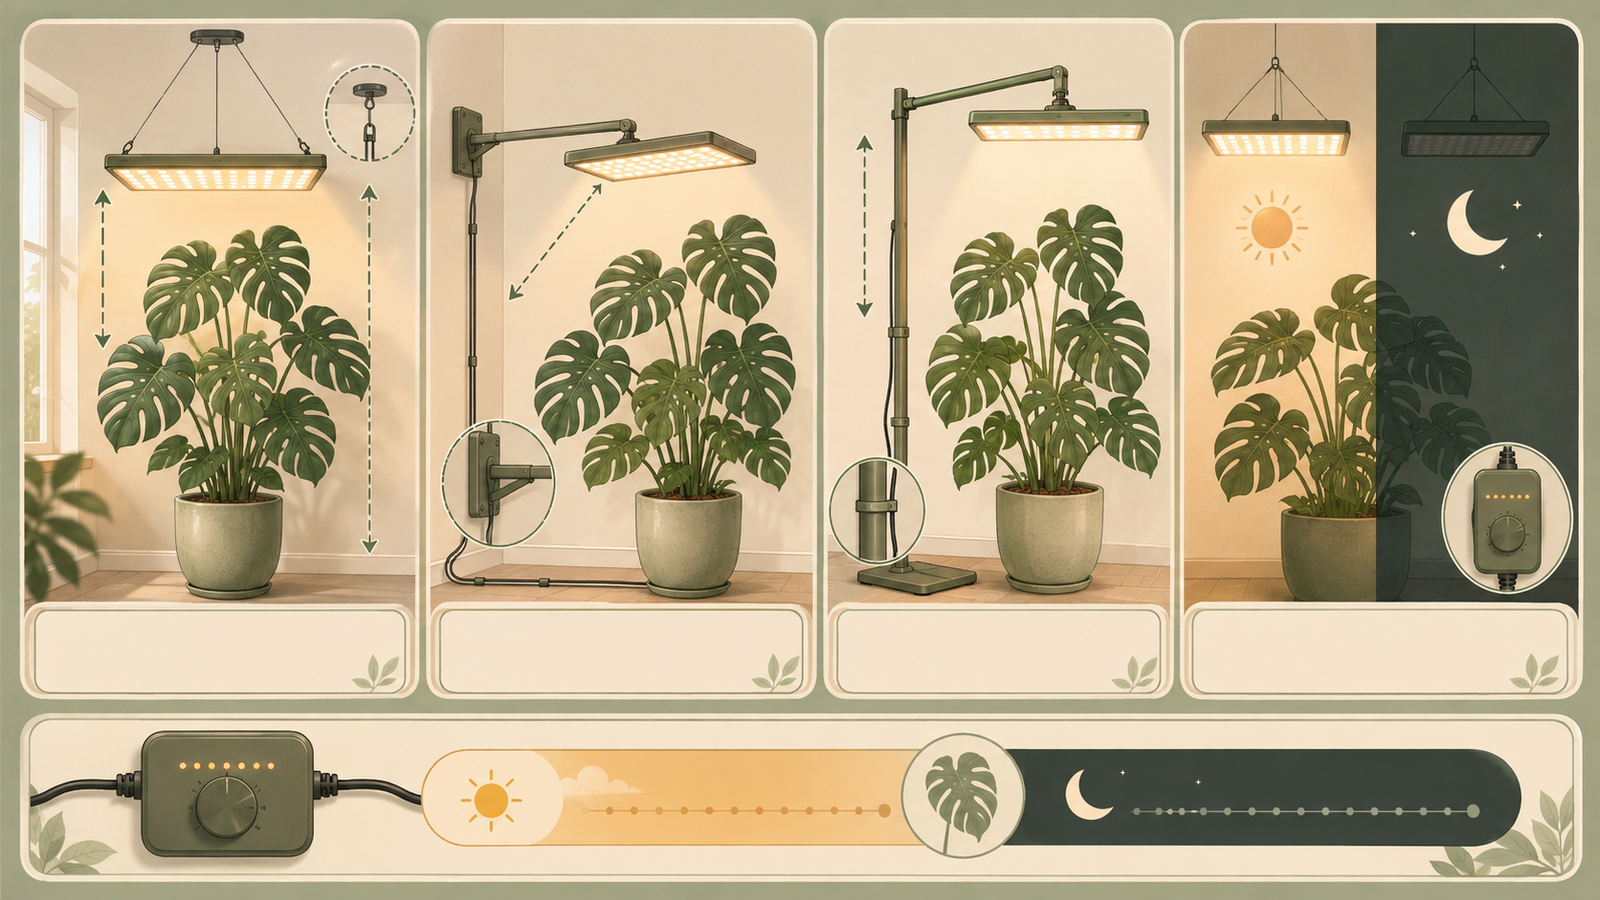
Mounting determines whether the published distance can be maintained. Ceiling suspension gives a broad overhead field and easy height adjustment, a wall arm saves floor space and reaches a side, and a floor stand offers flexibility but needs a wide, stable base.
Compare these mounting questions:
| Mount | Best use | Check before buying |
|---|---|---|
| Ceiling or crossbar | Broad panel over a tall, central canopy | Joist or frame strength, height adjustment, safe clearance |
| Wall or desk arm | Directional fill in a corner or beside a pole | Wall material, fastener rating, arm reach, glare into seating |
| Floor stand | Freestanding panel or tall bar beside a large plant | Tip resistance, walkway clearance, pets, cord path |
| Shelf or upright frame | Bars around a controlled plant station | Frame load, plant removal space, heat above leaves |
Mount to the structure, not to an unstable pot or a support that shifts when watered. Keep drivers, plugs, and connectors away from splash paths and leave vents open. If the manufacturer gives a wall-load or clearance requirement, follow it; do not infer safe hardware from a photograph.
A mount that is easy to raise is usually worth more than a small increase in maximum output. Large Monstera leaves move as they unfurl, and the lamp must move with the canopy without touching foliage. Stability also makes before-and-after comparisons meaningful.
Which controls and schedule features matter?
A timer, dimmer, and accessible controls make a large-canopy setup easier to tune without wasting light. Iowa State Extension recommends supplemental-light timers and a daily period with a dark interval; exact hours should match the room and plant response.1
Prioritise:
- Timer memory: Does the schedule survive a power interruption?
- Dimming range: Can you start lower and protect a close upper leaf?
- Manual override: Can you inspect or photograph the plant without losing the program?
- Control access: Can you reach the switch after the panel is mounted?
- Indicator behaviour: Do lights or app displays glow at night?
- Multi-fixture coordination: Can an overhead source and side fill share a predictable routine?
Set the light around available daylight. A large Monstera beside a bright window may need less supplementation than one in a deep room, while a winter or cloudy setup may need more consistent hours. Use the shortest effective schedule and keep a true dark interval rather than running maximum hours by default.
If you are comparing electricity, measure actual wall draw at the intended dimmer setting. The driver's input can differ from the diode rating, and a controller may add standby draw. Cost matters, but coverage that misses the outer leaves is not efficient coverage.
How should you compare heat, glare, cords, and electricity?
A large fixture should be safe and comfortable in the room where it will run every day. Check the manufacturer's ventilation and clearance instructions, then make sure the beam does not shine into eyes, reflective glass, or a sleeping area.
Large leaves can warm under a close lamp. Watch for pale patches, crisp margins, curling, or a leaf surface that feels unusually hot. Increase distance or reduce intensity before extending hours. Do not cover vents with fabric or foliage to hide glare.
Route cords along walls or frame uprights, keep loops away from pets and children, and use a protected cable path in a walkway. Keep plugs above splash level and use hardware rated for the fixture's load. If a stand can tip when the pot is freshly watered, it is not a finished setup.
For electricity, use actual input watts × daily hours × days ÷ 1,000 to estimate kWh, then apply your local all-in rate. A lower-watt bar may cost less, but two bars running longer can exceed a broad panel's cost. Compare the complete system—fixture, mount, timer, and schedule—not the lamp label alone.
How can plant response confirm the choice?
Use new growth and the whole canopy to confirm a fixture, not one bright-looking leaf. Photograph the same centre, outer, lower, and rear leaves, and record the newest leaf's position, colour, texture, and time to unfurl.
Run a two-week baseline after installation:
- Start at the manufacturer's distance and a conservative dimmer setting.
- Keep the photoperiod, watering checks, and room conditions as consistent as practical.
- Inspect upper and lower leaves on days 3, 7, and 14.
- If only the edges stretch, change aim or add targeted side fill before increasing the whole fixture.
- If the centre shows bleaching or heat, increase clearance or lower intensity.
The Monstera light requirements guide helps distinguish stretching, bleaching, scorched margins, and uneven growth from pests or root-zone problems. A large plant can also look “under-lit” because a support leans away from the lamp. Correct the geometry before replacing a working fixture.
Brighter light may speed dry-down. Cross-check the complete indoor Monstera care guide for substrate, drainage, roots, humidity, temperature, and airflow before changing watering or fertilizer. A lamp cannot fix a compacted mix or damaged roots.
What is the large-Monstera buying checklist?
Use this checklist immediately before checkout:
- Canopy: width, depth, height, growth point, and next-leaf allowance are recorded.
- Coverage: the map shows distance, centre, edges, and the intended orientation.
- Distance: manufacturer guidance is available; 12–24 inches is treated only as a fallback starting reference.
- Format: panel, bars, arm, or a pair matches the room's shelf, corner, or floor geometry.
- Mount: the structure can carry the fixture and stay stable as the plant grows.
- Controls: timer memory, dimming, manual access, and dark-period behaviour are clear.
- Safety: heat clearance, glare, vents, pets, water, and cord routing are solved.
- Energy: actual input watts and expected hours are available for a kWh estimate.
- Test plan: you know which leaves to photograph and which single variable to change first.
If a product page cannot answer several of these questions, pause before checkout and request model-specific information. A clear chart and safe mounting plan are more valuable than an impressive product photograph.
Conclusion: choose coverage you can adjust
The best grow light for a large Monstera is not a universal wattage or a single fixture category. It is a system that reaches the growth point, outer leaves, lower canopy, and rear side at a safe distance, with mounting and controls you can maintain.
Start with measurements and the manufacturer's coverage map. Compare one broad field with two coordinated sources only after identifying a real gap. Then check heat, glare, cords, timer memory, dimming, and future growth. A stable, adjustable setup lets the plant's new leaves—not marketing language—confirm that your choice works.
Frequently Asked Questions
What is the best grow light for a large Monstera?
Choose the fixture with a verified coverage or PPFD map that reaches the whole active canopy at a safe, adjustable height. A broad panel often suits a wide floor plant, while coordinated bars or a panel plus side fill can handle a wide or deep canopy.
Is a panel better than two bars for a large Monstera?
Not automatically. A panel may provide smoother overhead coverage, while two bars can fit a long or irregular canopy and reduce edge falloff. Compare the combined footprint, mounting stability, heat, controls, and actual distance rather than the format name.
How far should a grow light be from a large Monstera?
Follow the exact manufacturer's distance and coverage chart first. The often-quoted 12–24 inch LED range is only an initial reference when a model-specific chart is unavailable. Watch centre and edge leaves and adjust gradually.
Can one grow light cover a tall Monstera?
Yes, if the map covers the growth point and lower canopy at a safe height. A second side or lower fixture is useful when measured shade persists. Give the second light a specific fill role instead of doubling the entire schedule.
Do large Monstera plants need stronger light than small ones?
They need more total coverage, not necessarily higher intensity at every leaf. A broad or coordinated footprint can reach more leaves without creating a hotspot. Match output and distance to the canopy and monitor new growth.
Is a floor stand safe for a large Monstera grow light?
It can be, provided the stand is tip-resistant, clear of walkways, protected from pets and children, and rated for the fixture. Route cords securely and keep the lamp, driver, and plugs away from watering splash.
Should I run a large Monstera grow light longer in winter?
Possibly, if seasonal daylight is lower, but use a timer and preserve darkness. Check the canopy response, dry-down, and room temperature before extending hours. Better alignment or a side fill may solve a winter gap more efficiently.
References
- Iowa State University Extension and Outreach: How to Set Up Supplemental Lights for Indoor Plants — Fixture distance, side lighting, timers, photoperiod planning, and monitoring guidance. 2026.
- University of Connecticut Home & Garden Education Center: Monstera deliciosa — Climbing habit, mature leaf size, and indoor light acclimation context. 2020.
- University of Minnesota Extension: Lighting for Indoor Plants and Starting Seeds — Relative light categories for houseplants, including medium-light Monstera. 2026.
- North Carolina Cooperative Extension: Monstera deliciosa (Ceriman, Cutleaf Philodendron, Hurricane Plant) — Moderate-light guidance and caution with harsh direct sun. 2026.