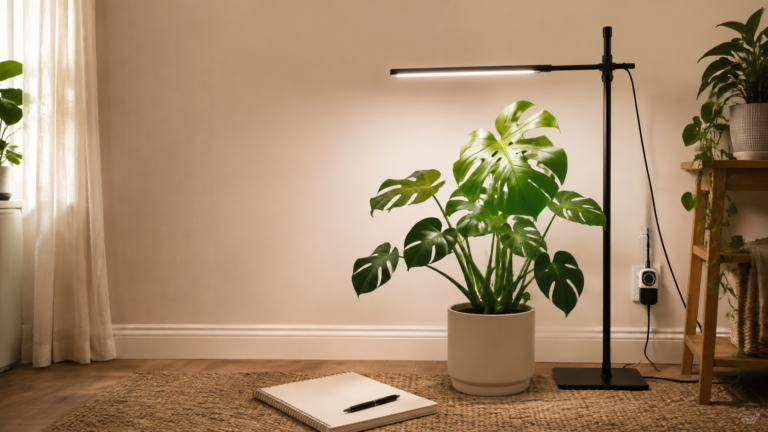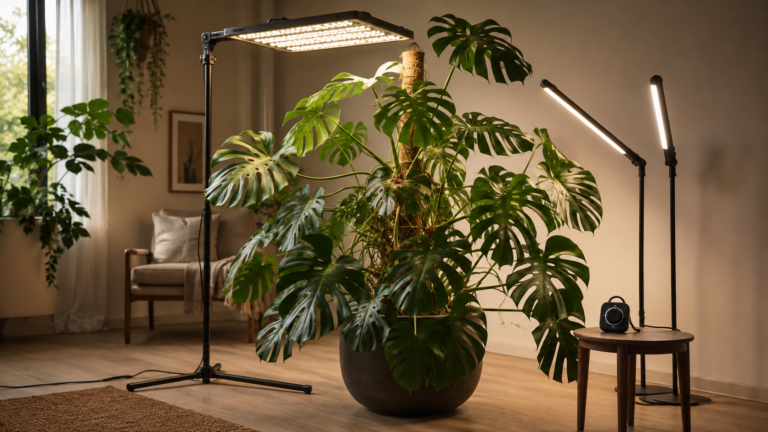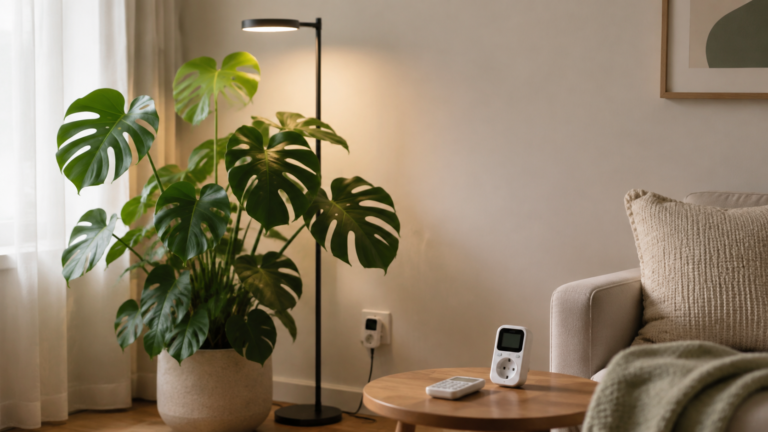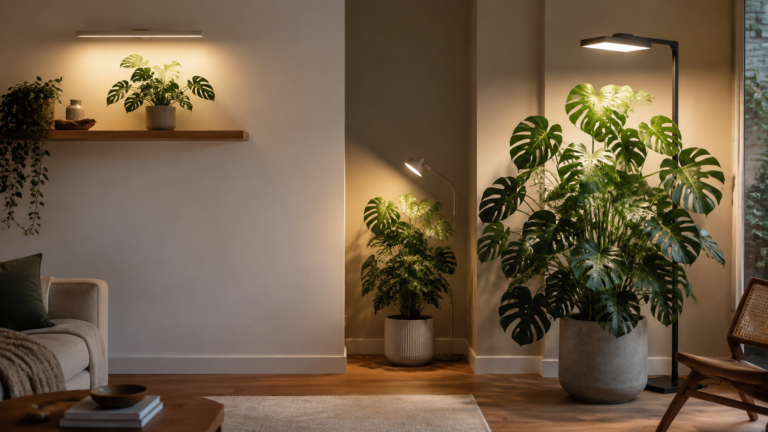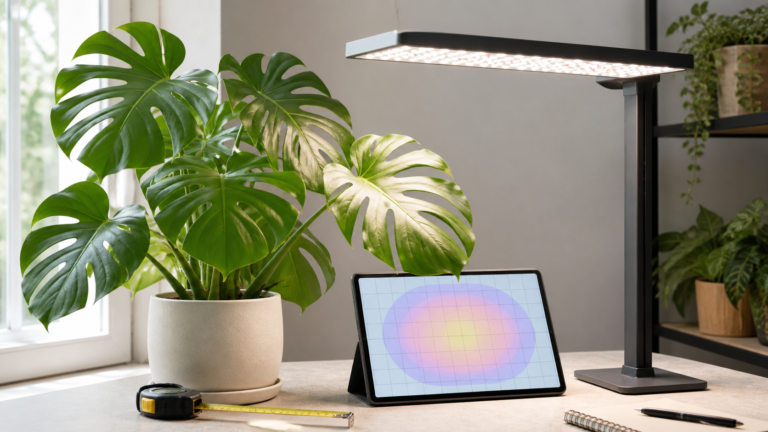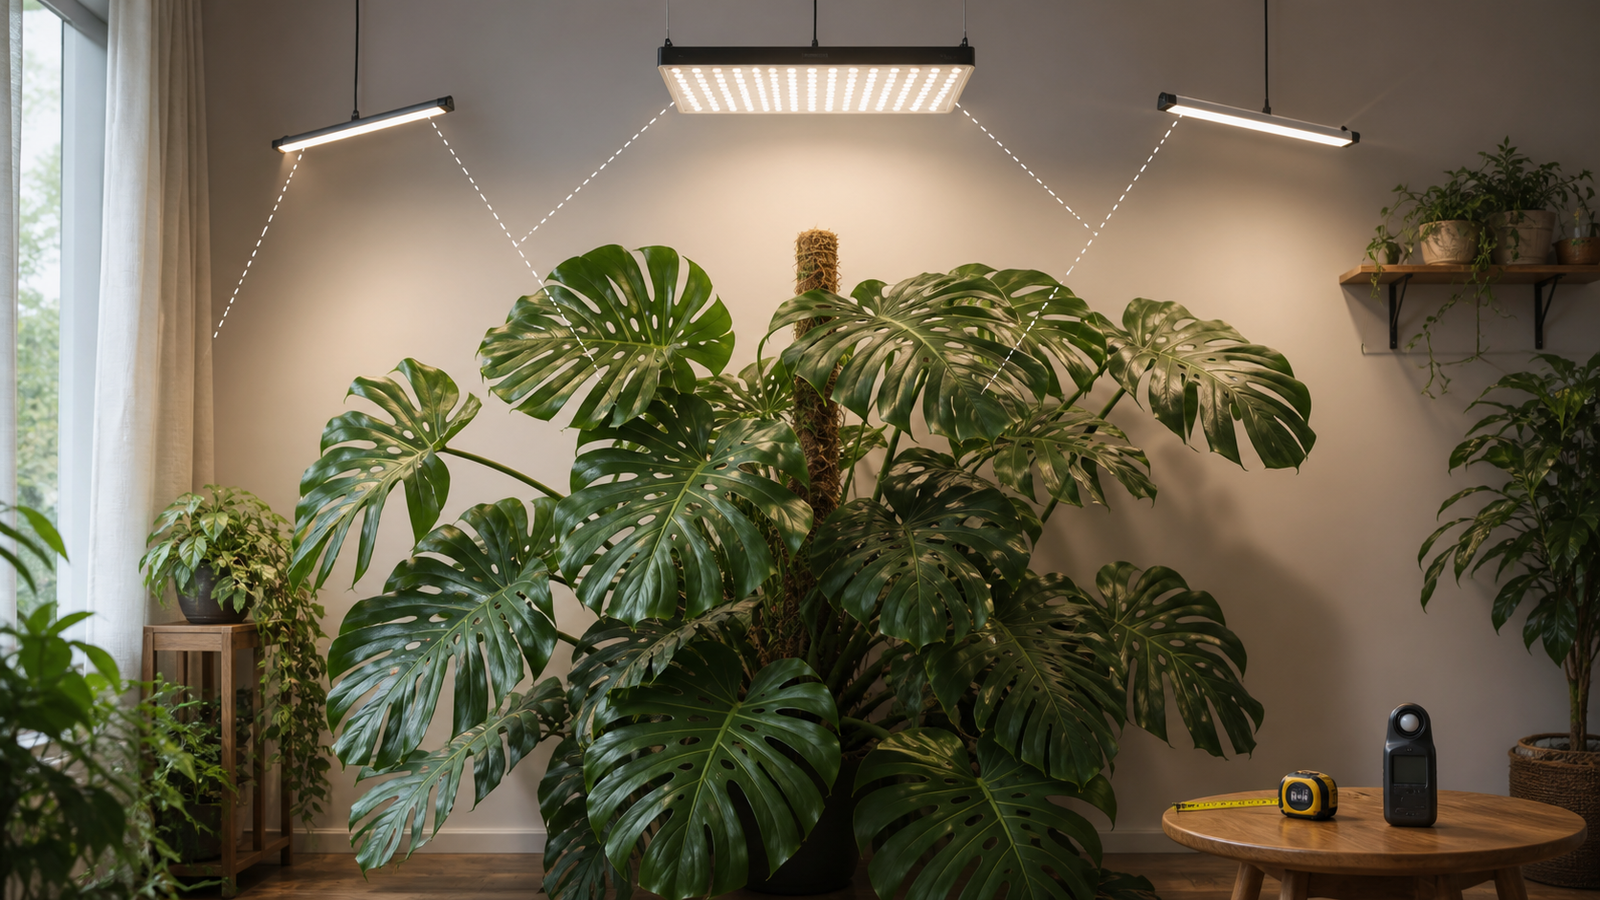
For a large Monstera, start with one fixture only when its published coverage map reaches the entire canopy at a safe height. Choose two fixtures when one centre beam leaves important outer or lower leaves shaded, the plant is tall, or the room makes a broad panel impractical. Canopy shape—not wattage alone—decides.
A mature Monstera can occupy a surprising amount of horizontal and vertical space. The newest leaf may sit directly under a lamp while older leaves extend into a dim corner, making the plant look “under-lit” even when the fixture appears bright. This guide gives you a practical way to compare one broad fixture with two coordinated lights without doubling output or heat by guesswork.
Table of Contents
- What makes a large Monstera's coverage problem different?
- When is one fixture enough for a large Monstera?
- When do two fixtures solve a real coverage gap?
- How should you map a large Monstera before buying?
- How do one fixture and two fixtures compare?
- How should height, distance, and side light change the plan?
- How can you avoid doubling heat, glare, and daily light?
- How do you test one fixture before adding a second?
- What should you check before changing the lighting setup?
- Conclusion: cover the canopy you can actually maintain
- Frequently Asked Questions
- References
What makes a large Monstera's coverage problem different?
A large Monstera is a three-dimensional canopy, not a flat pot. Leaves can extend more than a foot from the stem, overlap at different heights, and turn as the vine climbs. University of Connecticut guidance notes that mature leaves can reach up to 36 inches wide and that Monstera is naturally a climbing vine.1 One overhead hotspot therefore says very little about the lower or far-side leaves.
Think about four zones:
- Growth point: the newest leaf and the section of stem you want to keep developing.
- Upper canopy: leaves closest to the fixture, where intensity and heat are greatest.
- Outer canopy: leaves at the widest points, where a centred beam often falls off quickly.
- Lower or rear canopy: leaves behind the moss pole or stem, where overlap and self-shading reduce usable light.
The first question is not “Can I buy a stronger lamp?” It is “Which zones need consistent coverage, and can one light reach them without creating an unsafe hotspot?” A plant in a bright window may need only a fill light on its darker side; a deep-room specimen may need a complete overhead field plus side light.
When is one fixture enough for a large Monstera?
One fixture is enough when its real PPFD or coverage map spans the active canopy at the height you can safely maintain, with acceptable centre-to-edge consistency. A broad panel or long bar can work well when the plant is wide but not extremely deep and the room allows centred mounting.
Choose one fixture first when most of these statements are true:
- The canopy fits inside the map's stated useful footprint, including a little room for the next leaf.
- The fixture can be centred over the growth point rather than pushed to one side by a wall or shelf.
- Outer leaves are not consistently darker, slower, or more stretched than the centre leaves.
- The mounting point provides the manufacturer's clearance and leaves enough room to raise the fixture as the plant climbs.
- One timer and dimmer can provide a repeatable light window without the lamp shining into eyes, beds, or neighbouring rooms.
The “one” option is often simpler to live with. There is one cord, one timer channel, one height to adjust, and one heat zone to monitor. A wide panel may also produce smoother overlap than two narrow bulbs aimed at slightly different angles. Start from the manufacturer's distance and output instructions; the frequently quoted 12–24 inches for LEDs is only a rough starting reference when no model-specific chart is available.2
One fixture is not automatically economical if it must be placed so close that the centre leaves bleach or the edges remain dark. If the map works only on paper but misses the plant's actual depth, a second, lower-output source may be a more controlled solution than raising the first lamp's hours.
When do two fixtures solve a real coverage gap?
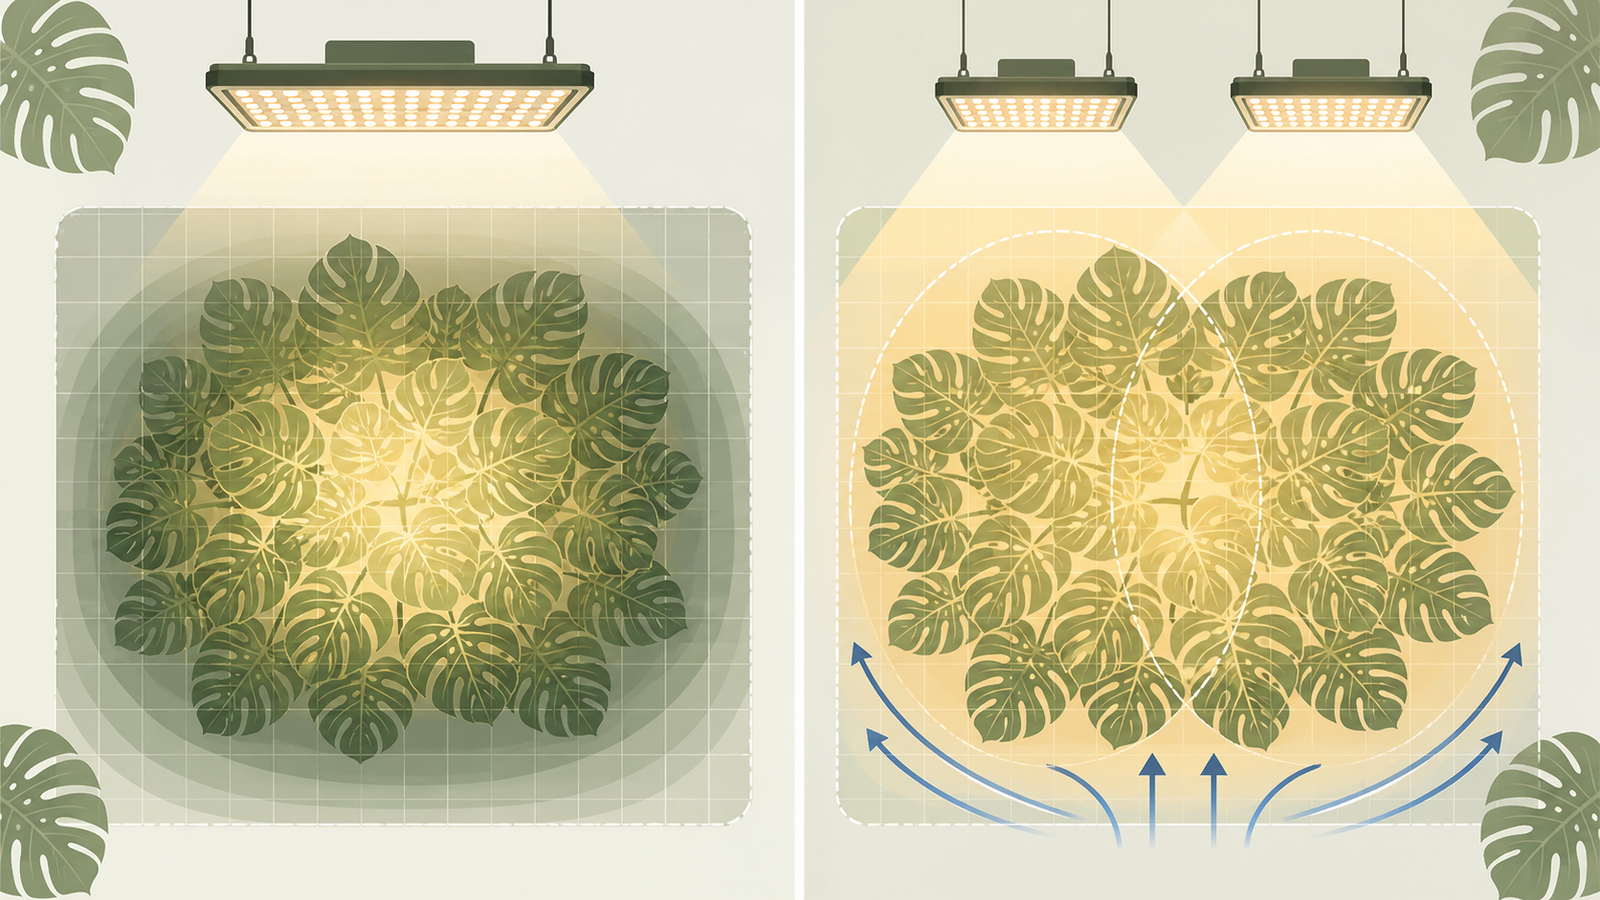
Two fixtures make sense when the canopy has two distinct light problems that one source cannot solve safely: broad horizontal spread, significant height, or a persistent shaded side. The second fixture should fill a measured gap, not simply add brightness everywhere.
Use two when one or more of these patterns repeats after a controlled trial:
| Repeated pattern | What it suggests | Better two-fixture role |
|---|---|---|
| Centre leaves are bright, outer leaves stay noticeably darker | The beam footprint is too narrow | Place two sources left and right with a modest overlap across the middle |
| Top leaves receive light, lower leaves remain shaded | The canopy is too tall for overhead light alone | Keep the overhead fixture for the growth point and add a vertical or side fixture at a safe angle |
| One side faces a window or wall while the other stretches | Directional daylight and lamp light are unbalanced | Use a second source as a side fill rather than increasing the central fixture |
| The plant has two active vines separated by a pole or trellis | One centre line cannot cover both growth points | Aim each fixture at one vine, then check the shared middle zone |
| A broad panel would block a walkway or dominate a small room | Physical constraints prevent a useful single footprint | Use two smaller fixtures that fit stable mounting points and keep cords safe |
Two fixtures can improve uniformity with less peak intensity, but they also add heat, glare, cords, mounting load, and another setting to document. Iowa State Extension specifically lists an additional fixture or side light as an option when the farthest parts of a taller plant show symptoms.2 The goal is to bring the dimmest important leaves into a workable range, not to make the centre twice as bright.
How should you map a large Monstera before buying?
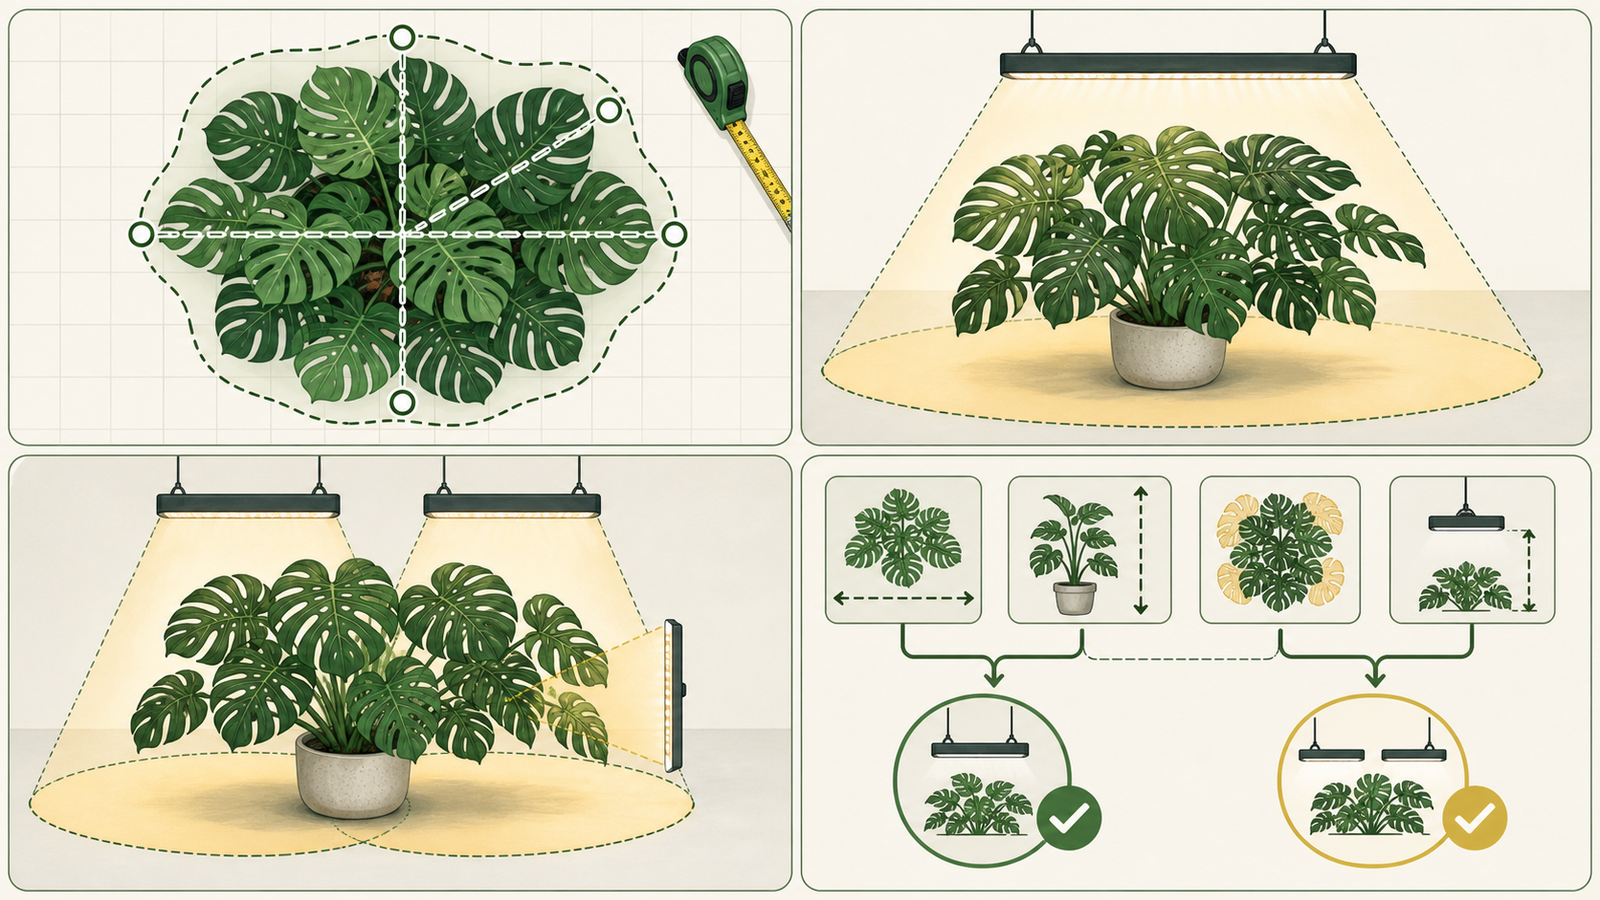
Map the leaves first, then overlay each fixture's published footprint. A quick paper or phone sketch is enough if it shows width, depth, height, and the positions of the newest and most distant leaves.
- Measure width and depth. Extend a tape measure from the farthest left leaf to the farthest right leaf, then from the front edge to the rear edge. Record the pot and support position so you can repeat the measurement.
- Measure height. Note the distance from the floor or shelf to the highest leaf, the newest unfurled leaf, and the lowest leaf you want to keep. A top-down map alone will hide a vertical coverage problem.
- Mark priority leaves. Circle the growth point, the leaves closest to the light, outer leaves, and any cultivar sections that are more sensitive to abrupt exposure.
- Record daylight. Photograph the room at morning, midday, and late afternoon for a few days. A large window contribution may cover one side while leaving the back consistently dim.
- Overlay the chart. Use the manufacturer's grid at the stated height and output. Align the chart's centre with the growth point, then check whether its edges reach the priority leaves.
The map should show where light lands, not promise a universal PPFD target. Leaves tilt, overlap, and move. If a fixture listing gives only wattage and a “coverage” area with no distance, grid, units, or dimmer setting, mark the prediction as uncertain. The **Monstera grow-light guide** explains the same map-first sequence in a broader setup context.
How do one fixture and two fixtures compare?
Compare the options using coverage, adjustment, safety, and routine—not just the number of lamps. The table below is a decision aid; the exact result still depends on each model's PPFD map and your room.
| Decision factor | One broad fixture | Two coordinated fixtures |
|---|---|---|
| Coverage shape | Best for a canopy that fits one rectangle or long strip | Best for two zones, a very wide canopy, or overhead plus side fill |
| Uniformity | Can be smooth when panel or bar length matches the canopy | Can reduce edge falloff if the fields overlap without a central hotspot |
| Setup simplicity | One mount, timer channel, dimmer, and cord | More alignment, cords, controls, and notes to maintain |
| Growth changes | Raise or reposition one source as the plant climbs | Adjust each source so one does not become too close to a new leaf |
| Heat and glare | One main heat and glare zone | More total sources can increase room warmth and visual spill |
| Failure tolerance | A failed fixture affects the whole canopy | One fixture can temporarily cover part of the plant while the other is repaired |
| Small-room fit | A large panel may be visually or physically awkward | Smaller bars or bulbs can fit separate shelves or side mounts |
| Cost logic | May be efficient if the map truly covers the plant | May be more controlled when a second low-output fill solves one gap |
Use “two” only if you can explain what each fixture does. For example, Fixture A may cover the upper growth point, while Fixture B fills the far-side leaves. If both are pointed at the same centre, you have added intensity without fixing the coverage geometry.
How should height, distance, and side light change the plan?
Height changes both intensity and footprint. A fixture closer to the leaves generally produces a stronger centre and tighter field; moving it higher can widen the field while lowering the reading at each point. Compare the same chart grid at each stated height instead of assuming that a higher lamp is automatically gentler.
Measure from the emitting surface to the nearest leaves. For a tall Monstera, keep a note for the growth point and the tallest upper leaf; a new unfurled leaf can suddenly reduce clearance. Follow the manufacturer's mounting and heat instructions, and use 12–24 inches only as an initial reference if a chart is unavailable—not as a fixed rule.2
Side light is useful when the problem is vertical depth. Iowa State notes that PPFD can drop significantly farther from a source and that vertical fixtures can help light taller canopies.2 A slim bar mounted beside the plant may be more effective than a second overhead lamp, provided it does not shine directly into eyes or heat one leaf. Angle it toward the shaded side and leave airflow around the foliage.
Support affects the measurement too. When a stem leans away from its pole, the growth point moves out of the chart's centre and the plant's apparent width changes. A modular moss pole for climbing Monstera can help keep the vine in a repeatable vertical line while you adjust the light. Support does not replace coverage, and it should be installed with stable hardware and suitable moisture management.
How can you avoid doubling heat, glare, and daily light?
Treat a second fixture as a new heat and energy variable, not a harmless add-on. Two lamps can overlap at the centre, warm a wall, dry the pot faster, or create glare on a screen even when the outer leaves still need help.
Before adding one, check:
- Overlap: Draw both footprints and identify the shared centre. Dim or separate the fixtures if the overlap creates a hotspot.
- Clearance: Keep leaves and curtains away from the emitting surface and follow the exact model's ventilation distance.
- Electrical load: Use rated mounts, cords, timers, and outlets. Keep connections above the splash zone and avoid daisy-chaining power strips.
- Glare: Aim beams away from eye level and reflective screens. Do not cover a fixture with fabric or paper to soften it.
- Dark period: Set both fixtures to the same predictable light window unless you have a specific reason for a side-fill schedule. Plants still need darkness; Iowa State suggests a timer and generally recommends observing within a repeatable window rather than running lights all night.2
- Drying speed: Brighter or warmer air can change how quickly the pot loses water. Check pot weight, substrate feel, and drainage before changing watering frequency.
If the room already receives useful window light, coordinate rather than stack. On a bright afternoon, the second fixture may be unnecessary; on a cloudy morning, it may fill the rear canopy. The **complete indoor Monstera care guide** helps you review roots, substrate, drainage, temperature, humidity, and airflow alongside a lighting change.
How do you test one fixture before adding a second?
Test the single-fixture setup for one consistent week, or longer if the plant is not actively producing a leaf. A measured trial prevents a second lamp from masking a mounting or root-zone problem.
- Photograph the baseline. Use ordinary room light, not the grow light, and capture the whole plant, newest leaf, and shaded side.
- Record the chart conditions. Write down fixture model, height, dimmer setting, timer window, window curtain position, and distance to the closest and farthest leaves.
- Inspect three zones. During the light window, compare the nearest upper leaf, the centre growth point, and the outer or lower leaf. If available, take PPFD readings at those same positions with a quantum meter.
- Look for repeated patterns. Note stretching toward one side, a persistently dark edge, crisp or bleached tissue, leaf curling, unusual warmth, and whether the pot dries faster than before. One afternoon is a clue, not a verdict.
- Adjust one lever. First try a small height or aim change, then hold it steady. Do not move the fixture, extend hours, and add fertilizer on the same day.
- Add a second only for a named gap. If the same outer or lower zone remains weak while the centre is already comfortable, place the second fixture to fill that zone. Start it at a conservative output and acclimate the leaves.
- Recheck overlap. After the second fixture runs, measure the centre again. The success signal is more even coverage and healthy new growth—not simply a brighter room.
If you change output, remember that DLI depends on both PPFD and hours: DLI = PPFD × hours × 3,600 ÷ 1,000,000. Use a representative canopy value rather than a peak centre reading, and keep the calculation as a comparison tool rather than a promise of a particular growth result.
What should you check before changing the lighting setup?
Confirm that uneven light—not another care variable—is limiting the plant. University of Minnesota lists Monstera deliciosa among medium-light indoor plants, while UConn cautions that large leaves can burn when acclimation is abrupt.1 North Carolina Extension likewise describes Monstera as a moderate-light foliage plant and cautions against harsh direct exposure.4
Use the **Monstera light requirements guide** to compare symptom combinations. Smaller leaves and long internodes can accompany low light, but yellowing in a wet pot, pests, cold stress, root loss, or a recently repotted plant can look similar. A second fixture cannot repair poor drainage or compact substrate.
Check the support and root zone before chasing the dimmest leaf. A climbing plant that has not attached to its support may not mature leaves as expected, and a pot that stays heavy may need airflow or root inspection rather than more hours. Make a dated note of the current state so you can tell whether the new light, a season change, or a care correction caused the response.
Conclusion: cover the canopy you can actually maintain
One fixture is the better starting choice when a broad panel or long bar covers the full measured canopy at a safe height and the outer leaves remain reasonably even. Two fixtures are justified when a repeatable edge, lower-canopy, or two-vine gap remains after you have centred, raised, aimed, or dimmed the first light. Use one fixture for the growth point and the second for the named dark zone.
Map the plant, read the exact PPFD or coverage chart, follow the manufacturer's distance, and treat 12–24 inches only as a rough fallback reference. Coordinate timers, preserve a dark period, leave safe clearance, and monitor heat and drying speed. Re-measure after each new leaf or support change; a setup that matches today's canopy may not match next season's.
Frequently Asked Questions
Can one grow light cover a very large Monstera?
Yes, if the fixture's published map covers the real width, depth, and height of the active canopy at a safe distance. A broad panel or long bar is more likely to fit than a narrow point source, but centre and edge observations matter more than the fixture label.
Is two grow lights better than one for a mature Monstera?
Not automatically. Two lights help when they solve a specific edge, lower-canopy, or two-vine gap. They also add heat, glare, cords, mounting points, and another output to manage. Add the second only after mapping and testing the first.
Should two lights overlap in the middle?
A modest overlap can smooth the transition between fixtures, but excessive overlap may create a hotspot. Draw both footprints, compare the shared centre with the outer leaves, and dim or separate the sources if the centre becomes much brighter.
Where should the second light go on a tall Monstera?
Place it where the chart and your observations show a gap: often beside the shaded side or vertically along the lower canopy. Keep the main fixture over the active growth point, leave clearance, and angle the side light away from eyes and reflective screens.
Is a bigger panel always better for a large Monstera?
No. A panel is useful only when its map fits the plant and the room can support its size, heat, glare, and mounting. An oversized panel may spill light into the room while still missing leaves hidden behind the stem.
Can I use two different fixture types together?
You can, provided each fixture has a clear role and compatible mounting and electrical ratings. For example, a broad overhead panel can cover the upper canopy while a dimmer bar fills a shaded side. Compare their distances and observe the overlap rather than assuming their outputs add neatly.
How many hours should two fixtures run?
Use the manufacturer guidance, account for window light, and keep a predictable dark period. Start the second fixture conservatively and change one variable at a time. If the room becomes warmer or the pot dries faster, reassess the environment before extending the timer.
What if the centre grows well but the outer leaves do not?
That pattern points first to coverage or direction, not necessarily a need for more total hours. Check the chart at the actual height, aim the fixture over the canopy, raise it to widen the field, or add a side/second fixture aimed at the outer zone.
References
- University of Connecticut Home & Garden Education Center: Monstera deliciosa — Mature leaf size, climbing habit, light acclimation, and large-leaf burn caution. 2020.
- Iowa State University Extension and Outreach: How to Set Up Supplemental Lights for Indoor Plants — Fixture distance, added or side lighting, timers, dark periods, and observation-based adjustments. 2026.
- University of Minnesota Extension: Lighting for Indoor Plants and Starting Seeds — Indoor light categories and Monstera’s medium-light placement. 2026.
- North Carolina Cooperative Extension: Monstera deliciosa (Ceriman, Cutleaf Philodendron, Hurricane Plant) — Moderate-light context and direct-sun caution for Monstera. 2026.