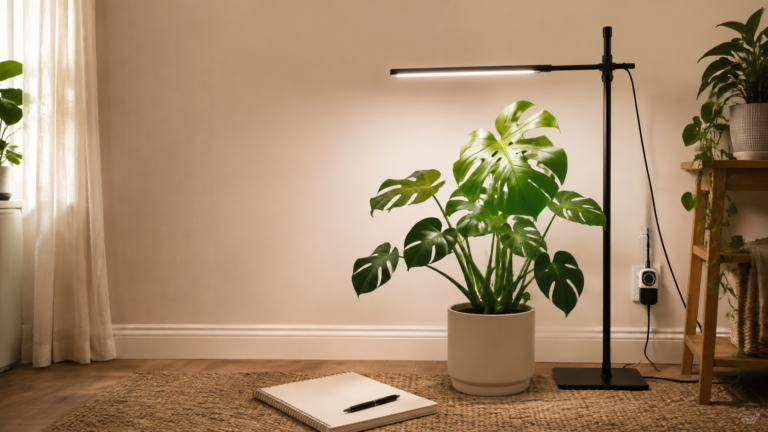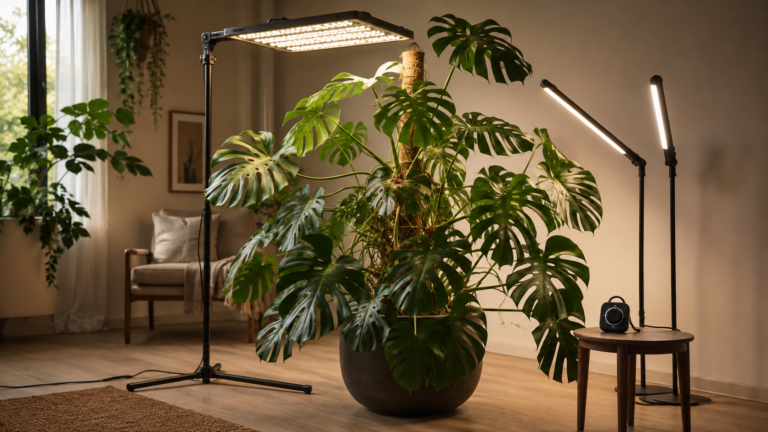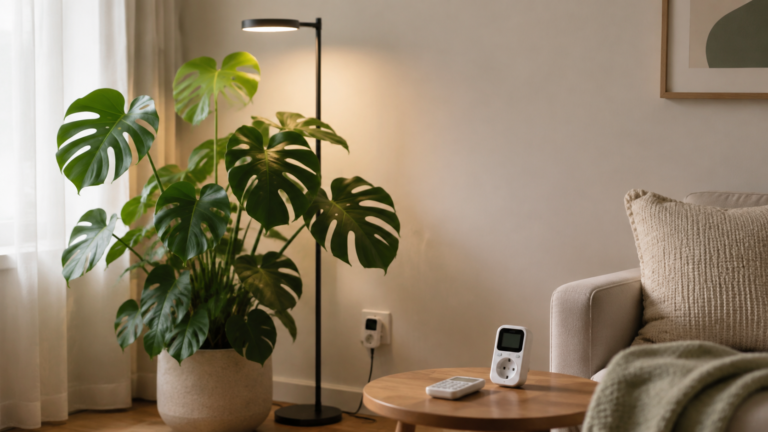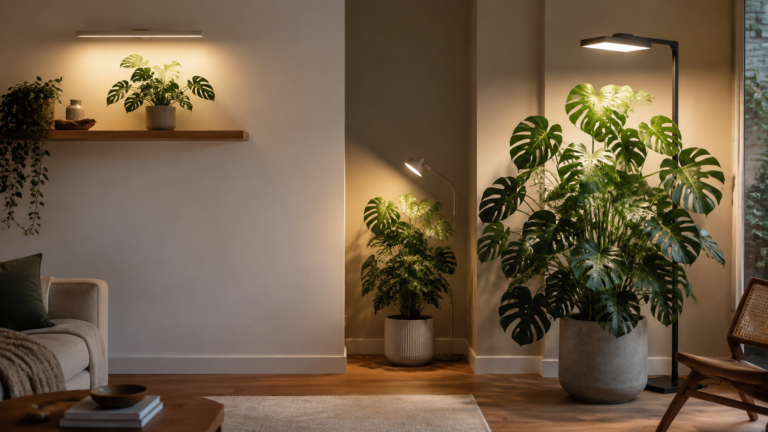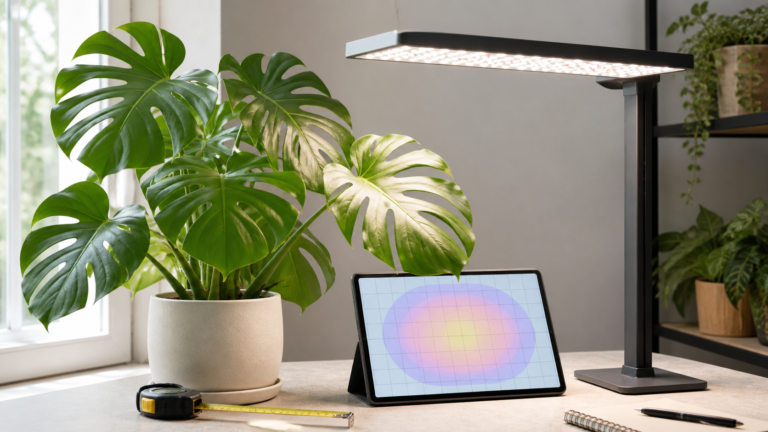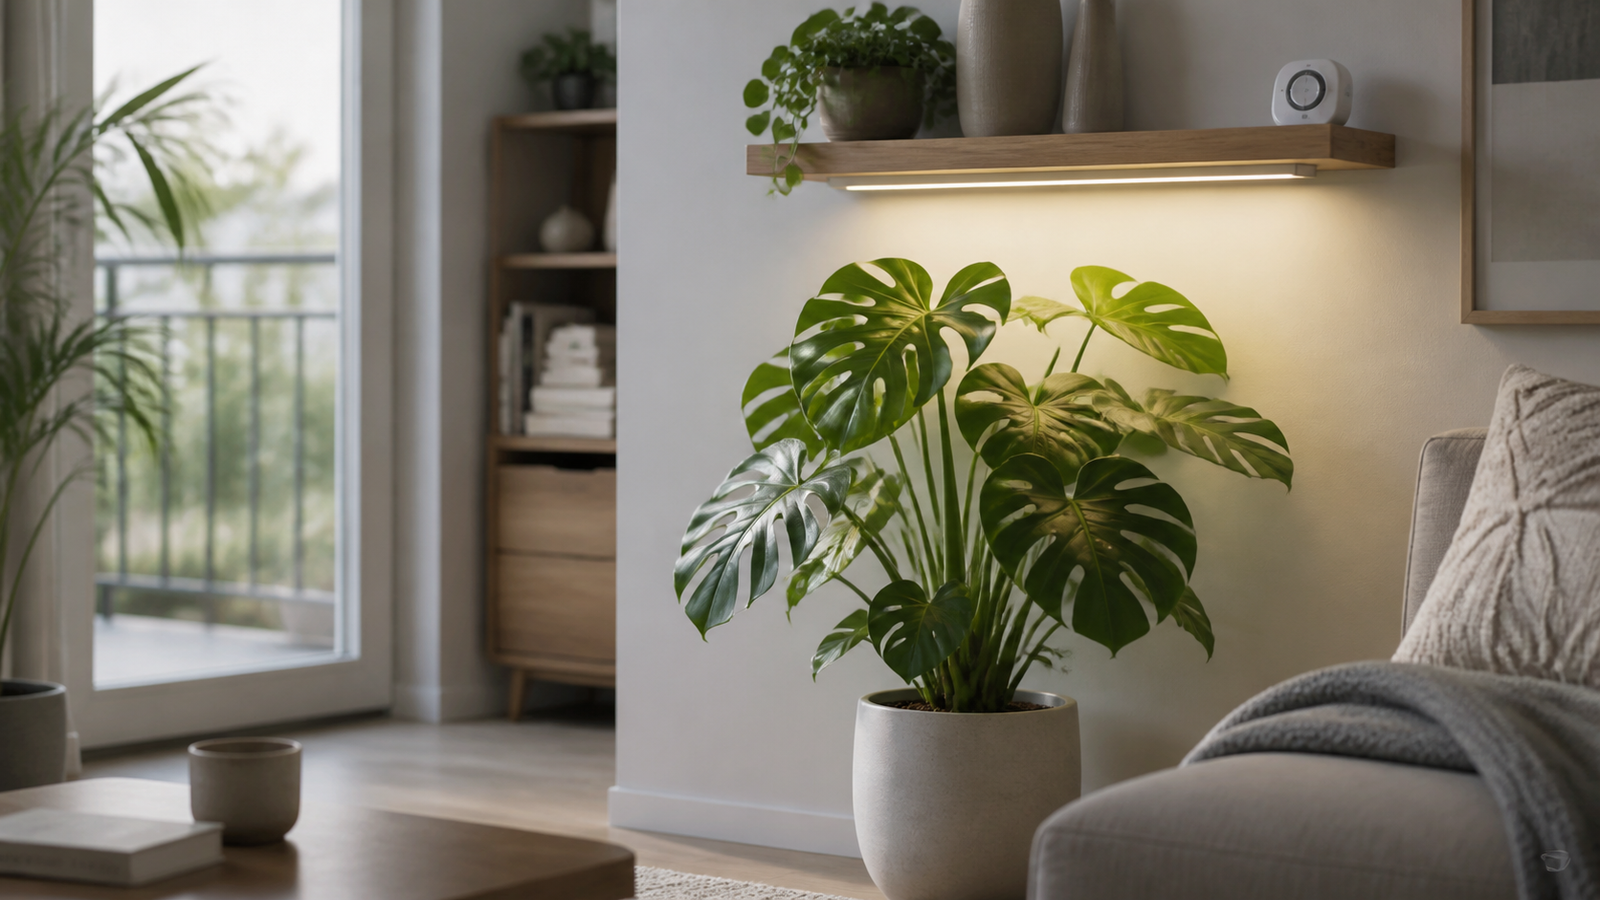
A good small-apartment Monstera grow-light setup hides in the room’s existing lines: choose a fixture from its coverage map, place it over the canopy rather than the pot, route the cord along a shelf or wall edge, and use a timer. Keep the light measurable, accessible, and easy to adjust as the plant grows.
In a compact home, the best setup is not the brightest lamp you can fit. It is a repeatable light source that supports healthy leaves without becoming the room’s visual centerpiece. This guide shows how to match coverage, furniture, cables, and daily timing so your Monstera looks intentional in both daylight and after dark.
Table of Contents
- What makes an apartment grow-light setup look intentional?
- Choose the light footprint before the fixture style
- Three small-space layouts that balance coverage and style
- Hide cables without hiding safety
- Build the setup step by step
- A sample one-week apartment setup check
- Make the plant part of the composition
- Keep coverage even as a Monstera climbs
- Fix the most common apartment setup problems
- Conclusion: make the light easy to live with
- Frequently Asked Questions
- References
What makes an apartment grow-light setup look intentional?
An intentional setup gives the fixture a clear job, a quiet visual location, and a safe path to power. Start with plant coverage, then choose a fixture whose shape follows a shelf, floor-lamp line, or wall—not the other way around.
Use four design tests before buying anything:
- Proportion: The fixture should cover the active canopy without extending far beyond it. A narrow bar above a narrow plant often looks calmer than an oversized panel.
- Visual hierarchy: Let the Monstera remain the focal point. Matte white, black, or neutral fixtures usually recede more easily than highly decorative housings, but finish is secondary to output and coverage.
- Access: You should be able to wipe the leaves, water the pot, reach the timer, and move the plant without dismantling the light.
- Reversibility: Renters and frequent rearrangers benefit from clips, a freestanding stand, or furniture-mounted hardware that can be removed without a permanent installation.
Avoid hiding a hot fixture inside a closed cabinet or covering a light with fabric, baskets, or decorative paper. A setup can be visually quiet while still leaving ventilation, heat clearance, and the manufacturer’s mounting instructions visible in your decision.
Choose the light footprint before the fixture style
Match the fixture to the leaves that need light, not simply to the pot diameter. A Monstera’s leaves can spread well beyond its container, and a beautiful lamp that illuminates only the center will leave outer leaves under-served.
Measure the canopy from its widest leaf tip to the opposite tip. Mark that width on the shelf, wall, or floor area where the plant will live. Then check the manufacturer’s PPFD or coverage map at the proposed distance. The parent Monstera grow-light guide explains why a published footprint is more useful than wattage alone and how to adjust one variable at a time.
If the fixture has no usable map, 12–24 inches can be an initial reference range for many LED fixtures, not a universal prescription. Begin at the manufacturer’s stated distance, observe new and existing leaves for about a week, and change either height, dimming, or duration—not all three together. A phone lux reading can reveal unevenness, but it is not a substitute for a fixture-specific PPFD map.
Remember that a bright window still contributes light. A north-facing window, a shaded balcony, seasonal cloud cover, and a sheer curtain can all change the combined result. Monstera deliciosa is generally placed in moderate light and should be protected from abrupt, intense exposure; variegated plants may need more usable light than darker-green forms.1 A grow light should fill a measured gap, not automatically run at maximum output.
Three small-space layouts that balance coverage and style
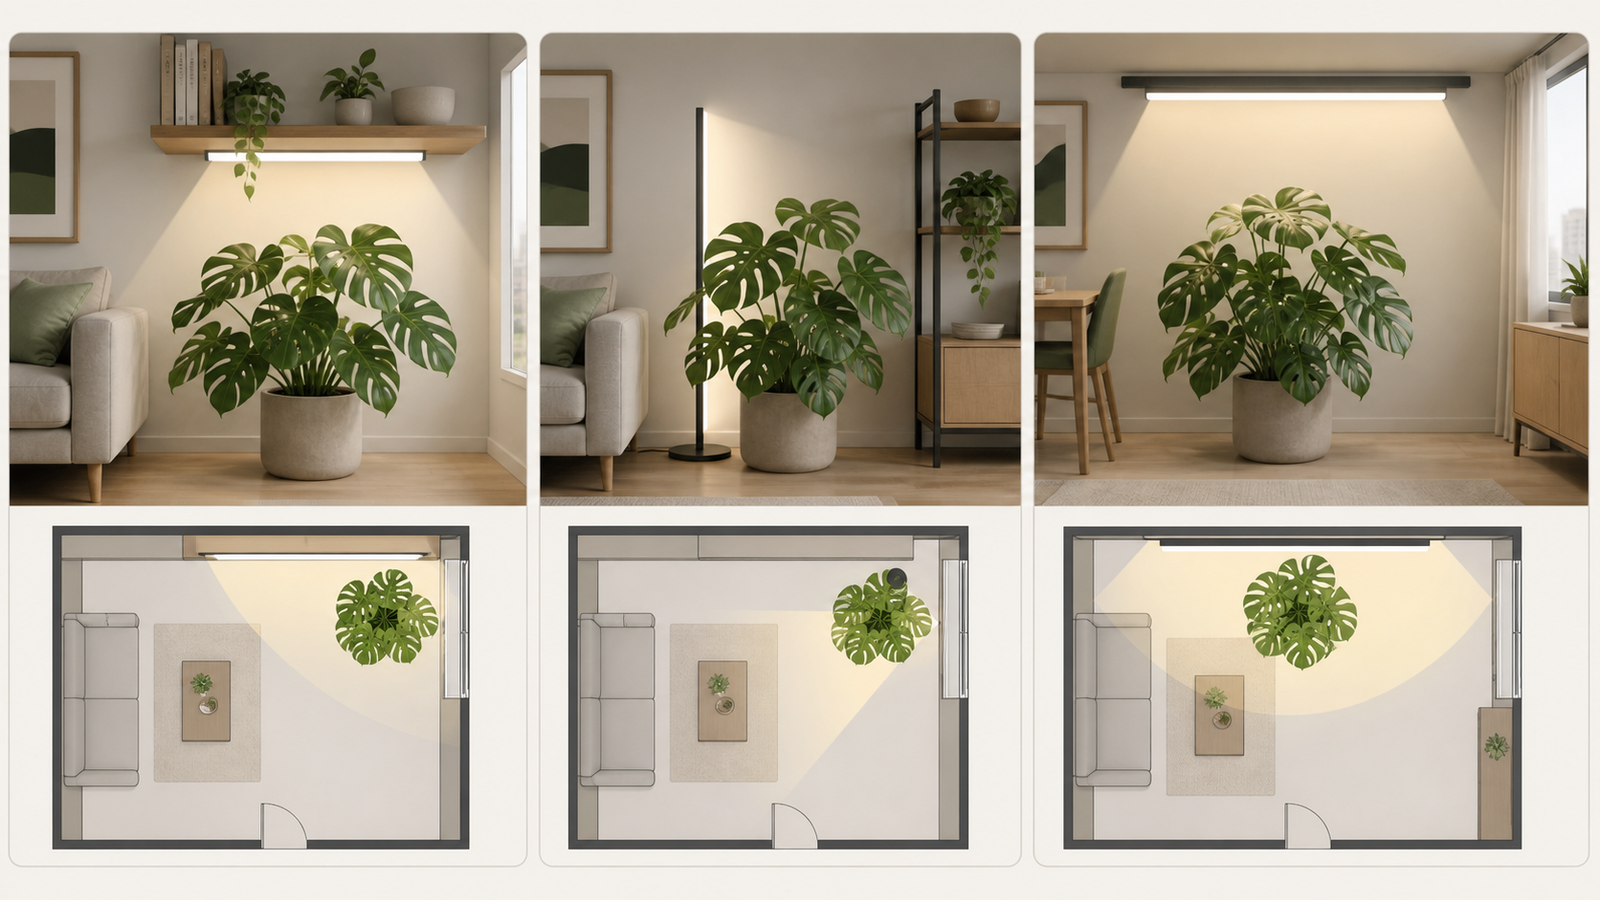
The most useful layout is the one that gives the whole canopy a reasonably even footprint while preserving a clear walking path and a dry, reachable outlet. Compare the options below with your measured canopy and furniture.
| Layout | Best for | Coverage and trade-off | Styling cue |
|---|---|---|---|
| Shelf or cabinet bar over the canopy | A Monstera beside a bookcase, console, or floating shelf | A horizontal bar can spread light evenly across a compact canopy; the shelf must be strong enough for its own load and the fixture must have adequate clearance | Align the bar with the shelf’s front edge and keep the top shelf lightly styled |
| Slim freestanding floor lamp or vertical panel | Renters, corners with no suitable shelf, and plants that are taller than they are wide | Easy to move and aim, but side lighting can create brighter near leaves and shaded far leaves; rotate or reposition after observing | Place the stand behind the pot’s visual line, leaving the base clear of foot traffic |
| Wall- or ceiling-mounted bar across the plant wall | A permanent plant nook or a long, climbing Monstera | A wider bar can cover a climbing canopy; mounting height and hardware must follow the wall, ceiling, and manufacturer limits | Use one clean horizontal line above several plants rather than several small visible lamps |
The plant does not need to sit directly below the fixture in every layout. The goal is a useful light field across the leaves, with the highest-demand growth zone receiving the most consistent exposure. Keep enough room to inspect the leaf closest to the lamp as well as the outer leaves.
Hide cables without hiding safety
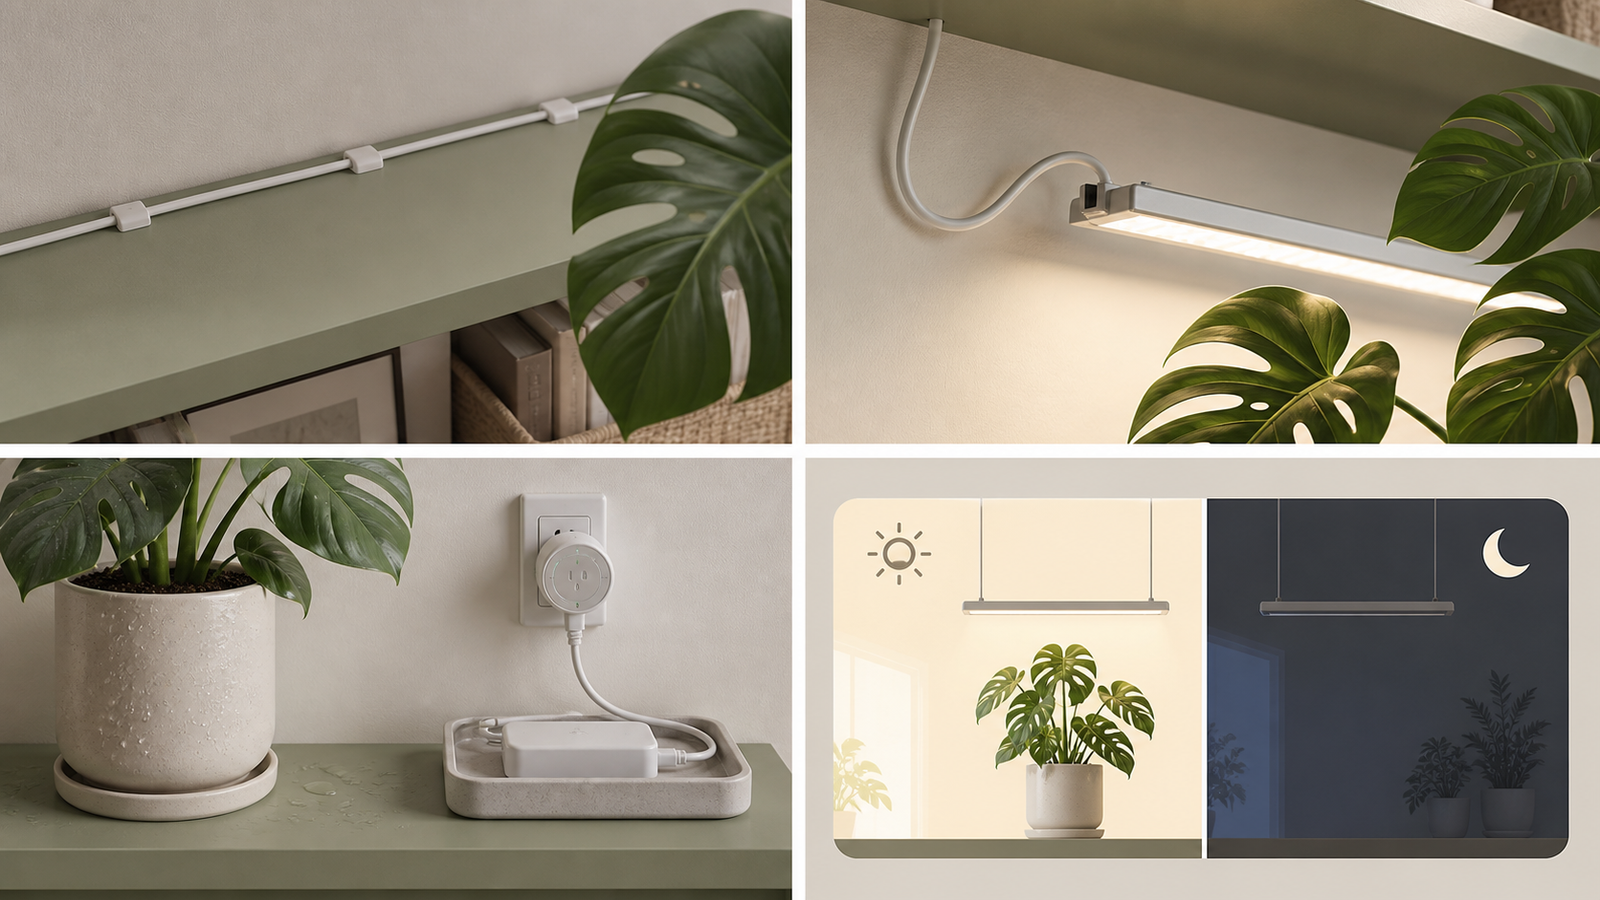
Good cable management makes a small apartment look calmer, but it must never make water or heat harder to notice. Route the cord along the back underside of a shelf or a wall edge with clips or a surface raceway rated for that use. Leave a small service loop near the fixture so a moved plant does not pull the connector.
Keep the plug, power strip, and timer above the pot’s splash zone and away from drainage runoff. Do not run a cord under a rug, pinch it behind heavy furniture, or daisy-chain power strips. Use a grounded, correctly rated outlet where required and follow the fixture maker’s electrical and mounting instructions. Stop using a cable with damaged insulation, a loose connector, or unusual heat.
A timer is useful because a Monstera benefits from a consistent light-and-dark rhythm. Many foliage growers begin around 12–14 hours of supplemental light, then adjust after watching the plant and the room; Iowa State Extension notes that plants need a dark period and that longer is not automatically better.3 Position the timer where you can override it during cleaning or troubleshooting rather than burying it behind the pot.
Build the setup step by step
Follow this sequence so a style decision does not outrun a plant-health decision:
- Map the room. Measure the canopy, pot footprint, walking clearance, nearest outlet, and window contribution. Photograph the corner before moving anything.
- Check the plant’s baseline. Note leaf firmness, new growth, soil moisture, and whether the newest leaf is already unfolding. If leaves are scorched, yellowing, or curling, read the Monstera light requirements guide before assuming the lamp is the cure.
- Select by coverage. Compare the fixture’s map, dimming range, timer compatibility, heat notes, and mounting method. Choose a footprint that reaches the active leaves without needing a very narrow beam.
- Place the fixture provisionally. Use a stand, removable clips, or another reversible method for the first week. Aim at the canopy’s center of mass, not at the soil surface.
- Check the closest leaf. After the first light window, feel for unusual warmth and look for bleached patches, crisp margins, or a leaf that is consistently angled away. A healthy setup should not make you ignore heat just because the fixture looks attractive.
- Secure the cord. Once the position is confirmed, clip the cable along a dry route, leave service slack, and keep the timer and plug visible enough to inspect.
- Set a repeatable schedule. Choose a start time that fits the room—often after sunrise if the window already provides daylight—and preserve a dark overnight period. Record the setting so a future move is not guesswork.
- Recheck coverage. Look at the closest, center, and farthest leaves. If only the nearest leaf is bright, widen or reposition the fixture before adding more hours.
This order also makes the setup easy to reverse when you move furniture, change seasons, or the Monstera outgrows its corner.
A sample one-week apartment setup check
Use a short observation log instead of changing the setup every few hours. Brighter, warmer areas can dry a pot faster, so light changes may alter watering needs without creating a fixed watering calendar.4
| Checkpoint | What to record | Small, safe adjustment |
|---|---|---|
| Day 0 | Fixture distance, dimmer setting, timer window, canopy width, soil feel, and a photo | Move the pot or fixture only if a leaf is already touching the lamp or the cord is unsafe |
| Day 1 | Heat on the closest leaf, glare at seating or screens, and whether the beam misses outer leaves | Tilt, diffuse only with a manufacturer-approved accessory, or move the fixture slightly; do not cover it with fabric |
| Day 3 | New leaf posture, leaf sheen, dry-down speed, and timer reliability | If the near side is much brighter, widen coverage or rotate the plant a small amount; keep the change documented |
| Day 7 | Compare photos, soil moisture at the usual check depth, and any crisp, bleached, or persistent soft areas | Keep one successful setting for another week, or change one lever by a small amount and restart the log |
If the pot dries faster, check the substrate and roots before simply watering more often. The complete indoor Monstera care guide helps connect light, drainage, temperature, humidity, and airflow so the lamp is not blamed for an unrelated root or watering issue.
Make the plant part of the composition
Style should support observation, not conceal it. Give the Monstera a little negative space around its most attractive leaves, keep the pot visually grounded, and align the fixture with an existing shelf, curtain rail, or furniture edge. A neutral pot can anchor the corner while a small lamp disappears into the background.
Group plants by similar light needs rather than stacking them in front of one another. A trailing plant that hangs into the beam can cast a moving shadow over the Monstera, and a decorative screen can block airflow or make leaf checks difficult. If guests use the room at night, select a lamp with a comfortable color appearance or place it where the light does not shine directly into seating or a sleeping area.
Do not use a stylish shade to turn a grow light into an ordinary lamp unless the fixture maker explicitly allows that accessory. Heat, ventilation, and optical output can change. The most polished apartment setup is usually the one whose hardware is simple, whose cord is quiet, and whose plant is easy to read.
Keep coverage even as a Monstera climbs
An upright Monstera changes the light problem over time. New leaves may rise into the fixture’s strongest zone while older, lower leaves fall outside it. A stable support lets you adjust the light around a predictable canopy instead of chasing a leaning stem.
For a tall plant, check whether the growth point and upper leaves are receiving light while lower leaves remain in deep shade. You can raise a bar, choose a longer bar, or add a second modest source only if the first footprint cannot cover the plant. Keep each source within its instructions and test the closest leaf after every change.
A climbing support can also keep a compact corner orderly. If your plant is becoming top-heavy, compare a modular moss pole for climbing Monstera as one possible way to guide the stem upward while preserving a clear fixture path. Choose support for the plant’s size and installation conditions; it does not replace adequate light or a sound pot.
Fix the most common apartment setup problems
Use the symptom to decide what to inspect first. One visible change rarely proves that light alone is the cause.
| What you notice | Inspect first | Next move |
|---|---|---|
| Glare on the sofa, desk, or television | Lamp angle, reflective wall, and where people sit | Re-aim the fixture across the canopy, lower brightness if the map allows, or move the plant into the fixture’s side of the room |
| Center leaves look good but outer leaves stretch | Beam footprint and canopy width | Move the fixture higher only if its map supports wider coverage, or choose a wider bar; do not just extend the timer |
| Cord sags into the plant or walkway | Clip spacing, service loop, and furniture movement | Secure a dry route with slack at the fixture and keep the walkway clear |
| Closest leaf becomes pale, crisp, or unusually warm | Distance, dimmer, window sun, and leaf contact | Increase distance or lower output one step, then observe; protect a recently moved plant from abrupt intensity changes because large leaves can burn during acclimation.2 |
| Soil stays wet longer after rearranging the corner | Cooler airflow, pot drainage, and reduced window movement | Check roots and substrate; improve drainage or airflow before adding more light or water |
| The timer is forgotten or reset | Outlet access and timer reliability | Put the timer where it can be seen and verify the schedule after outages |
| The corner feels cluttered | Too many visible fixtures or overlapping plant silhouettes | Keep one clear light job, group compatible plants, and remove décor that blocks the footprint |
If symptoms persist, pause the latest change and compare the plant with your baseline photo. The light-requirements guide can help separate low light from watering, pests, temperature, or root issues before you redesign the entire room.
Conclusion: make the light easy to live with
A small-apartment Monstera grow light works best when it follows the room’s geometry and the plant’s measurable canopy. Start with the coverage map, use a reversible layout, route power above the splash zone, and set a timer with a dark period. Then watch leaves and dry-down speed for a week before making one controlled adjustment.
The setup should become background infrastructure: safe, tidy, and easy to explain. Recheck it whenever the plant climbs, the window’s season changes, or furniture moves. That is how a practical light can support a beautiful Monstera without making your apartment look like a grow room.
Frequently Asked Questions
Can I put a Monstera grow light in a small studio apartment?
Yes. A shelf bar, slim floor stand, or single wall bar can work when its coverage fits the canopy and its cable stays out of walkways and water. Measure the leaves first, and use a timer so the light does not run all night.
Is a 12–24 inch distance always right for a Monstera grow light?
No. Treat 12–24 inches as an initial reference only when the manufacturer’s map is unavailable. The correct distance depends on fixture output, optics, dimming, canopy width, window light, and the closest leaf’s response.
How do I hide a grow-light cord in a rental?
Route it along the back of a shelf or wall edge with removable clips or a rated surface raceway. Leave a service loop, keep connections dry and accessible, and never run the cord under a rug or pinch it behind furniture.
Should my apartment Monstera grow light stay on overnight?
Usually not. Use a consistent daytime light window and a dark period. Start with the fixture maker’s timing guidance, then adjust after observing leaf response, room glare, and drying speed rather than adding hours automatically.
Why is my Monstera still leaning under a nice-looking lamp?
The lamp may illuminate only one side, or the plant may need physical support. Check outer-leaf coverage and the growth point, rotate gradually if appropriate, and consider a stable climbing support for a tall stem.
Will a grow light change how often I water?
It can change drying speed, especially in a warm, bright corner, but there is no universal interval. Check the substrate, pot weight, drainage, and roots, and adjust watering to those signals.
References
- North Carolina Cooperative Extension: Monstera deliciosa (Ceriman, Cutleaf Philodendron, Hurricane Plant) — Moderate-light guidance, direct-sun caution, and cultivar context. 2026.
- University of Connecticut Home & Garden Education Center: Monstera deliciosa — Acclimation, leaf-burn risk, and indoor-care context. 2020.
- Iowa State University Extension and Outreach: How to Set Up Supplemental Lights for Indoor Plants — Supplemental-light placement, observation, timers, and dark periods. 2026.
- University of Minnesota Extension: Lighting for Indoor Plants and Starting Seeds — Indoor light categories and how brighter, warmer locations can affect drying speed. 2026.