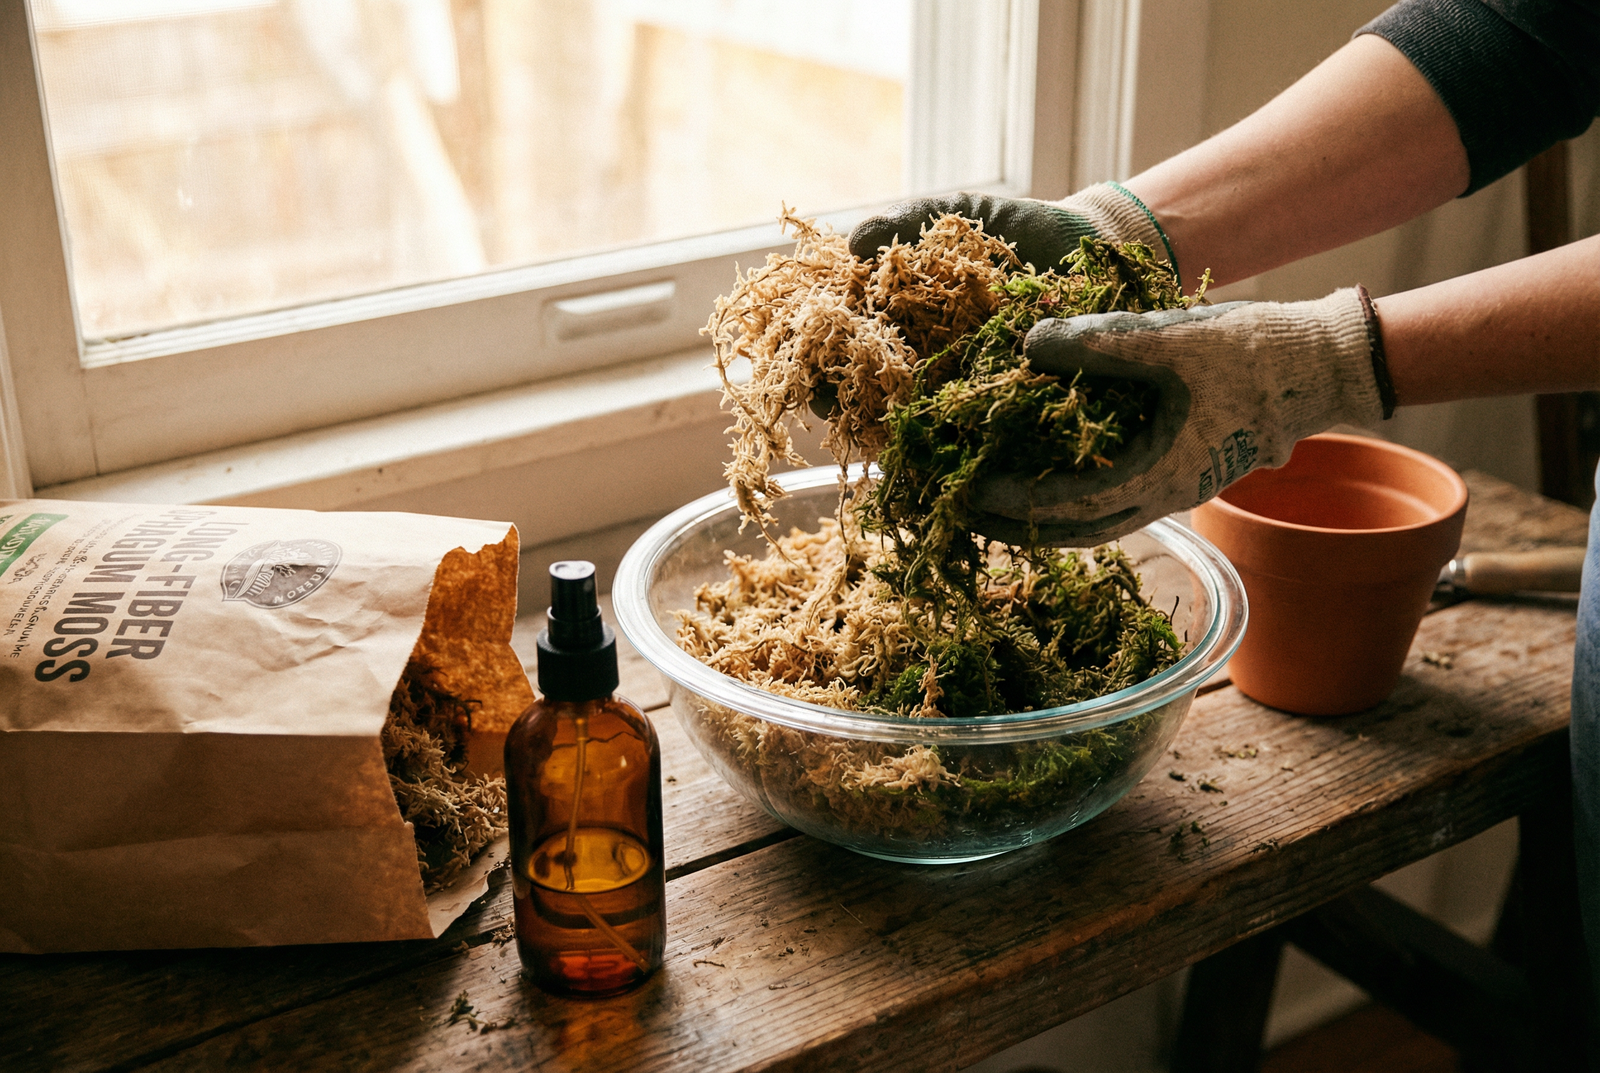
If you have recently purchased a bag or brick of dry sphagnum moss for your houseplants, you might be tempted to just pull a handful out and stuff it straight into a pot. This is one of the most common mistakes new indoor gardeners make. In its dry state, sphagnum moss is incredibly hydrophobic, meaning it actually repels water. If you try to use it straight out of the bag, water will simply run off the surface, leaving your delicate plant roots bone dry.
To unlock the incredible moisture-retaining and root-boosting properties of this popular medium, you have to know how to prepare sphagnum moss before use. Properly hydrating, fluffing, and occasionally sterilizing the moss is the key to creating the perfect airy, humid environment for your tropicals and orchids. In this guide, we will walk you through the exact steps to prep your moss so your plants can thrive.
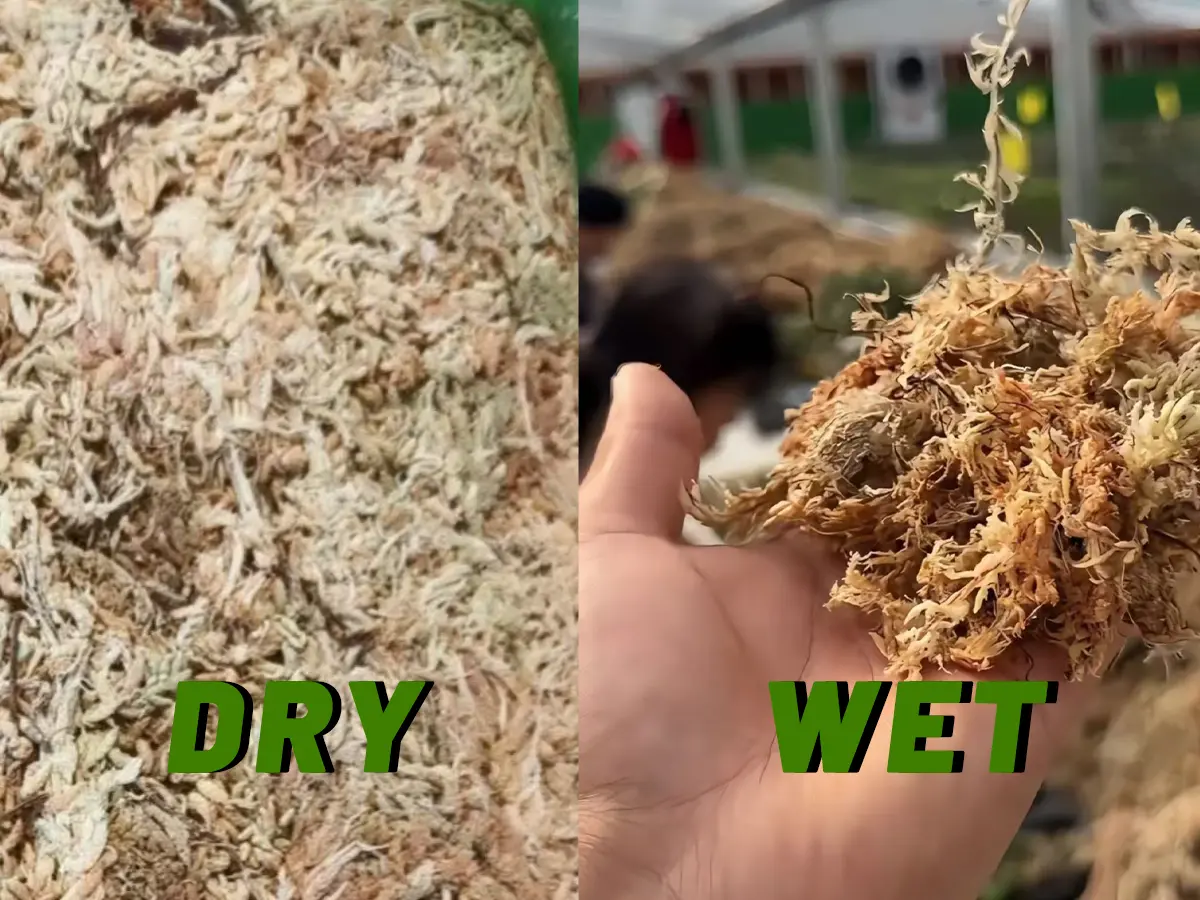
Table of Contents
Why You Must Hydrate Sphagnum Moss First
Sphagnum moss is famous for its ability to hold up to 18 times its dry weight in water . However, when the moss is harvested, dried, and compressed for shipping, the cellular structure collapses. In this completely dehydrated state, the outer layer of the moss becomes hydrophobic.
If you pack dry moss around a cutting or an orchid and then try to water it, the water will pool on top and run down the sides of the pot. The interior of the moss will remain completely dry. By soaking the moss thoroughly before use, you force water back into the cellular structure, restoring its natural sponge-like qualities and ensuring that moisture will be distributed evenly to your plant’s root system.
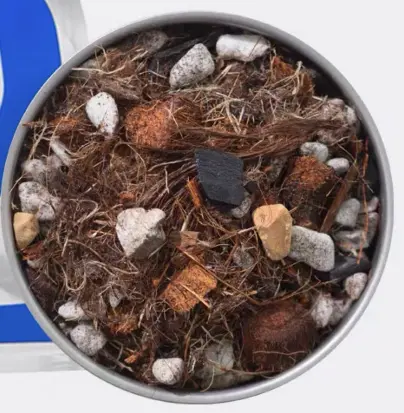
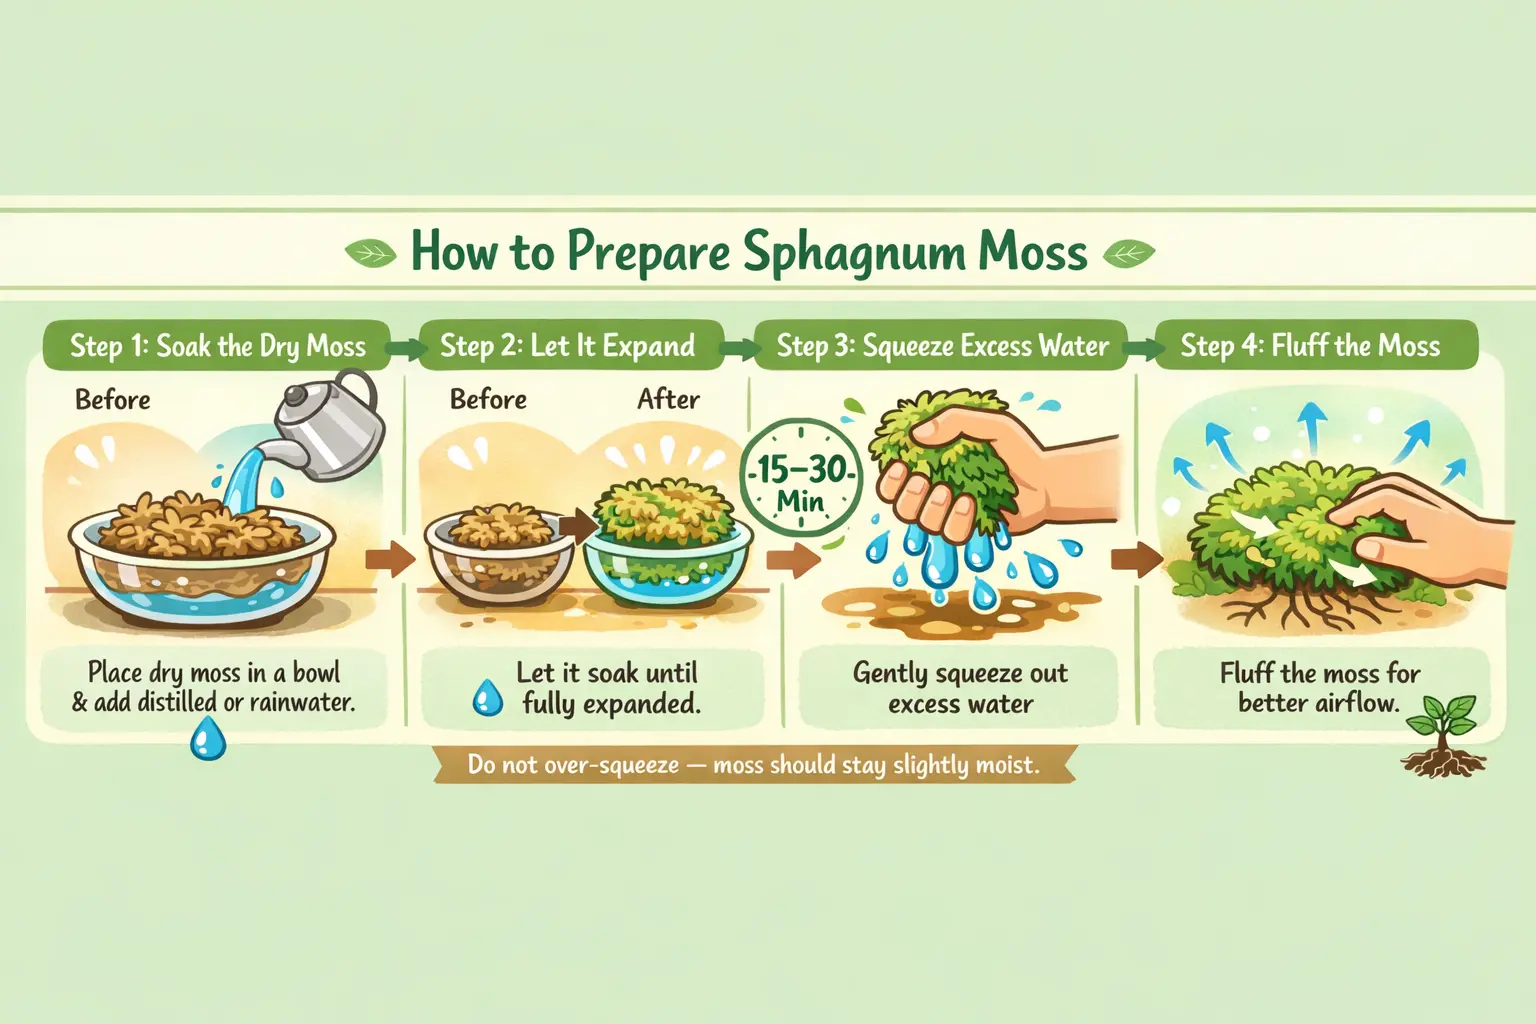
Properly soaking and fluffing sphagnum moss is essential to restore its cellular structure and prevent it from becoming hydrophobic. (Image Source: TropicalPlantKit)
Step-by-Step: How to Prepare Sphagnum Moss
Preparing your moss is a simple process, but taking the time to do it right makes a massive difference in how it performs.
Step 1: Choose the Right Water
Sphagnum moss is naturally acidic and acts somewhat like a filter, holding onto whatever minerals are in the water. If you have hard tap water, soaking the moss in it will cause calcium and magnesium salts to build up in the fibers immediately. Over time, these salts can burn the sensitive roots of orchids and aroids.
For the best results, use distilled water, reverse osmosis (RO) water, or clean rainwater to soak your moss.
Step 2: The Soaking Process
Place your dry moss into a large bowl or bucket. If you are using loose, long-fiber sphagnum moss, pour enough water over it to submerge it completely. If you are using a compressed brick of moss, place the brick in the container and add warm water (warm water penetrates the compressed fibers much faster than cold water).
Let the moss soak. Loose moss usually only takes about 10 to 15 minutes to fully hydrate. Compressed bricks may need 30 to 45 minutes to completely expand and absorb the water.
Step 3: Squeeze Out the Excess
This is the step where most people go wrong. Sphagnum moss should be damp, not dripping wet. If you place a plant in soaking wet moss, the lack of oxygen will quickly lead to root rot.
Grab a handful of the soaked moss and squeeze it firmly between your hands. You want to wring out the excess water until the moss feels exactly like a damp kitchen sponge. When you squeeze it, no water should drip out.
Step 4: Fluff the Fibers
After wringing it out, the moss will be compacted into a tight ball. You must gently pull the fibers apart and fluff the moss up before using it. This restores the vital air pockets within the moss, which is exactly what your plant roots need to breathe.
Once fluffed, the moss is ready to be packed into a propagation box with a humidity dome or used to build a modular moss pole.
Do You Need to Sterilize Sphagnum Moss?
For general houseplant use, high-quality, store-bought sphagnum moss does not usually need to be sterilized. It naturally contains beneficial antimicrobial properties that help prevent rot . However, there are a few specific scenarios where sterilization is highly recommended:
1.Reusing Old Moss: If you are repotting a plant and want to reuse the old moss (assuming it hasn’t broken down into sludge), you should sterilize it to kill any lingering fungal spores or pests.
2.Rehabilitating Sick Plants: If you are using the moss to root a cutting that previously suffered from stem rot, you want the environment to be as sterile as possible.
How to Sterilize Sphagnum Moss
The easiest way to sterilize moss is with boiling water. Place your dry moss in a heat-safe bowl and pour boiling water over it until submerged. Let it steep until the water cools completely to room temperature. Once cool, wring it out and fluff it as usual.
Alternatively, you can soak the moss in a solution of water and 3% hydrogen peroxide (about 1 part peroxide to 4 parts water) for 15 minutes to kill off pathogens before wringing it out.
Note: Never microwave dry moss, as it is a fire hazard. While you can microwave wet moss, boiling water is generally safer and more effective.
Common Mistakes When Preparing Moss
Avoid these frequent pitfalls to ensure your moss performs perfectly.
| Common Mistake | The Effect on Your Plant | The Solution |
| Using it completely dry | Water runs off; roots dehydrate and die | Always soak moss for 15+ minutes before use |
| Using hard tap water | Mineral salts build up and burn sensitive roots | Use distilled, RO, or rainwater for soaking |
| Leaving it dripping wet | Creates an anaerobic environment leading to root rot | Squeeze out excess water until it feels like a damp sponge |
| Failing to fluff it | Compacted moss suffocates roots | Gently pull the fibers apart after wringing it out |
| Packing it tightly into pots | Destroys the air pockets needed for root health | Pack the moss loosely around roots or cuttings |
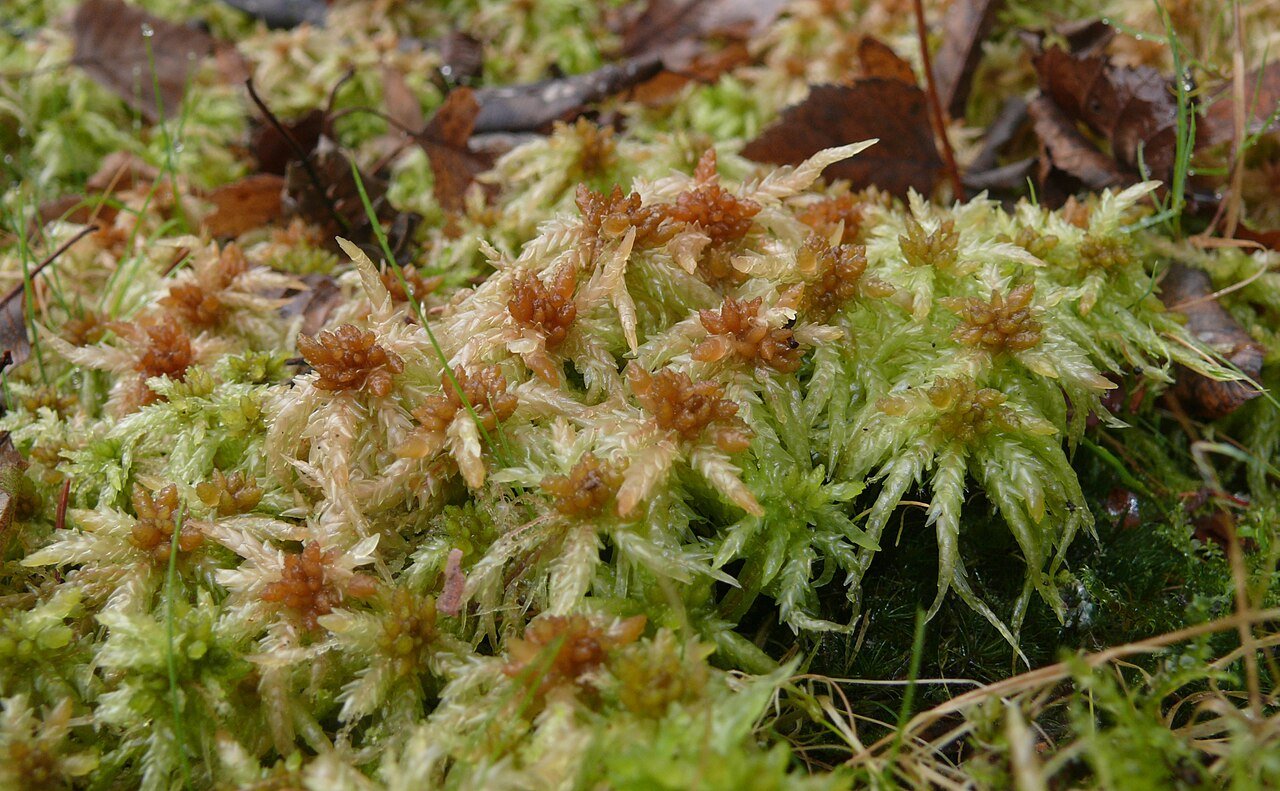
Once properly hydrated, sphagnum moss becomes plump, green (or tan), and creates the perfect humid microclimate for roots. (Photo by Bernd Haynold, CC BY-SA 3.0, via Wikimedia Commons)
Practical Tips for Using Prepared Moss
Once your moss is perfectly prepped, here are a few ways to put it to use in your indoor jungle:
1.Rooting Cuttings: Prepared sphagnum moss is arguably the best medium for propagating tropicals. If you are learning how to propagate Monstera indoors, wrapping the node in fluffy, damp moss will encourage rapid root growth.
2.Mounting Epiphytes: Plants that naturally grow on trees need a substrate that breathes. Packing prepared moss behind the shield fronds when mounting a staghorn fern mimics its natural environment perfectly.
3.Soil Amendment: You can chop up your prepared moss and mix it into your potting soil. It is a great addition when formulating the best soil for a Monstera, as it retains moisture without turning the soil to mud.
Conclusion
Knowing how to prepare sphagnum moss before use is a fundamental skill for any houseplant enthusiast. By taking the extra 20 minutes to properly soak, squeeze, and fluff your moss, you transform a dry, hydrophobic brick into a lush, airy, moisture-retaining powerhouse. Always remember the golden rule: sphagnum moss should feel like a damp, wrung-out sponge, never a dripping wet towel. Treat your moss right, and your plants will reward you with explosive root growth.
References
[1] Sybotanica. (2025, August 29). Sphagnum Moss FAQ: Everything for Happy Plants.
[3] Highland Moss. (2023, February 6 ). Sphagnum Moss Care Guide.