A propagation station is one of the simplest and most effective ways to multiply your houseplants indoors. Whether you are new to plant propagation or already comfortable taking cuttings, having a dedicated setup at home can dramatically improve rooting success while keeping your space organised and clean.
In this guide, you’ll learn what a propagation station is, why it works so well indoors, how to build one step by step, and how to maintain it long term. We’ll also touch on how a basic propagation station can be upgraded into a small indoor greenhouse system for more demanding plants later on.
Table of Contents
What Is a Propagation Station?
A propagation station is a dedicated indoor setup designed to root plant cuttings in water or other propagation media under controlled light, temperature, and airflow conditions.
Unlike casual water propagation—where cuttings are placed wherever there is space—a propagation station brings structure and consistency. It allows you to monitor root growth, reduce rot risk, and create a stable environment that supports healthy root development before transplanting.
For indoor plant growers, especially those living in apartments or limited spaces, a propagation station serves as a reliable “nursery zone” inside the home.

Why Create a Propagation Station at Home?
Many people ask if they should just leave their cuttings outside. However, propagating in a controlled indoor environment is far superior for several reasons:
- Higher Success Rates: In nature or outdoor settings, cuttings are at the mercy of unpredictable weather, pests, and fluctuating humidity. Indoors, you can maintain the “Goldilocks” conditions needed for survival.
- Climate Control: Indoors, you can provide a consistent temperature (avoiding the shock of cold nights or scorching afternoons), which dramatically accelerates root development and prevents the cutting from drying out.
- Systematic Management: An indoor station allows for “dummy-proof” management. You can easily see when the water needs changing or if a bud is starting to sprout, making it much easier to track your progress compared to outdoor plants that might be forgotten or overlooked.
- Optimal Light: You can place your station in bright, indirect light—the perfect “sweet spot” that triggers growth without burning the leaves.
By creating these specific indoor conditions, you aren’t just waiting for nature to take its course; you are actively engineering a environment that makes it almost impossible for the plant to fail.
About Propagation, You may also want to know:
What You Need to Build a Propagation Station indoor
At its core, an indoor propagation station is about control and consistency. No matter how simple or advanced your setup is, you’ll need a few fundamentals: a stable place to hold cuttings, access to light, and a way to manage moisture and airflow. What changes is how much control you want and which propagation method you’re using—water propagation, high-humidity rooting, or a semi-greenhouse approach.
That’s why there isn’t a single “correct” setup. A propagation station can be as minimal as a row of test tubes by a window, or as structured as a fully enclosed cabinet with lights and humidity control. Below are several common setup plans, each suited to different plants, spaces, and experience levels.
Containers
Propagation containers should be clean, stable, and sized appropriately for cuttings.
Common options include:
- Glass jars or bottles
- Test tubes or propagation vials
- Small plastic cups with drainage (for soil-based propagation)
- Shallow trays for multiple cuttings
Clear containers are especially helpful for water propagation, as they allow you to see root development and water condition.
Light Source
Adequate light is critical for root development and leaf health.
Typical options include:
- Bright indirect sunlight near a window
- LED grow lights with a neutral or full-spectrum output
- Desk-style grow lamps for small stations
The goal is consistent, gentle light rather than direct sun exposure.
Support and Environment
Depending on your setup, you may also need:
- Shelving or a stable surface
- Labels for plant identification
- A small fan for airflow (optional)
- A humidity cover for sensitive cuttings (optional)
At its core, a propagation station is about consistency, not complexity.
Struggling with dry air or mold? This guide explains how to control indoor humidity for plants, ideal levels, measurement tools, and safe solutions.
How to Set Up a Propagation Station Step by Step
This step-by-step setup works for most indoor environments and plant types.
- Choose the right location Select a spot with stable temperature and bright indirect light. Avoid areas with cold drafts or direct midday sun.
- Set up your containers Clean all containers thoroughly. Arrange them with enough spacing to prevent leaves from touching.
- Prepare plant cuttings Use clean, sharp tools. Cut below a node and remove lower leaves that would sit in water or soil.
- Add water or propagation medium Use clean, room-temperature water or a well-draining propagation mix. Ensure nodes are positioned correctly.
- Adjust light exposure Position grow lights 20–40 cm above the cuttings, or place the station near a bright window with filtered light.
- Monitor and maintain Check water clarity, leaf firmness, and root development every few days.
This simple structure covers the majority of indoor propagation needs.
5 Propagation Station indoor Setup Ideas
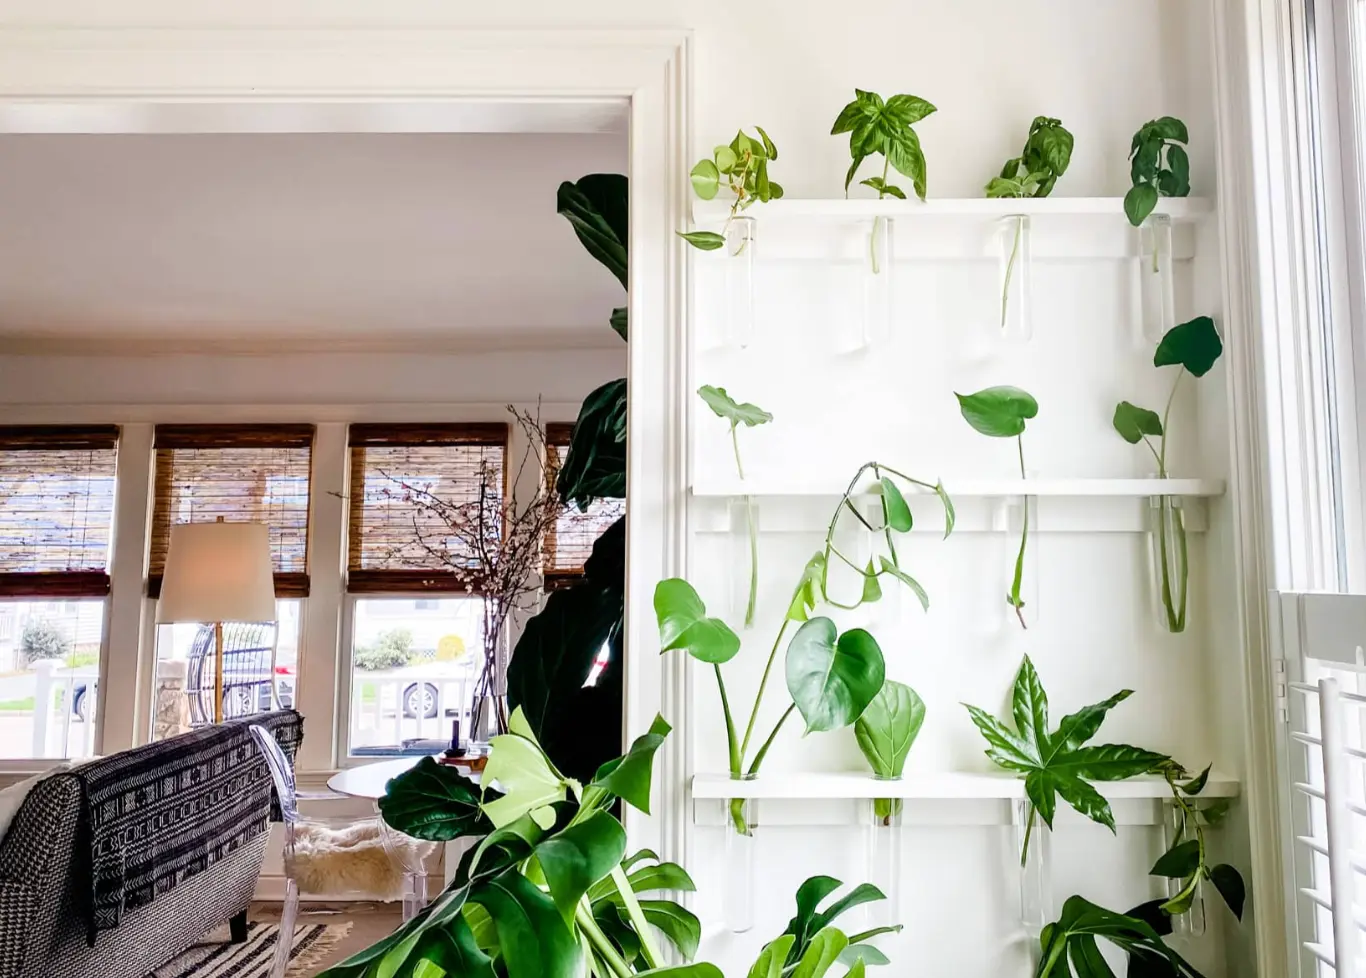
Water Propagation Rack (Test Tube Stand or Bottles)
Glass containers are preferred because they don’t leach chemicals, are easy to clean, and let you see oxygen levels and algae growth. A rack also prevents bottles from tipping over and keeps everything evenly spaced, which matters more than people realise once you start propagating multiple cuttings at once.
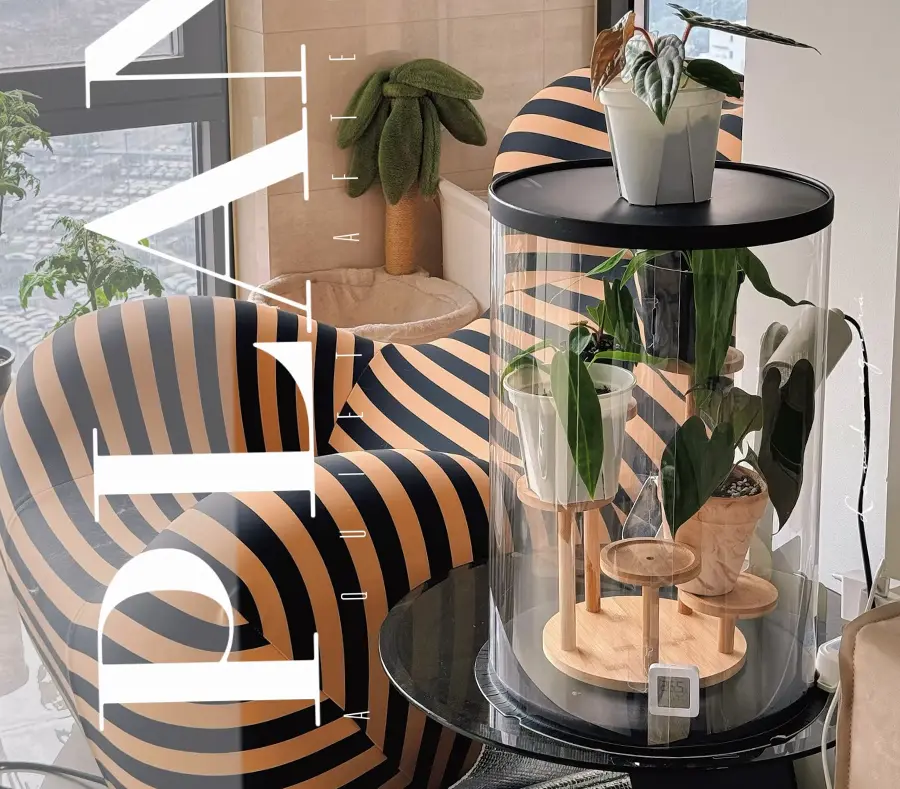
Clear Storage Box as a Humidity Chamber
When water propagation isn’t enough—especially for leaf cuttings, node cuttings, or delicate plants—a transparent storage box becomes a simple but powerful tool. This functions as a mini humidity chamber, trapping moisture while still allowing light through.
Cake Boxes as Compact Propagation Domes
Cake boxes might sound unconventional, but they’re a popular DIY solution for a reason. They’re clear, lightweight, and designed to hold moisture—essentially functioning as instant propagation domes.
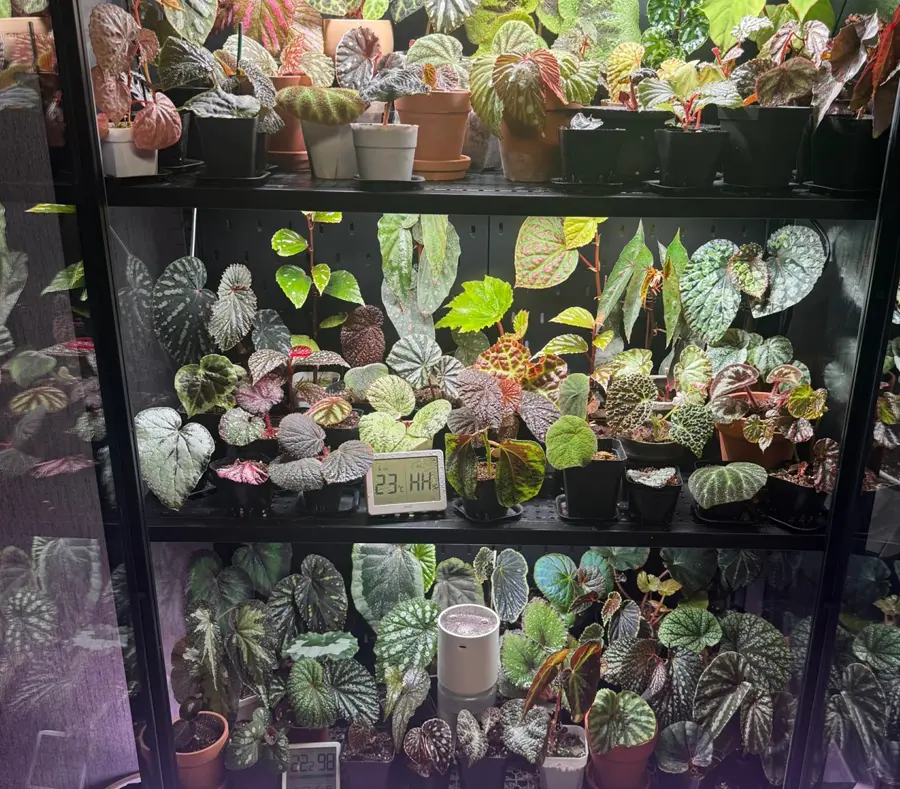
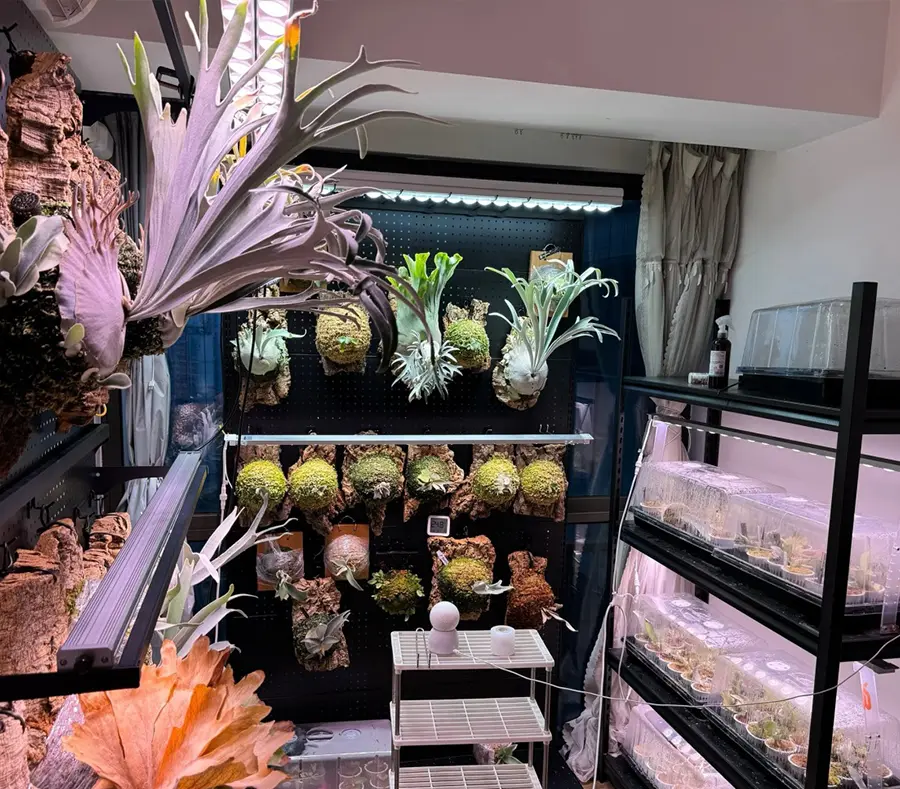
IKEA Cabinet with Pegboard (Semi-Permanent Setup)
For those ready to invest in a long-term indoor propagation and growing system, modified IKEA cabinets with pegboards have become a modern classic. These setups combine aesthetics with function, offering controlled humidity, lighting, and organisation.
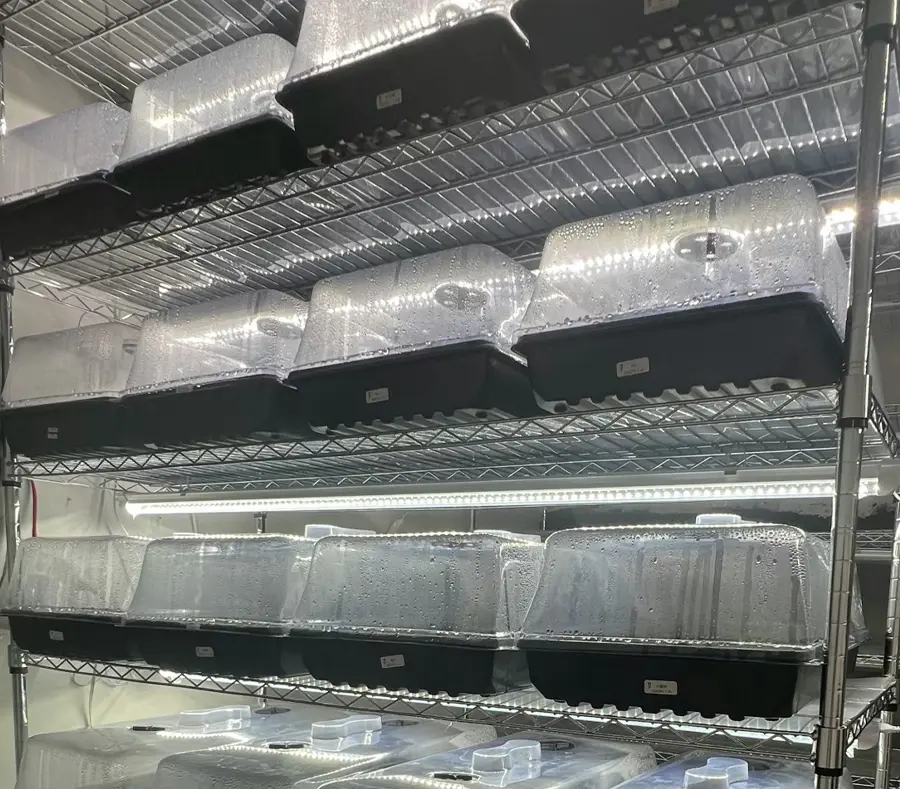
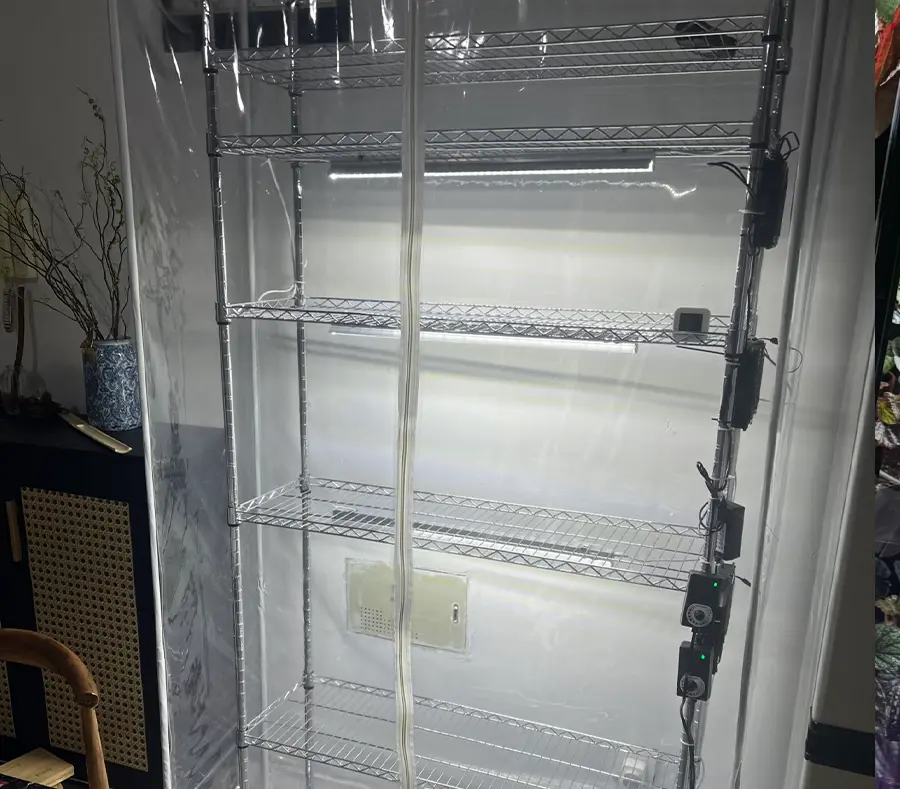
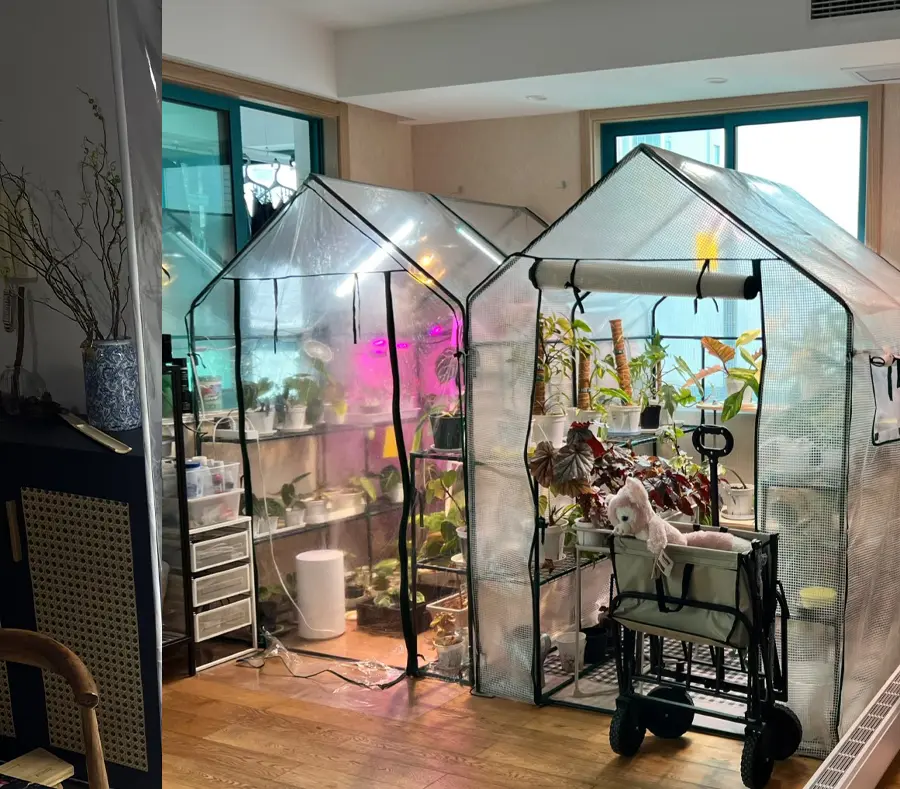
Wire Shelving + Clear Cover: A DIY Mini Greenhouse Setup
Another very practical propagation station setup is a standard metal wire rack combined with a transparent plastic cover, essentially turning a shelving unit into a small indoor greenhouse. This is one of the most popular solutions for plant growers who want more capacity and environmental control, without committing to a permanent cabinet.
Best Location for an Indoor Propagation Station
The best location for a propagation station is one that balances light, temperature, and airflow.
Light:
Bright, indirect light is ideal. East-facing windows often work well, as they provide gentle morning light without overheating cuttings.
Temperature:
Most houseplants root best between 20–26°C (68–78°F). Avoid placing stations near radiators or air conditioners.
Airflow:
Good air circulation helps prevent mold and stagnation. Even natural room airflow is usually sufficient.
Living rooms, home offices, and enclosed balconies are commonly suitable locations when light conditions are stable.
Where you place your indoor propagation station matters just as much as how you build it. Cuttings are far more sensitive than established plants, and small environmental swings—especially temperature and moisture—can slow rooting or cause failure. The goal is to choose a location that stays stable, predictable, and easy to control.
Direct sunlight is one of the most common mistakes. While light itself is necessary, unfiltered sun through a window is difficult to manage. Clear containers, humidity boxes, and mini greenhouses can heat up very quickly, pushing temperatures far beyond what fresh cuttings can tolerate. In water propagation, this is even riskier—warm water holds less oxygen and can accelerate bacterial growth.
Heat sources and airflow extremes should also be avoided. Radiators, heaters, kitchens, and air-conditioning vents create constant temperature and humidity fluctuations. Cuttings respond poorly to this kind of instability, often stalling root development or declining altogether.
That said, this doesn’t mean your propagation station must live by a window. In practice, many indoor growers deliberately move their setups away from natural light and rely on LED grow lights instead. This approach actually solves several problems at once.
With LED lighting, you gain:
- Consistent light duration without seasonal changes
- Predictable intensity, avoiding sudden spikes or leaf stress
- Better temperature control, since modern LEDs emit very little heat
- Freedom in placement, allowing propagation stations in hallways, spare rooms, or interior walls
This is why shelf greenhouses, covered racks, and cabinet setups pair so well with LED lights. You’re no longer chasing the “perfect window”—you’re creating a controlled environment that behaves the same way every day.
The best locations, therefore, are spaces with stable room temperature, minimal drafts, and easy access, where lighting can be added rather than dictated by the sun. Once light is controlled artificially, everything else—humidity, airflow, and timing—becomes much easier to manage.
In short, natural light can work, but controlled light works better. For propagation, consistency almost always beats intensity.
Water vs Soil vs Moss: Which Medium Works Best?
The propagation medium you choose directly affects root development and transplant success.
Water Propagation
Water propagation is popular for beginners because it is visually clear and forgiving.
Roots develop quickly and are easy to monitor. However, water-grown roots can be more delicate and may need careful acclimation when transferred to soil.
Soil Propagation
Soil-based propagation produces roots already adapted to substrate conditions.
It reduces transplant shock but requires careful moisture control. Overwatering is the most common issue for beginners.
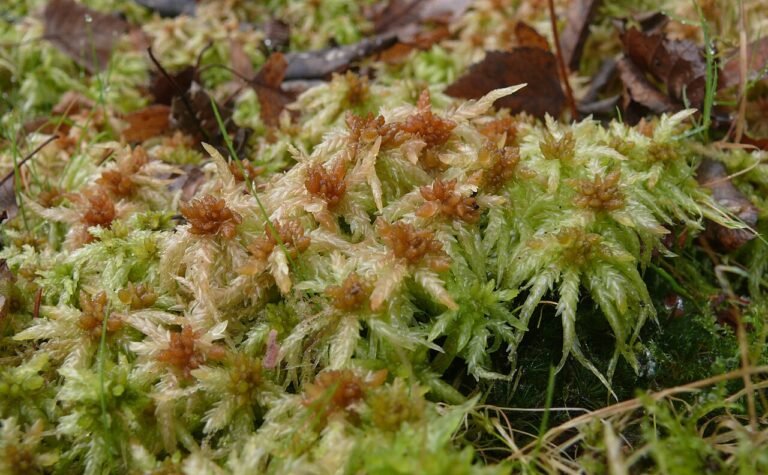
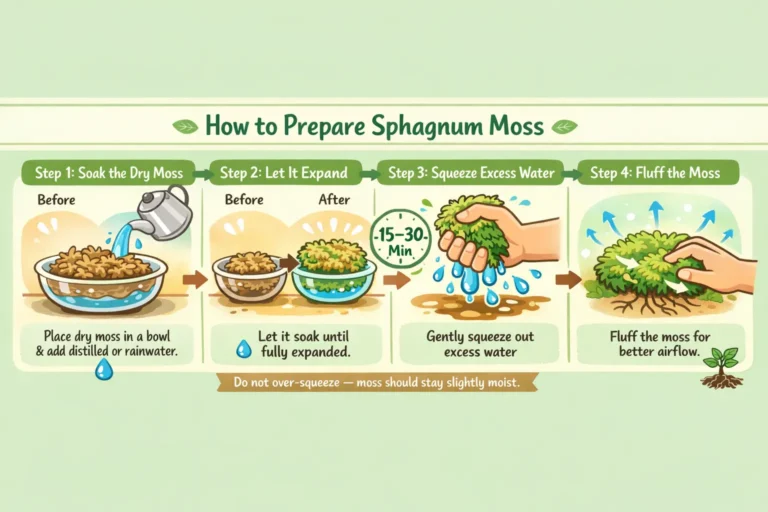
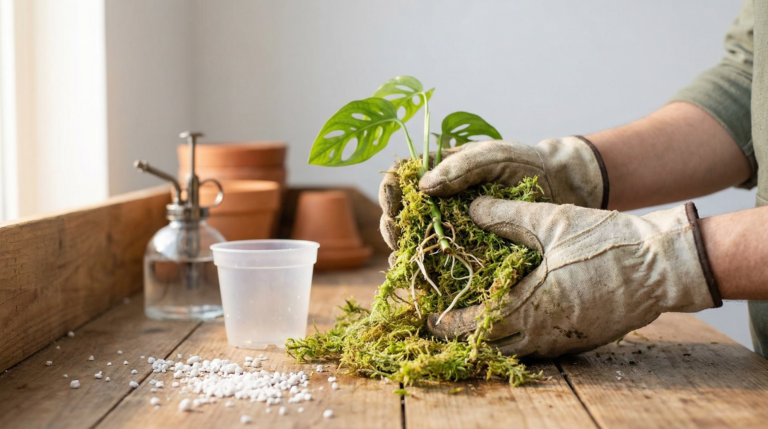
Moss or Semi-Hydro Media
Sphagnum moss and semi-hydro setups offer excellent airflow and moisture balance.
These methods are especially useful for epiphytic plants and advanced growers, though they require more attention to hydration and cleanliness.
For most beginners, starting with water propagation is the simplest option before exploring other media.
Common Mistakes to Avoid When Building a Propagation Station
Many propagation failures come from small, avoidable mistakes.
- Insufficient light leading to weak growth
- Changing water too frequently, disturbing root formation
- Using oversized containers that encourage stagnation
- Overcrowding cuttings, limiting airflow
- Ignoring early signs of rot or leaf stress
A propagation station works best when conditions remain stable and observation is consistent.
How to Maintain a Propagation Station Long Term
Long-term success depends on routine care rather than constant adjustment.
Change water every 5–7 days or sooner if it becomes cloudy. Clean containers regularly to prevent bacterial buildup. Remove failing cuttings promptly to protect healthy ones.
Once roots reach several centimetres in length and show branching, the cutting is usually ready for transplanting. Some failures are normal and should be expected, even in ideal conditions.
Can You Turn a Propagation Station into a Mini Indoor Greenhouse?
Yes. A propagation station can be gradually upgraded into a controlled indoor growing environment.
Adding humidity covers, enclosed shelving, or supplemental lighting allows you to propagate more sensitive species. This is often the first step toward building a mini indoor greenhouse system, which supports higher humidity and year-round propagation.
Many growers expand in stages rather than building a full greenhouse from the start.
Who Should Build a Propagation Station?
A propagation station isn’t just for experienced plant collectors or people with large indoor gardens. In reality, it’s useful for anyone who wants more predictable results when propagating plants indoors. The more often you take cuttings—or the more you care about survival rates—the more sense a dedicated setup makes.
If you’re new to plant propagation, a propagation station provides structure. Instead of placing cuttings around the house and guessing whether conditions are right, you’re creating one controlled area where light, moisture, and temperature are consistent. This dramatically reduces common beginner mistakes such as overwatering, insufficient light, or forgetting where cuttings were placed.
For intermediate growers, propagation stations become a way to scale and standardise. When you start propagating multiple plants at once, consistency matters. A dedicated station allows you to compare results, refine your technique, and root different species under similar conditions. It also keeps the process organised, which is especially helpful when working with multiple cuttings at different stages.
Propagation stations are especially valuable for growers who keep humidity-sensitive or slow-rooting plants, such as begonias, anthuriums, alocasias, and other tropical species. These plants benefit significantly from stable humidity and gentle light—conditions that are difficult to maintain in open air but easy to manage in a station.
They’re also ideal for people with limited space or unpredictable home environments. Apartments with strong sun exposure, fluctuating temperatures, or dry indoor air often make casual propagation unreliable. A propagation station creates a buffered microclimate that protects cuttings from daily environmental swings.
Finally, a propagation station is for anyone who enjoys observing plant growth. Root development, leaf response, and timing become easier to track when everything is in one place. Over time, this turns propagation from trial-and-error into a repeatable, confident practice.
In short, if you propagate more than occasionally—or want better success when you do—a propagation station is less of an upgrade and more of a practical tool.
Final Thoughts
Creating a propagation station at home does not require specialised tools or advanced knowledge. By focusing on light, cleanliness, and consistency, you can dramatically improve your propagation success while keeping your indoor space organised.
Starting small allows you to learn plant behaviour firsthand. Over time, your propagation station can evolve—just like your plants—into a more advanced growing system tailored to your environment and collection.